Graham Cracker Foundation Delicious crusty base made by crushing graham crackers and binding them with melted butter, pressed into cake pans creating a rustic, sweet foundation.
Chocolate Landscape Rich chocolate batter whisked together with cocoa, flour, and essential baking elements, transforming into a velvety smooth cake layer that melts in your mouth.
Creamy Chocolate Horizon Silky chocolate filling created by pouring warm cream over luxurious chocolate, creating a glossy, decadent spread that promises indulgence.
Marshmallow Cloud Dreamy buttercream whipped with marshmallow fluff, generating a pillowy soft frosting that adds heavenly lightness to the cake.
Ganache Waterfall Smooth chocolate glaze cascading over the cake, creating a glossy, elegant finish that reflects sophistication and rich chocolate intensity.
Torch Magic Final dramatic touch using kitchen torch to caramelize marshmallow creme, adding golden-brown crispy edges that elevate the entire dessert experience.
Layering Symphony Carefully stacking cake layers with alternating chocolate filling and marshmallow buttercream, constructing a harmonious flavor profile that celebrates sweet complexity.
Customizing Your S’mores Cake Experience
Prep cake layers and fillings a day before assembly, storing them separately in airtight containers to save time and reduce day-of stress.
Use a kitchen torch to caramelize marshmallow creme for authentic campfire s’mores flavor, creating golden-brown spots that add depth and nostalgia.
Replace regular flour with gluten-free flour blend and ensure graham crackers are gluten-free to accommodate dietary restrictions without compromising taste.
Allow all ingredients to reach room temperature before mixing to ensure smoother batter and more even cake texture, preventing potential lumps or uneven baking.
Sprinkle extra crushed graham crackers between layers or around cake edges for added texture and a delightful cracker-like crispness that enhances the classic s’mores experience.
Presenting and Serving S’mores Cake Slices
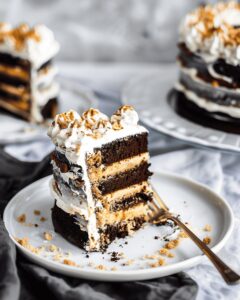
Party Platter Paradise: Create a stunning dessert centerpiece surrounded by graham cracker pieces, chocolate shavings, and mini marshmallows for guests to customize their cake slice.
Campfire Companion: Serve alongside warm mugs of hot chocolate or coffee to enhance the nostalgic s’mores flavor profile and create a cozy, comforting experience.
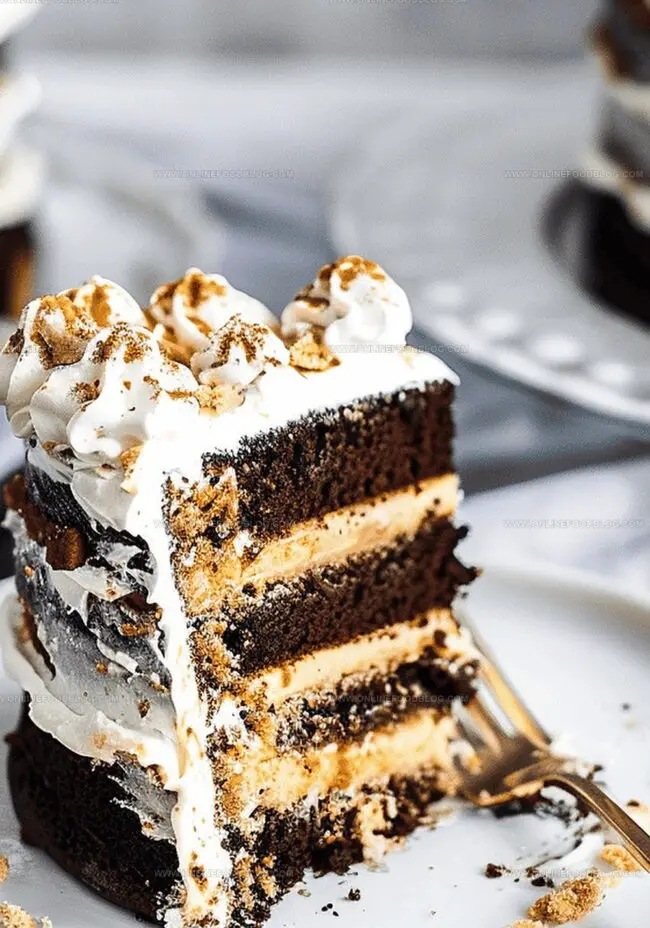
Texture Adventure Plate: Garnish each slice with crunchy graham cracker fragments, drizzled chocolate, and a torched marshmallow swirl to highlight the cake’s delicious layers and add visual excitement.
Weekend Celebration Style: Perfect for summer gatherings, birthdays, or potlucks where guests will be delighted by this elevated take on the classic campfire treat – a show-stopping dessert that sparks conversation and sweet memories.
Keeping Your S’mores Cake Fresh
Fridge Friendly Strategy: Store cake in an airtight container in the refrigerator for up to 5 days. Cover tightly with plastic wrap to maintain moisture and prevent absorbing other food odors.
Temperature Maintenance: Allow chilled cake to sit at room temperature for 30-45 minutes before serving to restore soft texture and enhance flavor profiles.
Slice Separation Technique: Place wax paper between individual cake slices when storing to prevent sticking and maintain individual portion integrity.
Freezer Preservation Method: Wrap cake tightly in plastic wrap, then aluminum foil. Freeze for maximum 2 months. Thaw overnight in refrigerator before serving to maintain original texture and taste quality.
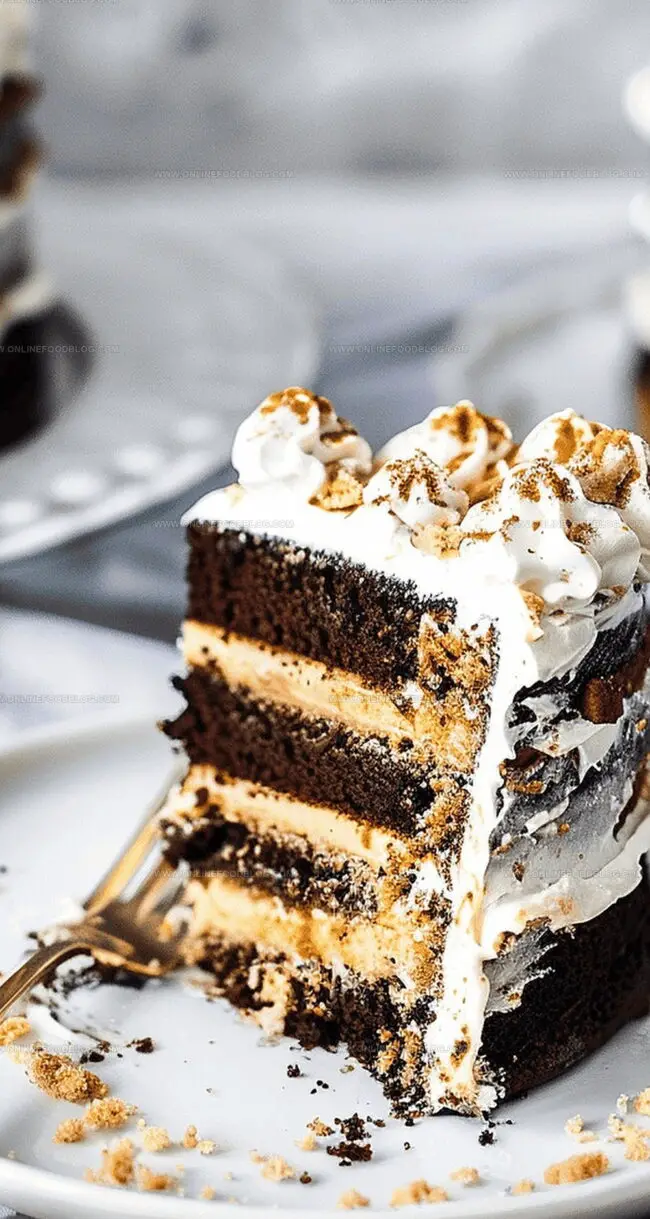
S’mores cake delivers classic campfire nostalgia with graham cracker layers, chocolate ganache, and toasted marshmallow frosting. Rich dessert flavors combine perfectly for chocolate enthusiasts seeking sweet summer memories.
Ingredients
Scale
300 g (10.5 oz) granulated sugar
300 g (10.5 oz) all-purpose flour
240 g (1 cup) buttermilk
120 g (1 cup) cocoa powder
120 ml (½ cup) oil
2 eggs (room temperature)
250 g (8.8 oz) digestive biscuits or graham crackers
90 g (3.17 oz) unsalted butter (melted)
240 ml (1 cup) hot strong brewed coffee (or water)
2 tsp vanilla extract
2 tsp baking soda
1 tsp baking powder
½ tsp salt
1 tbsp sugar (if using graham crackers)
120 g (4.2 oz) quality dark chocolate (finely chopped)
80 g (2.8 oz) heavy cream
30 g (1 oz) unsalted butter
200 g (7.05 oz) marshmallow creme/fluff
200 g (7.05 oz) unsalted butter (room temperature)
100 g (3.5 oz) powdered sugar
1 tsp vanilla extract
Instructions
Preparation: Preheat oven to 350°F. Line three springform pans with parchment and lightly grease, preparing workspace for cake construction.
Graham Cracker Foundation: Pulverize graham crackers into fine crumbs, blend with melted butter, press into two cake pans, and chill to solidify the base layer.
Dry Ingredient Harmony: Sift cocoa, flour, baking soda, and salt together, ensuring uniform distribution for a consistent cake texture.
Batter Composition: Whisk eggs and sugar until pale and voluminous, integrate vanilla, oil, buttermilk, and coffee to develop complex flavor profile.
Cake Layer Formation: Delicately fold dry ingredients into wet mixture, maintaining smooth consistency without overmixing, then distribute batter evenly across prepared pans.
Baking Transformation: Bake for 25 minutes until toothpick emerges clean, then cool completely on wire racks, allowing cakes to settle and stabilize.
Filling and Frosting Creation: Craft chocolate filling by melting cream and chocolate together, incorporate butter for richness. Develop marshmallow buttercream by whipping butter, gradually adding powdered sugar, vanilla, and marshmallow fluff for light, airy texture.
Ganache Preparation: Gently heat cream, blend with chocolate until achieving a glossy, smooth consistency perfect for drizzling.
Marshmallow Creme Technique: Cook sugar syrup to precise temperature, slowly stream into whipped egg whites, beating until thick and lustrous.
Architectural Assembly: Layer graham cracker cakes with alternating chocolate filling and marshmallow buttercream, applying smooth buttercream coat and chilling to set frosting.
Dramatic Finale: Cascade ganache over cake, creating elegant drips. Optionally torch marshmallow creme dollops for caramelized, toasted presentation that elevates the dessert’s visual appeal.
Notes
Precision Matters: Use an accurate candy thermometer when making marshmallow creme to ensure the sugar syrup reaches exactly 240°F for perfect consistency.
Chill for Success: Always refrigerate cake layers for 30 minutes before assembling to prevent crumbling and make frosting easier.
Room Temperature Magic: Ensure eggs, butter, and buttermilk are at room temperature to create a smoother, more evenly mixed batter with better rise.
Texture Tip: Fold dry ingredients gently into wet mixture to maintain air pockets, resulting in a lighter, more tender cake texture.
Degree: Certificate in Food and Beverage Management
Focus: Essential knowledge of recipe development, ingredient sourcing, and food business basics.
Mia Reynolds fell in love with baking as a teenager experimenting in her family kitchen. Her passion took her to New England Culinary Institute, where she learned practical pastry techniques, and later to Community College of Vermont to deepen her understanding of food management.
Mia combines clear, simple baking instructions with heartwarming stories, making home baking approachable for everyone.

Mia Reynolds
Food Writer & Home Cooking Specialist
Expertise
Easy Home Baking, Recipe Writing and Storytelling, Local and Seasonal Ingredients, Baking for Beginners
Education
New England Culinary Institute (NECI), Montpelier, Vermont
Community College of Vermont, Winooski, Vermont
Mia Reynolds fell in love with baking as a teenager experimenting in her family kitchen. Her passion took her to New England Culinary Institute, where she learned practical pastry techniques, and later to Community College of Vermont to deepen her understanding of food management.
Mia combines clear, simple baking instructions with heartwarming stories, making home baking approachable for everyone.