Ripe Bananas: Brings natural sweetness and moisture, choose soft bananas with brown spots for deeper flavor.
Peanut Butter: Adds creamy richness and protein, select natural smooth or crunchy varieties without added sugars.
Vanilla Extract: Enhances overall taste with warm aromatic notes, use pure extract for best quality.
For Dry Ingredients:
Rolled Oats: Provides hearty texture and fiber, choose old-fashioned rolled oats for best consistency.
Salt: Balances sweetness and amplifies other flavors, use fine sea salt for even distribution.
Baking Powder: Ensures light and tender texture, check freshness for optimal rising.
For Topping:
Chocolate Chips: Delivers decadent bursts of sweetness, opt for semi-sweet or dark chocolate for complex flavor profile.
Kitchen Tools for Baking Banana Bars Like a Pro
Loaf Pan: Essential for baking bars with perfect shape and even cooking.
Large Mixing Bowl: Needed for combining banana, peanut butter, and other ingredients smoothly.
Measuring Cups and Spoons: Critical for accurate ingredient proportions.
Spatula or Spoon: Great for mixing ingredients and spreading batter evenly.
Knife: Used for checking doneness and cutting bars after cooling.
Parchment Paper (optional): Helps with easy removal and clean-up.
Potato Masher or Fork: Perfect for mashing bananas to right consistency.
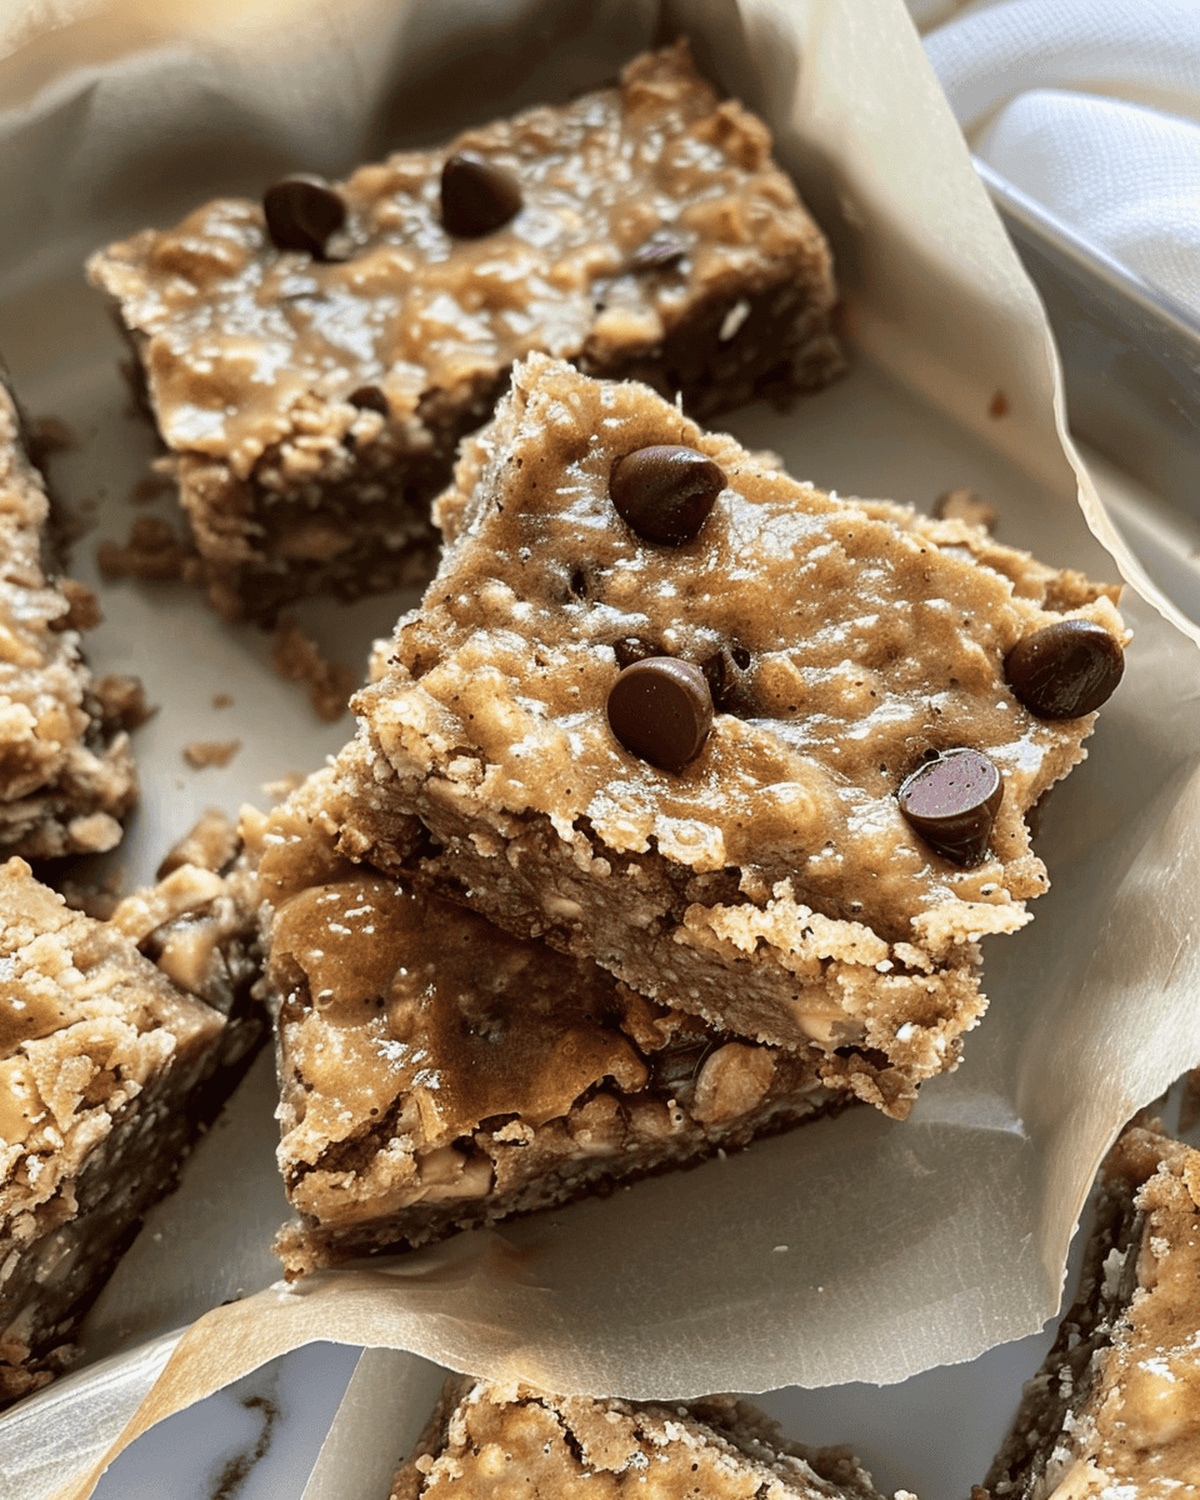
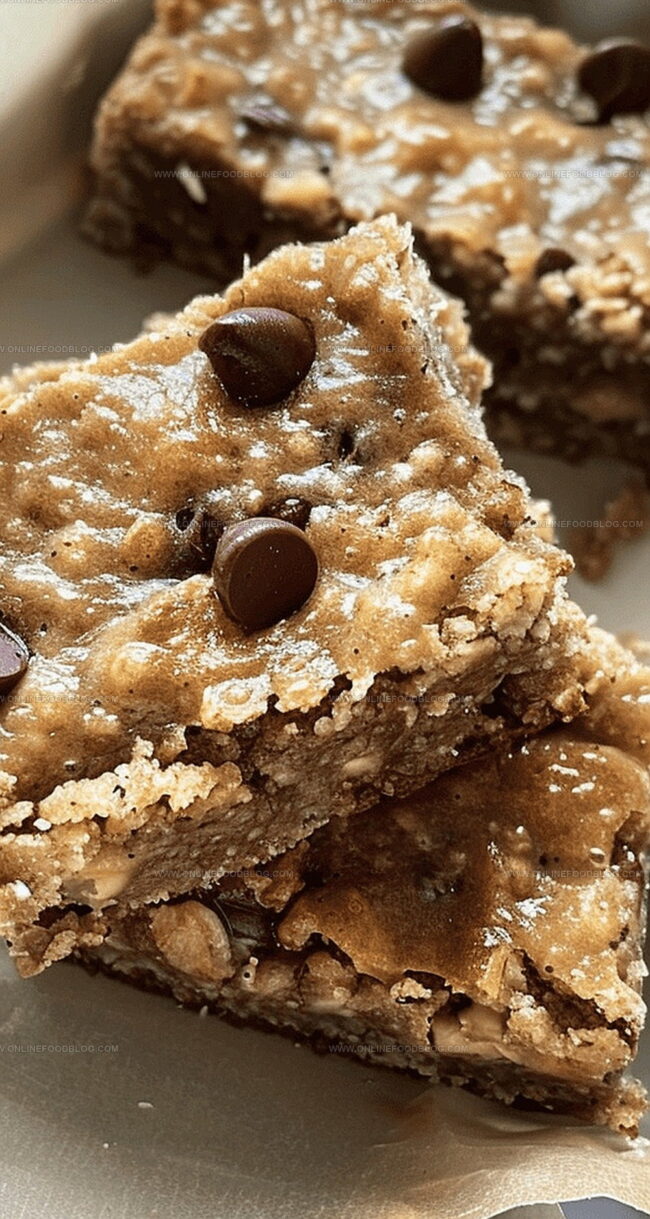
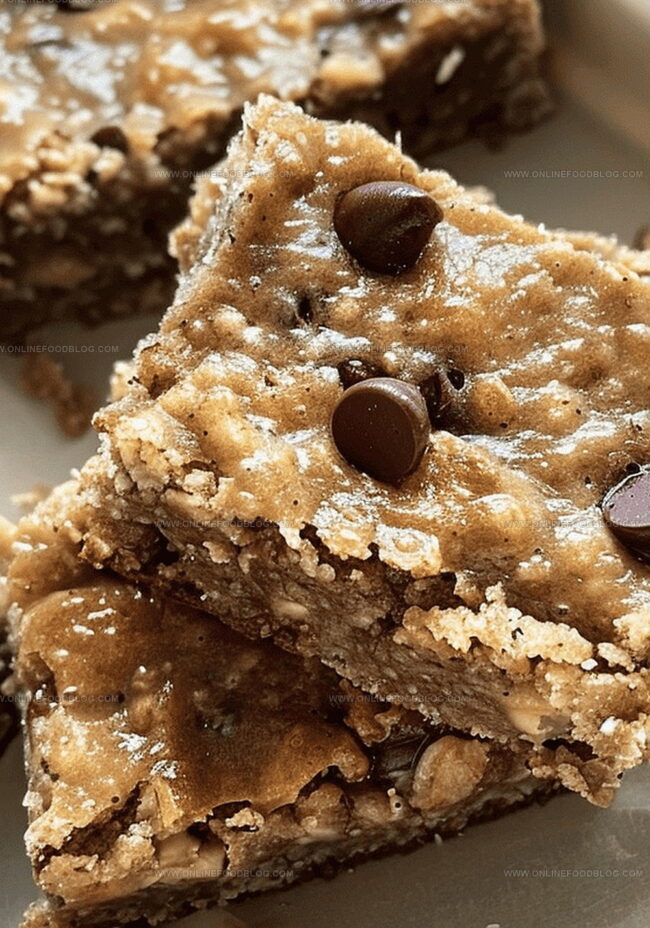
How to Make Peanut Butter Chocolatechip Banana Bars
Banana Peanut Butter Chocolate Chip Bliss
Oven Preparation Cozy kitchen warmup where magic begins. Get your oven ready at a toasty 350°F and prep a loaf pan with a quick parchment paper lining or light grease.
Banana Base Transformation Grab those ripe bananas and transform them into a creamy canvas. Mash them gently until they’re almost smooth, creating a soft, inviting texture that promises deliciousness.
Flavor Fusion Mix in the rich, nutty peanut butter and a splash of vanilla extract. Stir these ingredients together until they dance and blend into a harmonious mixture that makes your kitchen smell incredible.
Dry Ingredient Magic Sprinkle in hearty oats, a pinch of salt, and baking powder. Fold these together with your wet ingredients, creating a batter that hints at the wonderful treat to come. Gently stir in most of the chocolate chips, saving a few for a stunning topping.
Baking Adventure Pour the mixture into your prepared pan, smoothing the top with gentle care. Scatter the remaining chocolate chips across the surface like delicious little treasures.
Golden Perfection Slide the pan into the waiting oven. Bake for 25-30 minutes until a knife comes out clean, revealing a golden, fragrant creation that promises pure comfort in every bite.
Substitutions and Additions for Banana Bars
Add a scoop of protein powder or ground flaxseed to increase the protein and fiber content of these bars.
Sprinkle chopped nuts, coconut flakes, or a drizzle of melted dark chocolate over the bars for extra texture and richness.
Use certified gluten-free oats to create a celiac-friendly version of these delicious banana bars.
Wrap individual bars in plastic wrap and store in the freezer for up to 3 months, perfect for quick grab-and-go breakfasts or snacks.
Serving Suggestions for Banana Bars with Flair
Breakfast Companion: Pair these bars with a steaming cup of coffee or a cold glass of milk for a delightful morning treat that energizes your day.
Sweet Snack Upgrade: Pack these bars in lunchboxes or enjoy as an afternoon pick-me-up, providing a perfect balance of nutrients and indulgence.
Dessert Transformation: Warm the bars slightly and top with a scoop of vanilla ice cream for an easy, crowd-pleasing dessert that satisfies sweet cravings.
Protein Power Boost: Crumble the bars over Greek yogurt or blend into a smoothie to add extra protein and rich, comforting flavors to your nutrition routine.
Storage Plan for Banana Bars to Keep Them Soft
Smart Refrigeration Strategy: Store these delightful bars in an airtight container inside the refrigerator for maximum freshness, keeping them deliciously moist and intact for up to 5 days.
Freezing Magic: Wrap individual bars in plastic wrap, then place in a freezer-safe container to enjoy for 2-3 months. Thaw at room temperature for a quick and satisfying treat.
Portion Control Hack: Cut bars into smaller pieces and stack with parchment paper between layers, making grab-and-go snacking easier for busy mornings or afternoon energy boosts.
Room Temperature Tip: If enjoying within 2 days, keep bars on the kitchen counter in a sealed container, ensuring they remain soft and maintain their rich, chocolatey flavor profile.
Degree: Certificate in Food and Beverage Management
Focus: Essential knowledge of recipe development, ingredient sourcing, and food business basics.
Mia Reynolds fell in love with baking as a teenager experimenting in her family kitchen. Her passion took her to New England Culinary Institute, where she learned practical pastry techniques, and later to Community College of Vermont to deepen her understanding of food management.
Mia combines clear, simple baking instructions with heartwarming stories, making home baking approachable for everyone.

Mia Reynolds
Food Writer & Home Cooking Specialist
Expertise
Easy Home Baking, Recipe Writing and Storytelling, Local and Seasonal Ingredients, Baking for Beginners
Education
New England Culinary Institute (NECI), Montpelier, Vermont
Community College of Vermont, Winooski, Vermont
Mia Reynolds fell in love with baking as a teenager experimenting in her family kitchen. Her passion took her to New England Culinary Institute, where she learned practical pastry techniques, and later to Community College of Vermont to deepen her understanding of food management.
Mia combines clear, simple baking instructions with heartwarming stories, making home baking approachable for everyone.