Crunchy Honey-Glazed Chicken Tenders Recipe: Family Favorite
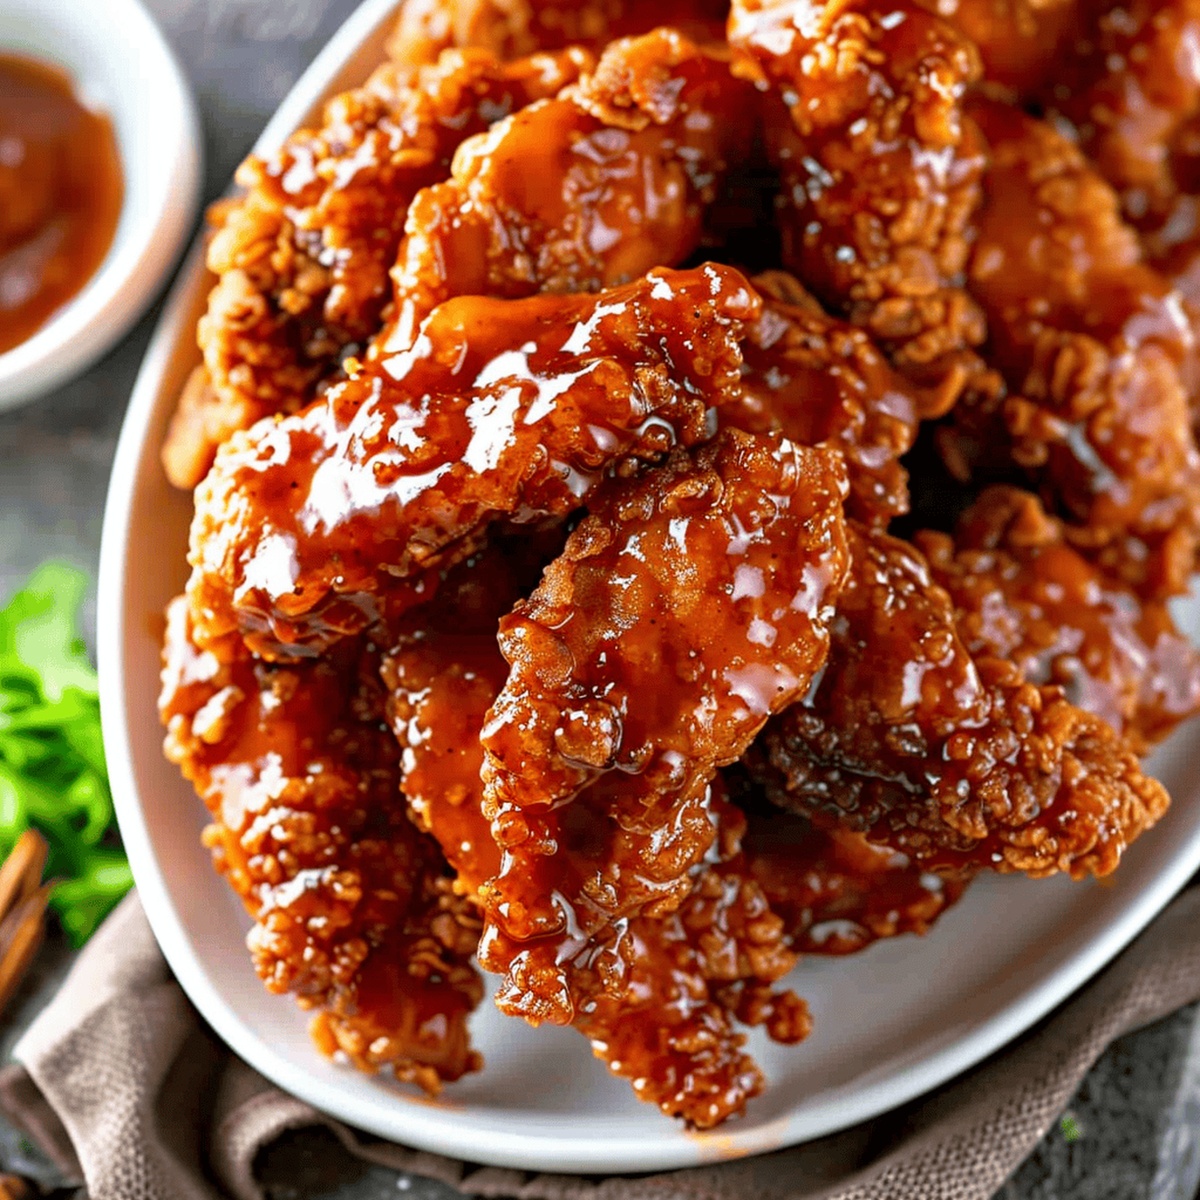
Sink your teeth into these mouthwatering crispy sticky chicken tenders that deliver an explosion of flavor in every single bite.
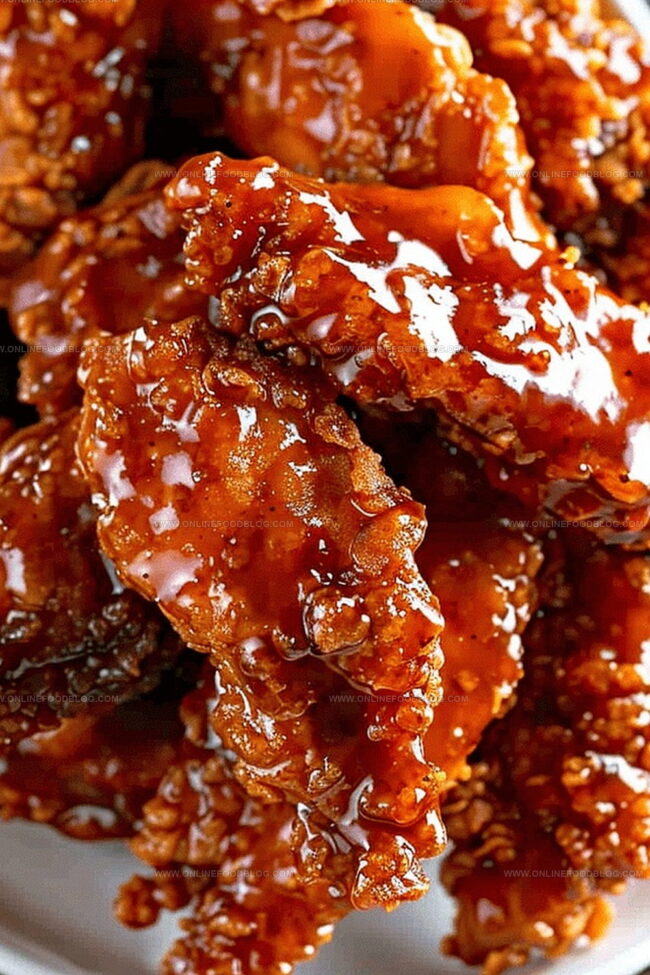
The secret to these irresistible tenders lies in their perfectly balanced crispy sticky chicken tenders coating that clings to each piece.
Golden-brown edges promise a satisfying crunch that will make your taste buds dance with excitement.
Marinated in a luscious blend of sweet and tangy sauce, these chicken tenders elevate your weeknight dinner from ordinary to extraordinary.
Tender meat nestled beneath a crackling exterior creates a textural symphony that’s hard to resist.
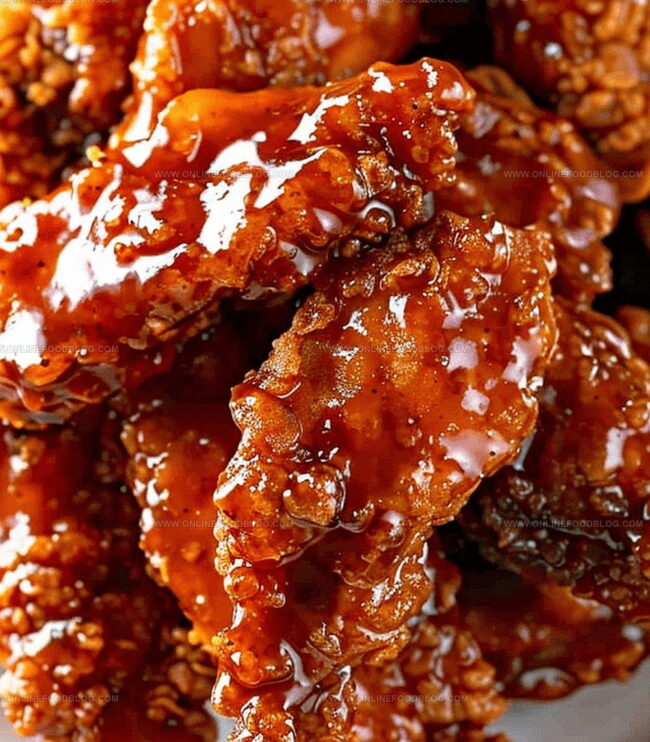
The homemade sauce brings a restaurant-quality experience right to your kitchen.
These chicken tenders are about to become your new go-to meal that everyone will be begging you to make again and again.
Quick Recipe Overview
Crispy Sticky Chicken Tenders Ingredient Guide
For Chicken Base:For Coating Mixture:For Sticky Sauce:Cooking Tools for Sticky Chicken Tenders
Directions for Crispy Sticky Chicken Tenders
Warm up the oven to a toasty 400°F, getting ready for some delicious chicken magic.
Spread out chicken strips on a clean baking sheet, making sure they have room to crisp up perfectly.
Bake the strips for about 18-20 minutes, giving them a quick flip halfway through to ensure even golden browning.
In a saucepan, mix together a flavor-packed blend of spicy and sweet sauces over medium heat, stirring until everything combines into a glossy, delectable coating.
Let the sauce bubble gently, allowing sugars to melt and flavors to intensify for a couple of minutes.
Once chicken is crispy and cooked through, lovingly dunk each strip into the warm sauce, coating every inch with mouthwatering goodness.
Transfer the glistening, saucy chicken to a plate and serve immediately with extra dipping sauce for those who want an extra flavor punch.
Tips for Crispy Coating & Sticky Sauce
Serving Ideas for Sticky Chicken Tenders
Smart Storage for Sticky Chicken Leftovers
Print
Golden Sticky Chicken Tenders Recipe
- Total Time: 30 minutes
- Yield: 5 1x
Description
Crispy sticky chicken tenders showcase Southern comfort with tangy honey-sriracha glaze. Crunchy exterior and juicy interior make this dish irresistible for weeknight dinners you’ll crave again.
Ingredients
- 25 oz (708 g) frozen crispy chicken strips
- 1.5 cups (340 g) brown sugar
- ⅓ cup (80 mL) Frank’s Red Hot Sauce
- 2 tbsps BBQ sauce
- 1 tbsp corn syrup
- 1 tbsp water
- Ranch dressing
- Blue cheese dressing
Instructions
- Preparation: Preheat conventional oven to 400°F (204°C) or air fryer to 385°F (196°C), selecting preferred cooking method.
- Positioning: Arrange chicken tenders in a single layer on an ungreased baking sheet or air fryer basket, ensuring pieces do not overlap or crowd.
- Cooking: Bake chicken tenders for 18-20 minutes in conventional oven or 11-12 minutes in air fryer, rotating midway through cooking to achieve uniform browning and crispy exterior.
- Glaze Creation: Combine hot sauce, brown sugar, barbecue sauce, corn syrup, and water in a medium saucepan, heating over medium-high temperature until mixture reaches a rolling boil.
- Sauce Refinement: Reduce heat to low, simmering for 2-3 minutes until sugar dissolves and sauce develops a glossy, thickened consistency.
- Coating Process: Remove sauce from heat and allow to cool slightly, then carefully dip each cooked chicken tender to ensure complete and even coverage.
- Serving: Transfer sauce-coated chicken tenders to a serving platter, accompanying with additional dipping sauce if desired, and serve immediately while hot and sticky.
Notes
- Maximize Crispiness: Use paper towels to pat chicken tenders completely dry before seasoning to remove excess moisture, ensuring a crunchier exterior.
- Prevent Sauce Burning: Keep sauce on low heat and stir constantly to avoid scorching, which can create bitter flavors and ruin the glaze.
- Layer for Perfect Coating: Dip chicken tenders twice in sauce for extra-glossy, thick sticky layer that clings perfectly to each piece.
- Temperature Matters: Allow chicken to rest 2-3 minutes after cooking before glazing to help sauce adhere better and prevent immediate sauce absorption.
- Prep Time: 10 minutes
- Cook Time: 20 minutes
- Category: Dinner, Snacks
- Method: Baking
- Cuisine: Korean
Nutrition
- Serving Size: 5
- Calories: 543
- Sugar: 43 g
- Sodium: 1130 mg
- Fat: 24 g
- Saturated Fat: 4 g
- Unsaturated Fat: 18 g
- Trans Fat: 0 g
- Carbohydrates: 65 g
- Fiber: 1 g
- Protein: 25 g
- Cholesterol: 50 mg
Mia Reynolds
Food Writer & Home Cooking Specialist
Expertise
Easy Home Baking, Recipe Writing and Storytelling, Local and Seasonal Ingredients, Baking for Beginners
Education
New England Culinary Institute (NECI), Montpelier, Vermont
Community College of Vermont, Winooski, Vermont
Mia Reynolds fell in love with baking as a teenager experimenting in her family kitchen. Her passion took her to New England Culinary Institute, where she learned practical pastry techniques, and later to Community College of Vermont to deepen her understanding of food management.
Mia combines clear, simple baking instructions with heartwarming stories, making home baking approachable for everyone.