Tangy Homemade Cheese Bread (Quick Bread) Recipe
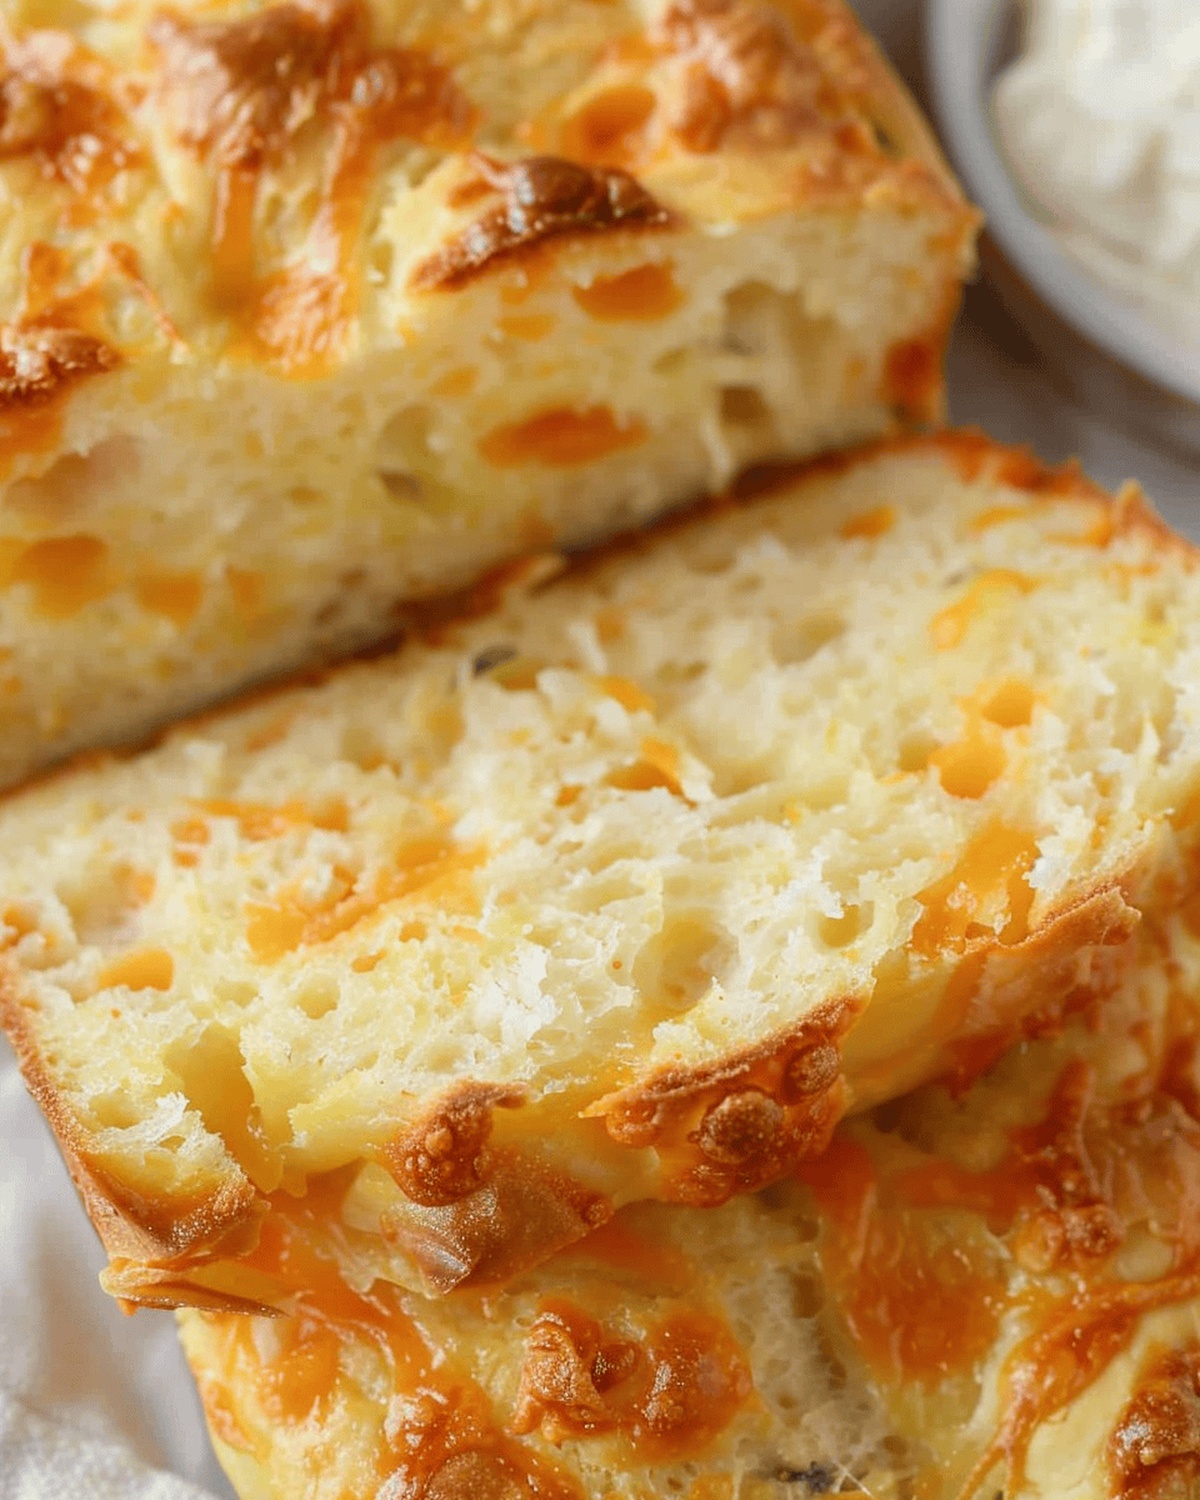
Warm, golden slices of homemade cheese bread waft delightful aromas through kitchens everywhere.
This quick bread recipe delivers a savory twist on traditional baked goods.
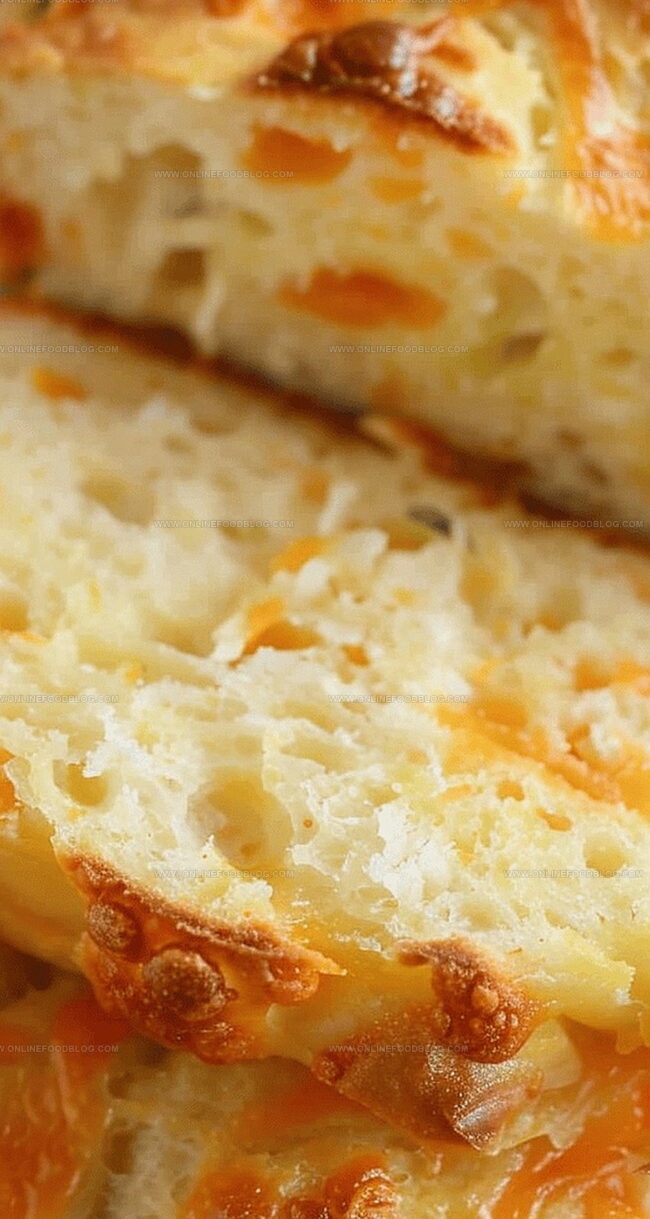
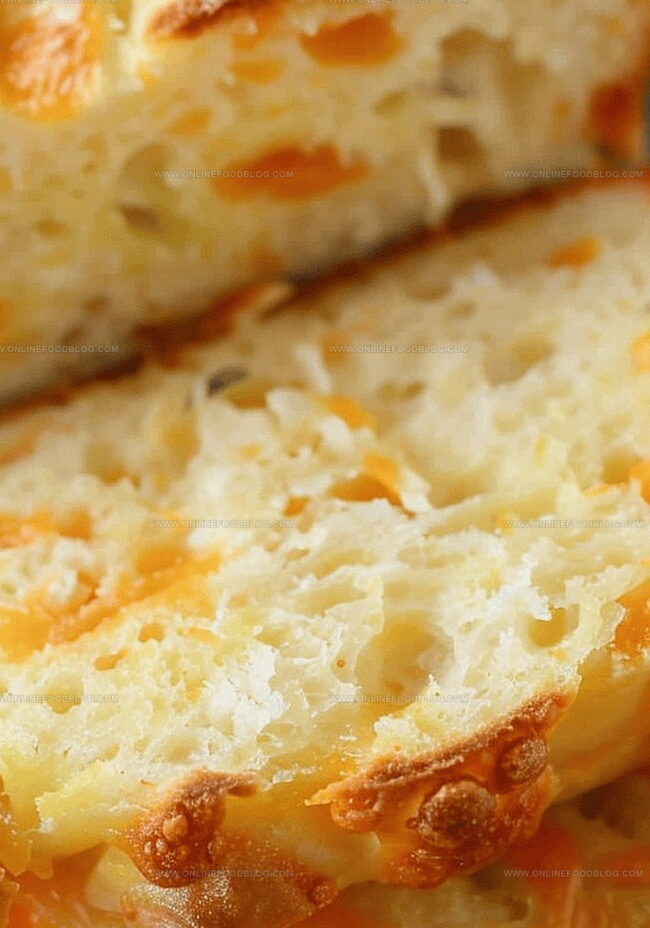
Rich, sharp cheddar melts perfectly into a tender, soft crumb that makes every bite irresistible.
Bakery-style comfort emerges from a simple mixing process that even novice bakers can master.
Each slice promises a delectable combination of tangy cheese and soft, pillowy texture.
Rustic and satisfying, this bread pairs wonderfully with soups, salads, or stands beautifully on its own.
Grab a slice and let the cheese-laden magic transport you to culinary bliss.
Quick Recipe Overview
Cheese Bread Ingredients You’ll Need
For Base Ingredients:For Dairy and Cheese Components:For Fresh and Flavor Boosters:Equipment Essentials for Quick Cheese Bread
Step-by-Step Guide to Baking Cheese Bread
Get your kitchen ready with a clean workspace, mixing bowls, and baking tools. Warm up the oven and grab a loaf pan for this cheesy adventure.
Mix dry ingredients in a spacious bowl, creating a soft cloud of potential deliciousness. Crumble cold butter into the mixture until it looks like sandy texture.
Sprinkle generous amounts of cheddar and parmesan into the flour blend. Toss in some green onions for a zesty kick that will make taste buds dance.
Whip eggs until they become light and fluffy. Introduce milk and a touch of sweetness to create a smooth liquid base that will bind everything together.
Gently fold wet ingredients into dry components. The key is to mix just enough to combine – no aggressive stirring allowed. Treat the batter like a delicate dance partner.
Pour the mixture into your waiting loaf pan. Slide it into a preheated oven and let the magic happen. After about 50 minutes, you’ll have a golden, aromatic cheese bread that screams comfort and flavor.
Flavor Adjustments & Serving Ideas for Cheese Bread
Serving Cheese Bread Fresh from the Oven
Saving Cheese Bread for Another Day
Print
Golden Cheese Bread
- Total Time: 1 hour 5 minutes
- Yield: 9 1x
Description
Brazilian pão de queijo showcases authentic flavors of South American cuisine. Classic cheese bread delivers rich, golden perfection you can savor with each delightful bite.
Ingredients
- 2 cups (480 ml) flour
- 1 cup (240 ml) sharp cheddar, shredded
- 2 large eggs
- 1 cup (240 ml) milk
- 4 tsps baking powder
- 3 tbsps sugar
- ½ tsp salt
- ¼ cup (60 ml) cold butter
- 2 tbsps parmesan cheese, shredded
- 1 green onion, finely chopped
- ⅛ tsp cayenne pepper
Instructions
- Preheat: Warm the oven to 350°F (175°C) and generously grease an 8″ x 4″ loaf pan to prevent adhesion.
- Dry Mixture: Thoroughly blend flour, baking powder, salt, and cayenne pepper in a large mixing bowl, creating a uniform, lightly spiced foundation.
- Butter Integration: Crumble cold butter into the flour mixture using a pastry cutter, working until the texture resembles coarse, uneven granules. Fold in cheddar, parmesan, and green onions, distributing ingredients evenly throughout the dry base.
- Wet Components: Whisk eggs until light and frothy, then incorporate milk and sugar, stirring until the liquid becomes smooth and fully combined.
- Batter Formation: Gently merge wet and dry mixtures with minimal stirring, ensuring ingredients are just moistened to preserve a delicate, tender texture. Avoid overmixing to maintain the bread’s soft consistency.
- Baking Process: Pour the batter into the prepared loaf pan, smoothing the surface evenly. Place in the preheated oven and bake for 50 minutes, verifying doneness by inserting a toothpick – it should emerge clean and dry when the cheese bread is perfectly cooked.
Notes
- Prevent Overmixing: Stir the batter minimally to keep the bread tender and prevent a tough, dense texture.
- Cheese Distribution Tip: Toss cheese and green onions in flour before adding to prevent sinking to the bottom during baking.
- Temperature Matters: Use cold butter and eggs at room temperature for optimal texture and even mixing.
- Doneness Check: A clean toothpick indicates the bread is fully baked; golden edges and a slightly crisp top are additional signs of perfect doneness.
- Prep Time: 15 minutes
- Cook Time: 50 minutes
- Category: Breakfast, Snacks
- Method: Baking
- Cuisine: American
Nutrition
- Serving Size: 9
- Calories: 220
- Sugar: 3 g
- Sodium: 200 mg
- Fat: 10 g
- Saturated Fat: 6 g
- Unsaturated Fat: 4 g
- Trans Fat: 0 g
- Carbohydrates: 25 g
- Fiber: 1 g
- Protein: 7 g
- Cholesterol: 70 mg
Mia Reynolds
Food Writer & Home Cooking Specialist
Expertise
Easy Home Baking, Recipe Writing and Storytelling, Local and Seasonal Ingredients, Baking for Beginners
Education
New England Culinary Institute (NECI), Montpelier, Vermont
Community College of Vermont, Winooski, Vermont
Mia Reynolds fell in love with baking as a teenager experimenting in her family kitchen. Her passion took her to New England Culinary Institute, where she learned practical pastry techniques, and later to Community College of Vermont to deepen her understanding of food management.
Mia combines clear, simple baking instructions with heartwarming stories, making home baking approachable for everyone.