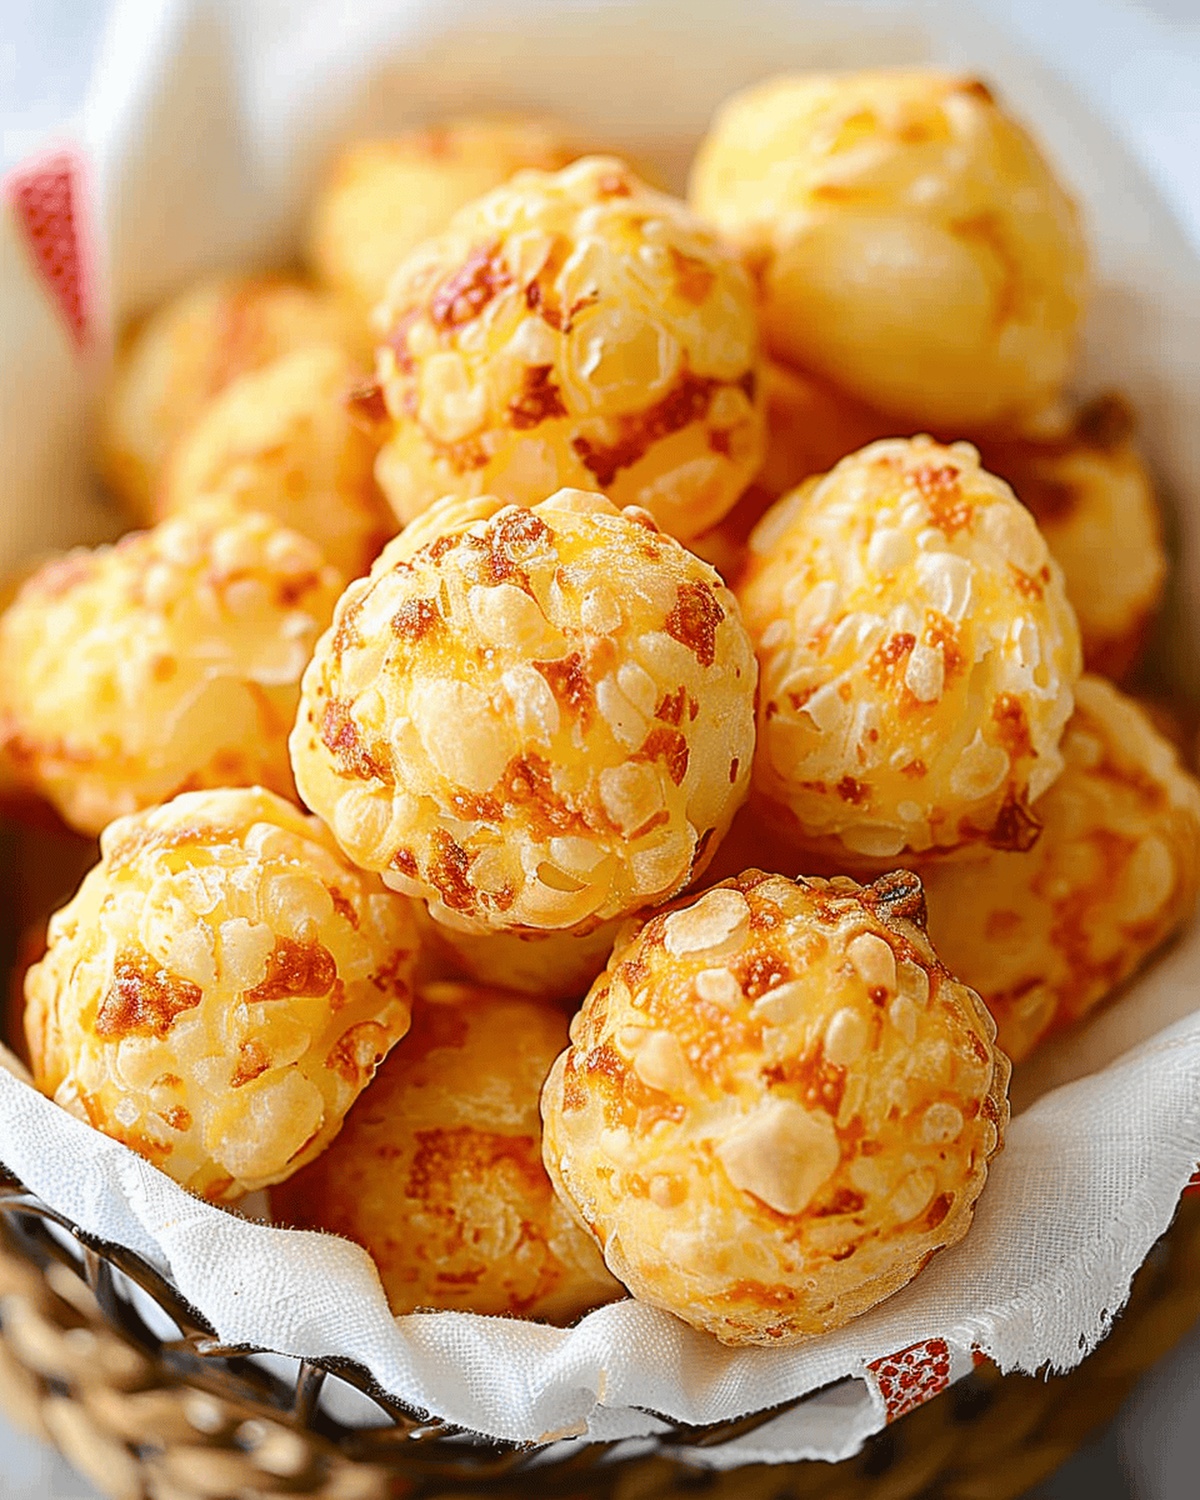
Fluffy Brazilian Cheese Puffs Recipe: Snack Magic
Warm, cheesy, and irresistibly golden, these Brazilian cheese puffs dance with authentic South American flavor.
Pão de queijo has enchanted taste buds across Brazil for generations.
These bite-sized delights burst with rich, cheesy goodness that melts in your mouth.
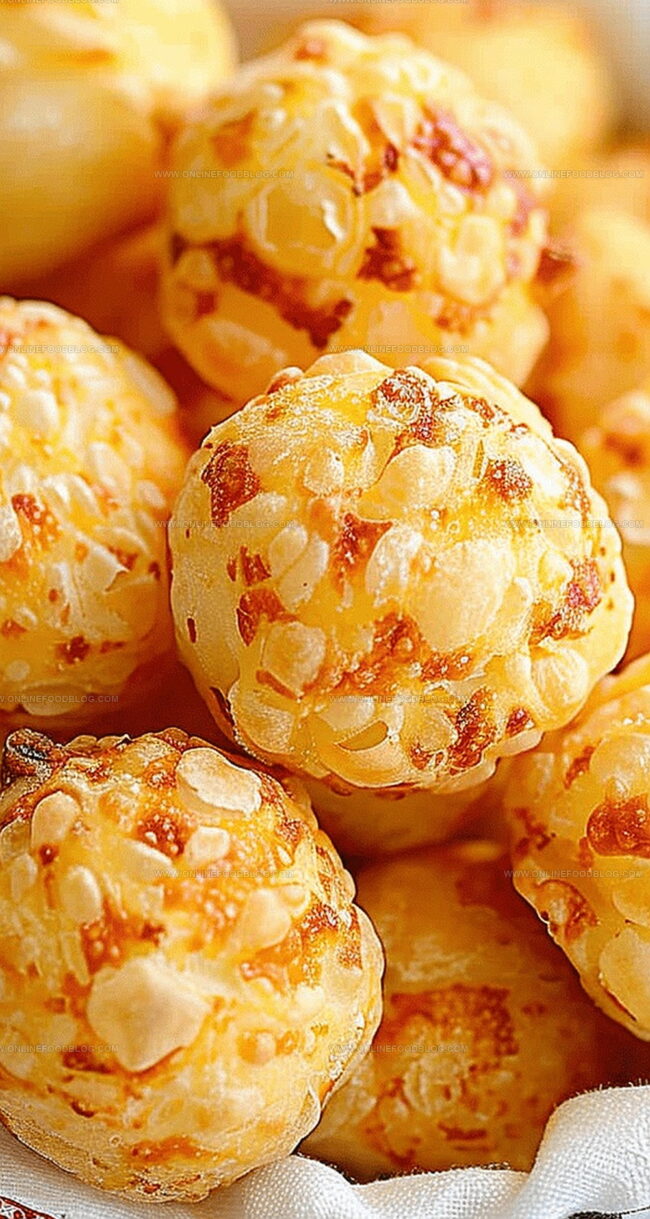
Light and airy, each puff carries a crisp exterior and a soft, stretchy center that speaks to pure comfort.
The recipe combines simple ingredients to create something truly magical.
cheese lovers and adventurous eaters will fall head over heels for this addictive snack that brings a touch of Brazilian street food charm right to your kitchen.
You won’t be able to stop at just one of these delectable little clouds of cheesy perfection.
Quick Recipe Overview
Prep Time:
Ingredients for Brazilian Cheese Puffs You’ll Crave
For Base Ingredients:For Cheese and Flavor Enhancers:For Optional Finishing and Variation:Tools for Baking Pão de Queijo Easily
How to Whip Up a Batch of Cheese Puffs
Brazilian Cheese Clouds
Prepare your kitchen companion by bringing the oven to a cozy temperature. A welcoming environment at the right heat ensures perfect golden puffs will emerge.
Combine milk, oil, and a touch of salt in a pan. Watch carefully as the mixture starts dancing with tiny bubbles, signaling it’s ready for the next transformation.
Sprinkle tapioca flour into the warm liquid, stirring with enthusiasm. The mixture will begin to shift and change, becoming a smooth, exciting dough.
Transfer the dough to a mixer, letting the paddles work their culinary charm. The mixture will slowly transform, becoming silky and relaxed, promising delightful cheese clouds waiting to be born.
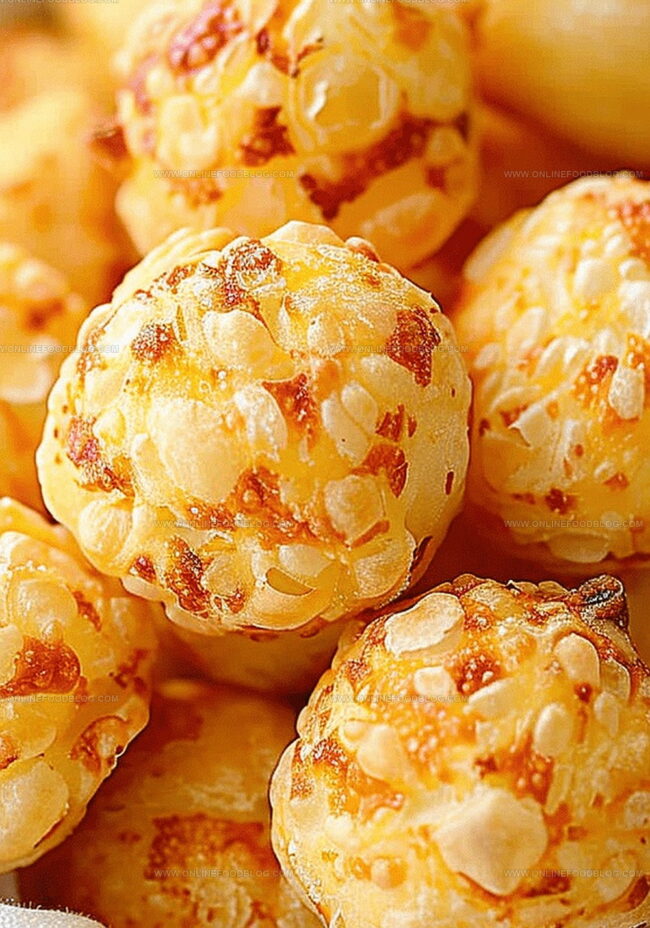
Fold in cheese, creating little balls of pure joy. Each morsel will become a crispy outside, soft inside treasure that melts in your mouth and celebrates Brazilian culinary magic.
Slide your cheese clouds into the warm oven, watching them puff and turn a beautiful golden color. In about 20 minutes, you’ll have irresistible treats that sing with flavor.
Tips to Keep Them Puffy & Flavorful
How to Serve These Cheesy Bites Warm
Freezing and Reheating Cheese Puffs
Print
Crispy Brazilian Cheese Puffs
- Total Time: 0 hours
- Yield: 22 1x
Description
Quick Brazilian cheese puffs blend cheesy goodness with crisp exteriors and tender centers. Pão de queijo offers a delightful gluten-free snack that welcomes you to savor Brazil’s culinary charm.
Ingredients
- 10 oz (280 g) tapioca flour
- 1 ½ cups (360 ml) Parmesan cheese, grated
- 2 large eggs
- 1 cup (240 ml) whole milk
- ½ cup (120 ml) vegetable oil
- 1 tsp salt
Instructions
- Liquid Preparation: Combine milk, oil, and salt in a saucepan, heating until bubbles emerge, then immediately remove from direct heat.
- Dough Formation: Rapidly integrate tapioca flour into the hot liquid, stirring energetically until a smooth, cohesive dough develops, transforming the mixture into a unified consistency.
- Mixer Integration: Transfer the warm dough to a stand mixer, using the paddle attachment to blend and equilibrate the texture, working at medium speed to create a uniform base.
- Egg Incorporation: Methodically add eggs, one at a time, ensuring complete integration and developing an elastic, glossy dough that becomes progressively smoother with each addition.
- Cheese Blending: Gently fold cheese into the prepared dough, distributing evenly to create a slightly textured mixture with consistent cheese throughout.
- Portioning and Arrangement: Scoop uniform dough portions onto parchment-lined baking sheets, positioning mounds with slight separation to accommodate expansion during baking.
- Baking Process: Position baking sheets in a preheated oven, strategically placing racks to ensure balanced heat distribution and optimal golden-brown transformation.
- Final Presentation: Bake until cheese puffs achieve a crisp exterior and pillowy interior, developing a rich golden color that signals perfect doneness, approximately 15-20 minutes. Allow brief resting before serving to enhance texture and flavor.
Notes
- Precise Flour Handling: Use tapioca flour exclusively; regular wheat flour won’t create the signature light, airy texture of Brazilian cheese puffs.
- Temperature Control: Remove milk mixture from heat immediately after bubbles form to prevent scorching and maintain precise dough consistency.
- Egg Integration Technique: Add eggs gradually and mix thoroughly to achieve a smooth, elastic dough that guarantees perfect puff structure.
- Cheese Selection Matters: Choose a sharp, aged cheese like Parmesan or Cheddar for maximum flavor intensity and authentic Brazilian cheese puff experience.
- Cook Time: 0 minutes
- Category: Appetizer, Snacks
- Method: Baking
- Cuisine: Brazilian
Nutrition
- Serving Size: 22
- Calories: 155
- Sugar: 1 g
- Sodium: 117 mg
- Fat: 10 g
- Saturated Fat: 3 g
- Unsaturated Fat: 7 g
- Trans Fat: 0 g
- Carbohydrates: 12 g
- Fiber: 0 g
- Protein: 4 g
- Cholesterol: 33 mg
Mia Reynolds
Food Writer & Home Cooking Specialist
Expertise
Easy Home Baking, Recipe Writing and Storytelling, Local and Seasonal Ingredients, Baking for Beginners
Education
New England Culinary Institute (NECI), Montpelier, Vermont
Community College of Vermont, Winooski, Vermont
Mia Reynolds fell in love with baking as a teenager experimenting in her family kitchen. Her passion took her to New England Culinary Institute, where she learned practical pastry techniques, and later to Community College of Vermont to deepen her understanding of food management.
Mia combines clear, simple baking instructions with heartwarming stories, making home baking approachable for everyone.