Golden Apple Pie Bars Recipe

Heavenly Apple Pie Bars Recipe: Effortless Sweet Treats

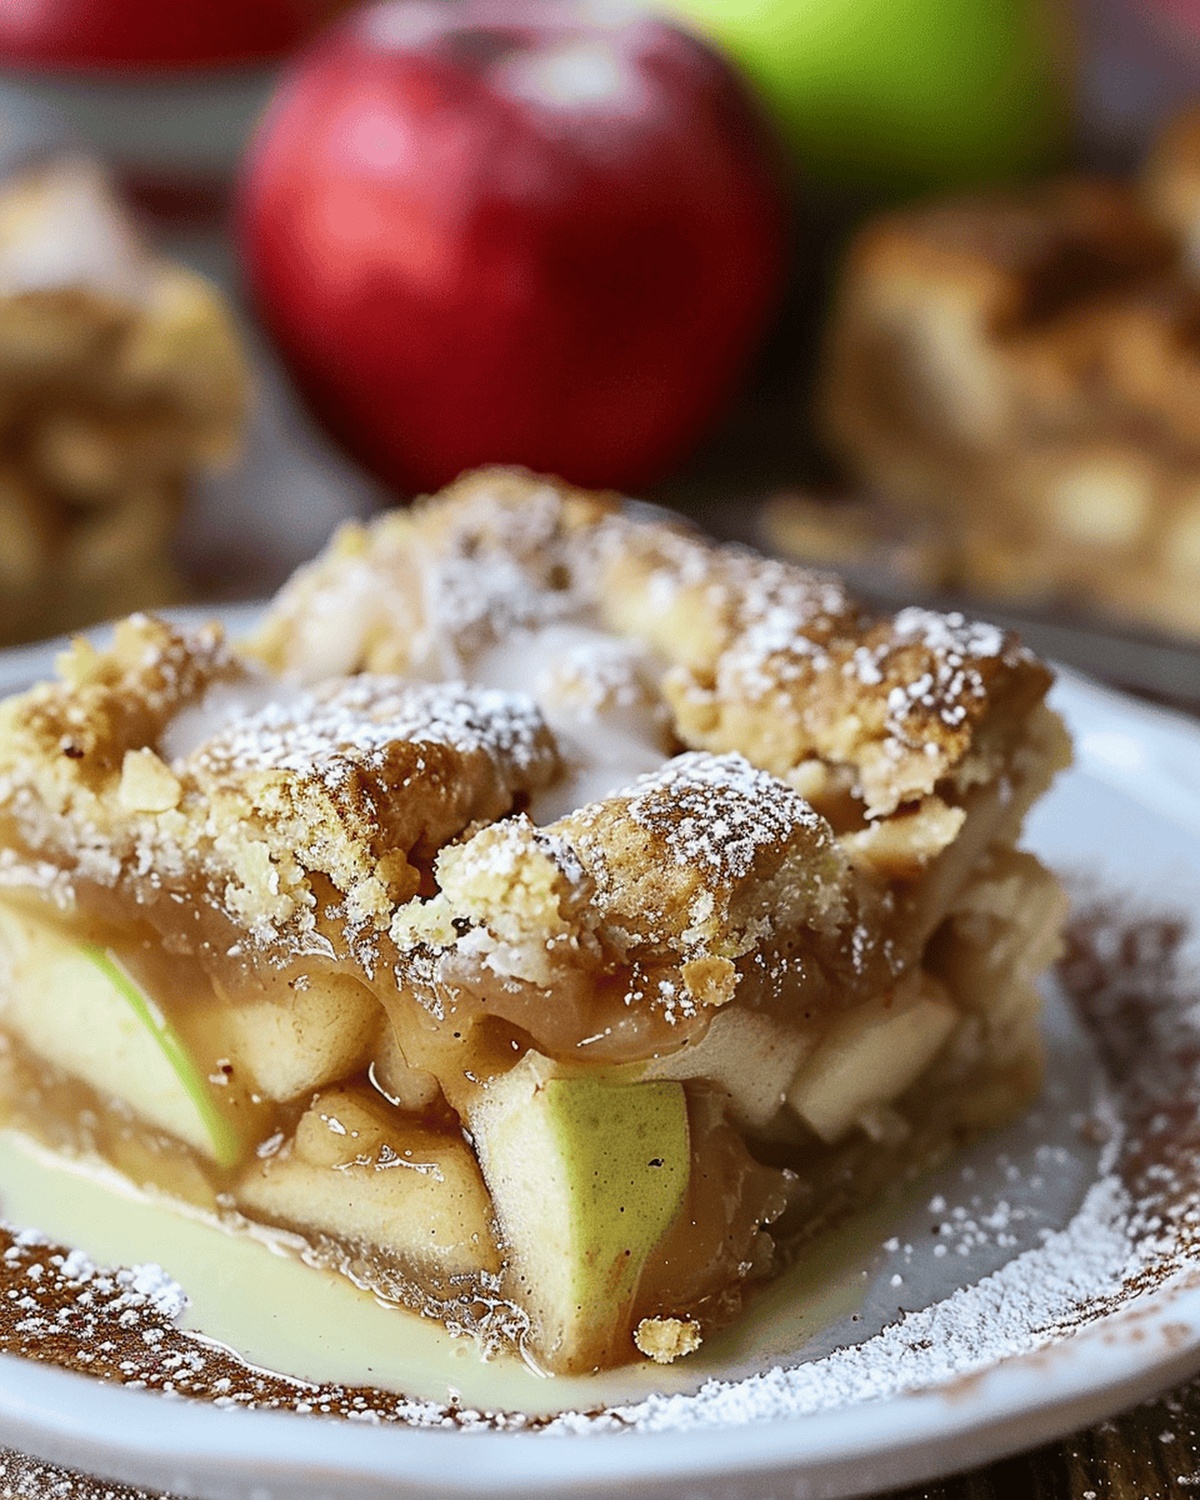
Sweet, buttery, and bursting with cinnamon-spiced apple pie bars offer a delightful twist on the classic dessert.

These golden-brown treats capture the essence of homemade comfort in every single bite.

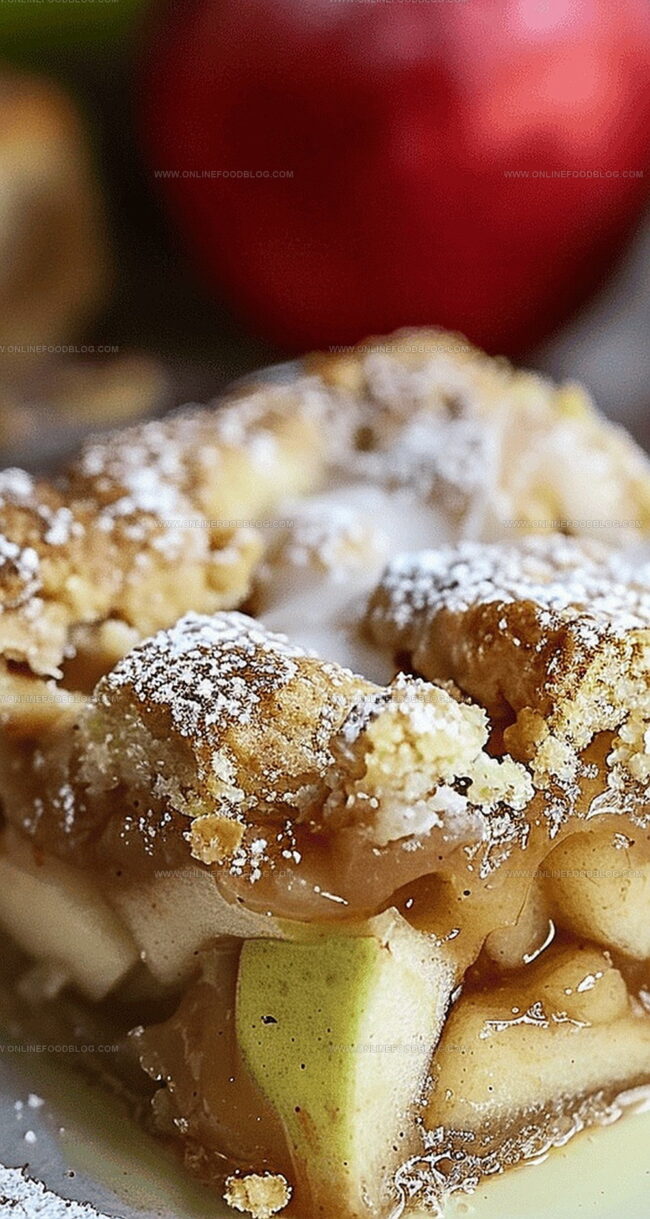
Crisp autumn apples nestled between a tender, crumbly crust create a mouthwatering melody of flavors.

Each bar promises a perfect balance of sweet and tangy notes that dance across your palate.

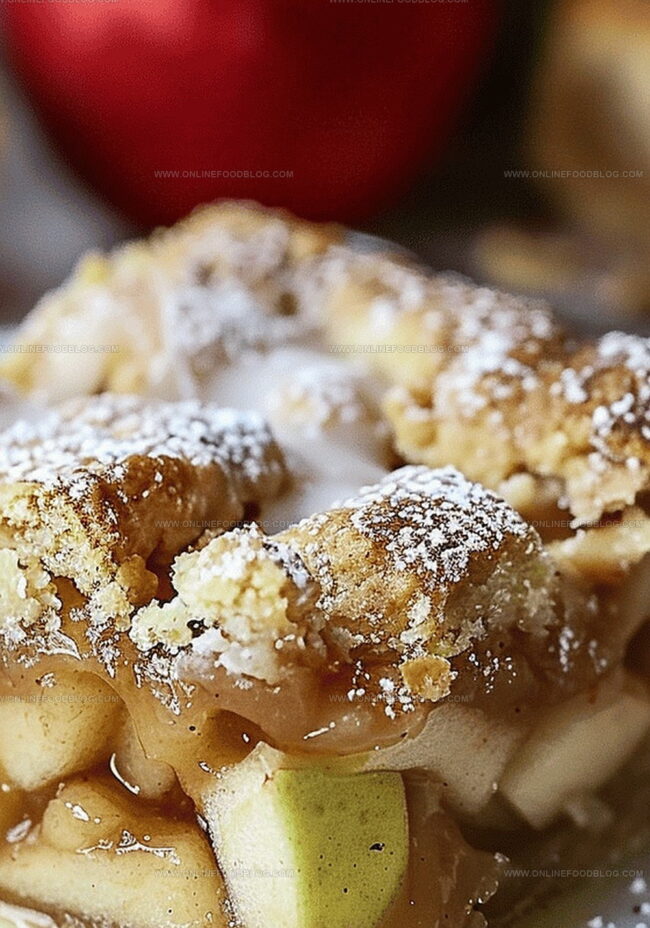
The rich, flaky pastry complements the soft, caramelized apple filling, making this dessert irresistibly delectable.

Warm spices and a golden-brown topping guarantee a dessert that’ll have everyone asking for seconds.

Dive into this irresistible recipe and let your taste buds celebrate the magic of a timeless favorite.

Quick Recipe Overview

Prep Time: 20 minutes

Cook Time: 55 minutes

Total Time: 75 minutes

Calories: 295 kcal

Servings: 13

Ingredients That Make Apple Pie Bars Special

For Crust and Topping:
  • Cookie Mix: Provides a quick, convenient base with rich buttery flavor and crumbly texture.
  • Egg: Binds ingredients together, creating a tender and cohesive dough structure.
  • Butter: Adds richness, moisture, and helps create a golden, crisp crust.
  • Cinnamon Mixture: Offers warm, aromatic spice that complements the apple filling.
  • Sugar: Enhances sweetness and helps create a caramelized, crispy top layer.
For Fruit Filling:
  • Apple Pie Filling: Delivers a luscious, sweet-tart apple experience with soft, tender fruit pieces.
For Finishing Glaze:
  • Milk: Adjusts glaze consistency, creating a smooth, drizzleable topping.
  • Glaze: Provides a sweet, glossy finish that adds extra indulgence to the dessert.

Tools for Baking Perfect Apple Pie Bars

  • 8×8 Baking Dish: Essential square pan for perfectly shaped bars.
  • Large Mixing Bowl: Needed for combining cookie mix, egg, and butter.
  • Small Bowl: Perfect for mixing glaze and cinnamon sugar mixture.
  • Measuring Cups and Spoons: Crucial for accurate ingredient quantities.
  • Spatula or Wooden Spoon: Great for mixing dough and spreading ingredients.
  • Cooling Rack: Helps bars cool evenly and prevent soggy bottoms.
  • Sharp Knife: Used for cutting bars into clean, precise squares.

How to Make Apple Pie Bars Step-by-Step

Sweet Apple Comfort

  • Warm Kitchen Setup Kitchen ready with clean surfaces and preheated oven.
  • Dough Foundation Blend soft cookie mix with creamy butter and fresh egg until smooth texture forms.
  • Base Layer Press most of prepared mixture into greased baking pan, creating solid foundation.
  • Apple Magic Spread delicious apple filling generously across initial layer.
  • Crumbly Topping Scatter remaining dough pieces across apple landscape.
  • Spice Sprinkle Dust cinnamon sugar mixture over entire dessert surface.
  • Baking Adventure Place pan in hot oven, allowing golden transformation for about 50-55 minutes.
  • Cooling Moment Let dessert rest completely at room temperature.
  • Sweet Finish Whip together simple glaze, drizzling delicately across cooled bars.
  • Serving Delight Cut into beautiful squares, ready for family enjoyment.

Pro Tips & Flavor Swaps for Pie Bars

  • Dice 2-3 fresh Granny Smith or Honeycrisp apples instead of using pre-made filling for a homemade touch and extra texture.
  • Sprinkle chopped walnuts or pecans over the top layer for delightful crunch and rich, earthy flavor.
  • Enhance the cinnamon mixture with ground nutmeg or cardamom to create a more complex, warm spice profile.
  • Use a gluten-free cookie mix and ensure all ingredients are certified gluten-free for those with dietary restrictions.

Serving Ideas for Warm or Chilled Apple Bars

  • Picnic Perfect Treat: Pack these bars for outdoor gatherings, potlucks, or family reunions where portable desserts are a hit.
  • Dessert Companion Delight: Serve warm with a scoop of vanilla ice cream or a dollop of whipped cream to elevate the flavor profile and add a creamy contrast.
  • Coffee Break Indulgence: Pair with a hot cappuccino or chai latte for an afternoon sweet moment that transforms your regular coffee break into a special experience.
  • Festive Holiday Option: Slice into bite-sized pieces for holiday parties, making them easy to share and enjoy during Christmas or Thanksgiving celebrations.

Storing Apple Pie Bars Without Losing Texture

  • Fridge Fresh Technique: Store apple pie bars in an airtight container in the refrigerator for up to 5 days. Chilled bars maintain their delicious texture and prevent rapid spoilage.
  • Make-Ahead Magic: Prepare the entire batch 1-2 days before serving. This allows flavors to meld and develop a richer taste profile, making your dessert even more delectable.
  • Freezer-Friendly Option: Wrap individual bars tightly in plastic wrap, then place in a freezer-safe container. Frozen bars can last up to 3 months. Thaw overnight in the refrigerator for best results.
  • Serving Smart Tip: Remove bars from the refrigerator 15-20 minutes before serving to soften slightly. Room temperature treats always taste more indulgent and have a more satisfying texture.
Print
clock clock iconcutlery cutlery iconflag flag iconfolder folder iconinstagram instagram iconpinterest pinterest iconfacebook facebook iconprint print iconsquares squares iconheart heart iconheart solid heart solid icon
Golden Apple Pie Bars Recipe

Golden Apple Pie Bars


5 Stars 4 Stars 3 Stars 2 Stars 1 Star

4.6 from 17 reviews

  • Total Time: 75 minutes
  • Yield: 13 1x

Description

Delightful apple pie bars showcase classic American dessert flavors in a convenient handheld treat. Sweet cinnamon-spiced apples nestled between buttery crumble layers create a simple yet irresistible bakery-style experience you can savor.


Ingredients

Scale
  • 21 oz (595 g) canned apple pie filling
  • 17.5 oz (496 g) Krusteaz snickerdoodle cookie mix
  • ½ cup (113 g) butter, room temperature
  • 1 egg, beaten
  • ½ cup (60 g) powdered sugar
  • 12 tbsps milk (mix to desired consistency)
  • Reserved cinnamon mixture from Krusteaz snickerdoodle cookie mix

Instructions

  1. Prep Station: Grease an 8×8 inch baking pan and preheat the oven to 350°F (175°C), ensuring all ingredients and tools are readily accessible.
  2. Crust Formation: Thoroughly mix the cookie base with egg and melted butter, kneading until a uniform, pliable pastry dough forms, creating a solid foundation for the dessert.
  3. Base Layer: Press two-thirds of the prepared dough evenly across the pan’s bottom, creating a smooth, consistent base that will support the apple filling.
  4. Filling Distribution: Spread the apple pie filling comprehensively over the dough layer, ensuring complete and even coverage for maximum flavor integration.
  5. Topping Technique: Crumble the remaining dough across the apple filling, generating a rustic, textured surface that will provide visual and textural contrast.
  6. Flavor Enhancement: Sprinkle the reserved cinnamon-sugar mixture generously over the top, intensifying the dessert’s aromatic and sweet profile.
  7. Baking Process: Slide the pan into the preheated oven and bake for 50-55 minutes, monitoring until the surface achieves a golden-brown hue and emits a tantalizing aroma.
  8. Cooling and Finishing: Allow the baked creation to cool completely at room temperature, enabling the layers to set and flavors to meld harmoniously.
  9. Glaze Preparation: Craft a smooth, drizzle-friendly glaze by gradually incorporating milk until reaching the ideal consistency for elegant decoration.
  10. Final Presentation: Drizzle the prepared glaze across the cooled dessert and slice into individual square servings, ready to delight eager palates.

Notes

  • Prepare Precisely: Use an 8×8 inch baking pan for consistent bar thickness and even baking results.
  • Dough Distribution Technique: Press two-thirds of the dough firmly to create a stable, compact base that prevents crumbling.
  • Apple Filling Strategy: Spread apple mixture evenly to ensure each bar contains a balanced amount of fruit and flavor.
  • Cooling Critical: Allow bars to cool completely before adding glaze to prevent runny, absorbed topping and maintain crisp texture.
  • Prep Time: 20 minutes
  • Cook Time: 55 minutes
  • Category: Desserts, Snacks
  • Method: Baking
  • Cuisine: American

Nutrition

  • Serving Size: 13
  • Calories: 295
  • Sugar: 22 g
  • Sodium: 205 mg
  • Fat: 14 g
  • Saturated Fat: 8 g
  • Unsaturated Fat: 6 g
  • Trans Fat: 0 g
  • Carbohydrates: 39 g
  • Fiber: 1 g
  • Protein: 2 g
  • Cholesterol: 36 mg
Mia Reynolds

Mia Reynolds

Food Writer & Home Cooking Specialist

Expertise

Easy Home Baking, Recipe Writing and Storytelling, Local and Seasonal Ingredients, Baking for Beginners

Education

New England Culinary Institute (NECI), Montpelier, Vermont

  • Certificate: Baking and Pastry Arts Certificate
  • Focus: Hands-on baking skills, pastry basics, and creating delicious, approachable baked goods.

Community College of Vermont, Winooski, Vermont

  • Degree: Certificate in Food and Beverage Management
  • Focus: Essential knowledge of recipe development, ingredient sourcing, and food business basics.

Mia Reynolds fell in love with baking as a teenager experimenting in her family kitchen. Her passion took her to New England Culinary Institute, where she learned practical pastry techniques, and later to Community College of Vermont to deepen her understanding of food management.

Mia combines clear, simple baking instructions with heartwarming stories, making home baking approachable for everyone.

Leave a Reply

Your email address will not be published. Required fields are marked *

Recipe rating 5 Stars 4 Stars 3 Stars 2 Stars 1 Star