
Fudgy Chocolate Brownies Recipe: Sweet Bliss in Every Bite
Rich, decadent chocolate brownies that melt in your mouth can satisfy even the most intense sweet craving.
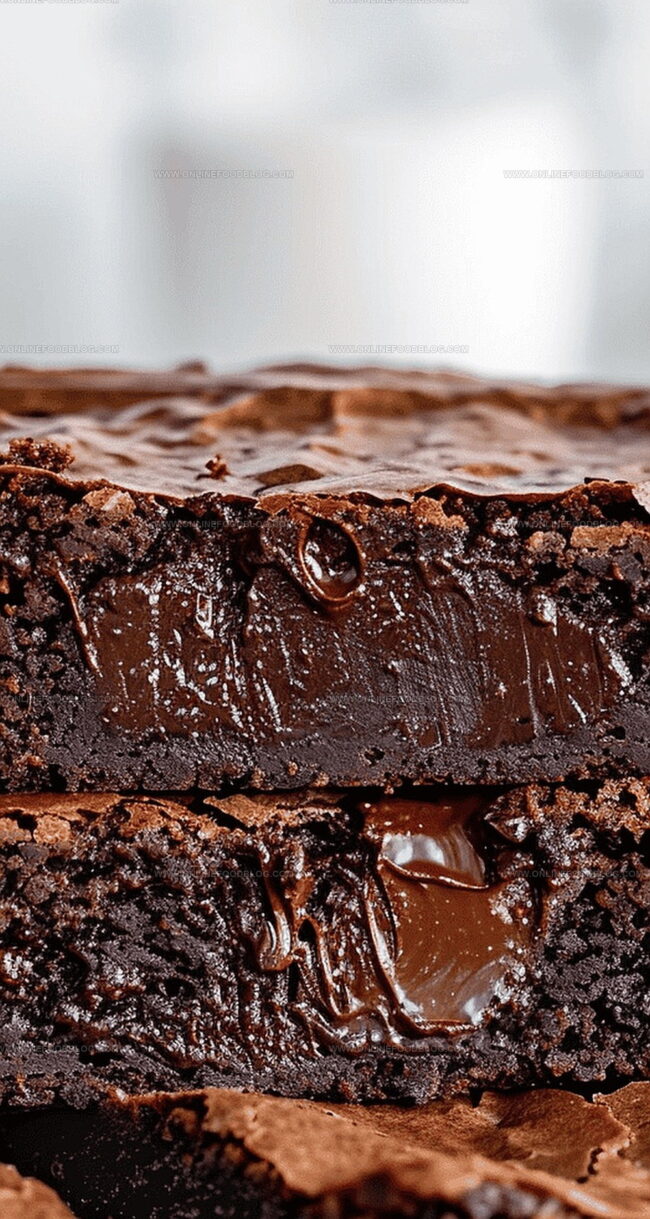
These fudgy delights pack an irresistible punch of chocolate flavor that makes dessert lovers swoon.
Every bite promises a perfect balance of dense, moist texture and deep cocoa richness.
The secret to incredible brownies lies in selecting high-quality chocolate and mixing ingredients with care.
Bakers who master this simple recipe will impress anyone lucky enough to taste these divine squares.
Simple ingredients combine to create a dessert that feels both nostalgic and luxurious.
You’ll want to grab a plate and savor every delectable morsel of these indulgent treats.
Quick Recipe Overview
What You’ll Need for Classic Chocolate Brownies
For Chocolate and Butter:For Dry Ingredients:For Sweet and Binding Elements:Baking Tools That Help Get the Texture Just Right
Chocolate Brownie Instructions, Step-by-Step
Get ready to transform your kitchen into a chocolate wonderland with this decadent brownie adventure. Gather your favorite baking tools and chocolate companions.
Create a silky chocolate base by gently melting chocolate and butter. Use short microwave bursts or a double boiler, stirring until everything transforms into a smooth, glossy mixture.
Blend the melted chocolate with sugar, vanilla, and eggs. Whisk with passion until the mixture becomes rich and velvety, promising delicious results.
Softly fold flour, cocoa, and salt into the liquid chocolate. Mix carefully to keep the batter tender and avoid overmixing. Sprinkle in extra chocolate chips for surprise bursts of sweetness.
Pour the luscious batter into a lined pan, spreading evenly. Bake until the top looks set and a toothpick reveals moist, fudgy crumbs.
Allow brownies to cool completely in the pan. This patience ensures perfect cutting and maximum flavor development. Slice into squares and enjoy your chocolate masterpiece.
Mix-Ins and Flavor Boosts for Brownies
Serving Ideas for That Chocolate Craving
Brownie Storage That Preserves Fudginess
Print
Fudgy Chocolate Brownies Recipe
- Total Time: 45 minutes
- Yield: 17 1x
Description
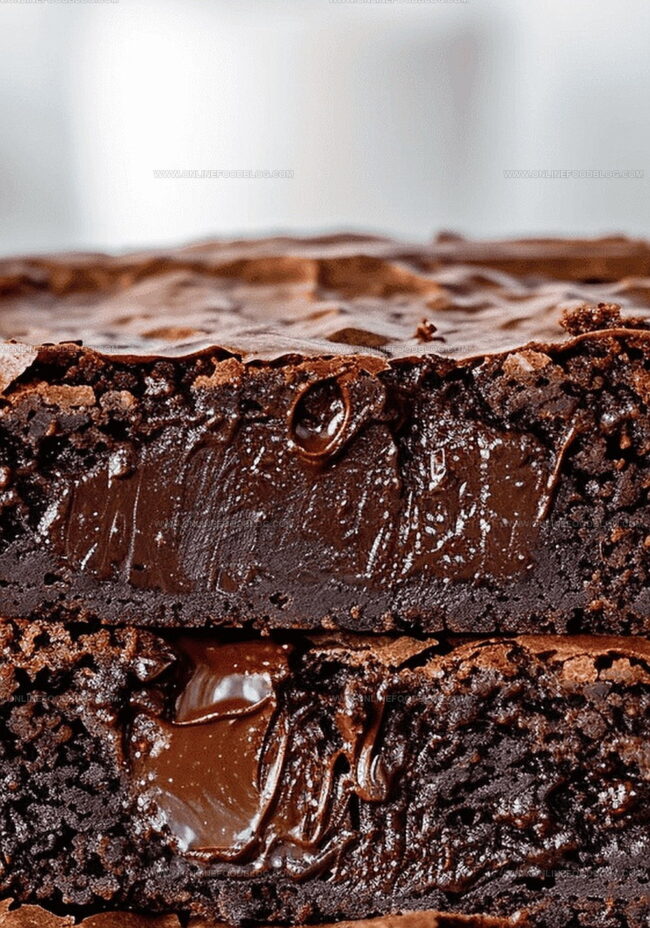
Rich chocolate brownies deliver pure indulgence with deep cocoa flavor and fudgy texture. Dark chocolate and butter create a luxurious dessert home bakers can master easily.
Ingredients
- 4 oz (112 g) dark chocolate, 50-70%
- ½ cup (112 g) unsalted butter
- 2 large eggs
- 1 large egg yolk
- 1 cup (200 g) granulated sugar
- 6 tbsps (47 g) all-purpose flour
- ⅓ cup (33 g) cocoa powder
- ¼ tsp salt
- 1 tsp vanilla extract
- ¾ cup (about 120 g) chocolate chips
Instructions
- Preparation: Calibrate oven to 350°F (175°C) and fortify an 8×8 inch baking vessel with parchment paper, allowing excess paper to drape over edges for effortless extraction.
- Chocolate Fusion: Pulverize chocolate into minute fragments. Amalgamate chocolate and butter in a microwave-safe receptacle, liquefying through intermittent heating, stirring until transforming into a silken emulsion.
- Batter Formation: Vigorously integrate melted chocolate mixture with sugar, vanilla, eggs, ensuring a lustrous, homogeneous composition. Sift flour, cocoa powder, and salt directly into liquid components, tenderly incorporating until achieving a uniform texture without vestiges of dry ingredients.
- Enhancement: Cascade chocolate chips throughout batter, ensuring balanced distribution. Migrate mixture into prepared pan, sculpting a level terrain with a resilient spatula.
- Thermal Transformation: Roast in preheated oven for 25-30 minutes, monitoring until surface stabilizes and central probe emerges with minimal moisture.
- Refinement: Permit brownies to equilibrate at ambient temperature for minimum two hours, facilitating structural consolidation. Leverage parchment margins to liberate brownie matrix, dissecting into geometrically precise segments using a razor-sharp blade, sanitizing between each incision.
Notes
- Chocolate Melting Mastery: Use medium power in the microwave to prevent burning, stirring frequently for smooth, glossy chocolate. Double boiler method works perfectly for more controlled melting.
- Egg Temperature Trick: Use room temperature eggs for better batter incorporation and smoother texture, ensuring even mixing and rich consistency.
- Folding Technique Matters: Gently fold dry ingredients to maintain air pockets, preventing dense brownies. Stop mixing as soon as no flour streaks remain to keep the texture light and fudgy.
- Cooling is Crucial: Let brownies cool completely for at least 2 hours to set properly. Cutting too early will result in crumbly, messy squares that fall apart.
- Prep Time: 15 minutes
- Cook Time: 30 minutes
- Category: Desserts, Snacks
- Method: Baking
- Cuisine: American
Nutrition
- Serving Size: 17
- Calories: 210
- Sugar: 14 g
- Sodium: 70 mg
- Fat: 12 g
- Saturated Fat: 7 g
- Unsaturated Fat: 4 g
- Trans Fat: 0 g
- Carbohydrates: 26 g
- Fiber: 1 g
- Protein: 3 g
- Cholesterol: 60 mg
Mia Reynolds
Food Writer & Home Cooking Specialist
Expertise
Easy Home Baking, Recipe Writing and Storytelling, Local and Seasonal Ingredients, Baking for Beginners
Education
New England Culinary Institute (NECI), Montpelier, Vermont
Community College of Vermont, Winooski, Vermont
Mia Reynolds fell in love with baking as a teenager experimenting in her family kitchen. Her passion took her to New England Culinary Institute, where she learned practical pastry techniques, and later to Community College of Vermont to deepen her understanding of food management.
Mia combines clear, simple baking instructions with heartwarming stories, making home baking approachable for everyone.