Dive into a world of decadent chocolate bliss with these irresistible banana bliss brownies that promise pure indulgence.
Moist, rich, and packed with deep banana flavor, this recipe takes classic brownies to new heights of deliciousness.
The combination of ripe bananas and smooth chocolate creates a magical dessert that melts in your mouth.
Soft, fudgy edges and a tender center make these brownies impossible to resist.
Each bite delivers a perfect balance of sweet banana and intense chocolate that will have everyone asking for seconds.
The secret lies in using perfectly ripened bananas and high-quality cocoa.
Grab your mixing bowl and get ready to bake the most incredible brownies you’ve ever tasted.
Quick Recipe Overview
Prep Time: 15 minutes
Cook Time: 50 minutes
Total Time: 1 hour 5 minutes
Calories: 199 kcal
Servings: 13
Banana Brownies – Ingredient Rundown
For Wet Ingredients:
Egg: Provides structure and richness, choose fresh large eggs at room temperature for better incorporation.
Banana: Adds natural sweetness and moisture, select ripe bananas with brown spots for maximum flavor intensity.
Sugar: Balances sweetness and caramelizes during baking, opt for granulated white sugar for consistent results.
Vanilla Extract: Enhances overall flavor complexity, use pure vanilla extract for the best aromatic depth.
Olive Oil: Creates a smooth texture and adds subtle fruity undertones, choose extra virgin for superior quality.
Chocolate Chips: Delivers rich chocolate essence, select high-quality dark or semi-sweet chips for deep flavor.
For Dry Ingredients:
Cocoa Powder: Intensifies chocolate profile, use unsweetened Dutch-processed cocoa for smoother taste.
All-Purpose Flour: Provides structural foundation, ensure fresh and properly stored flour for optimal texture.
Salt: Amplifies and balances other flavors, use fine sea salt for even distribution.
Baking Powder: Ensures proper rising and lightness, check freshness by testing its active status.
For Topping/Mix-In:
Walnuts: Adds crunch and nutty complexity, toast briefly for enhanced flavor and select fresh, crisp nuts.
Tools for Baking Banana Brownies
Stand Mixer: Essential for whipping egg and sugar to a light, fluffy consistency.
Microwave-Safe Bowl: Perfect for melting chocolate chips and olive oil smoothly.
8×8-inch Metal Baking Pan: Ideal size for creating perfectly thick brownies.
Parchment Paper: Helps easily remove brownies from the pan without sticking.
Sifter or Fine Mesh Strainer: Ensures dry ingredients are lump-free and well-combined.
Measuring Cups and Spoons: Crucial for accurate ingredient proportions.
Wooden Spoon or Spatula: Great for folding in walnuts and mixing batter.
Toothpick: Helps check brownie doneness by testing for moist crumbs.
Knife: Used for cutting cooled brownies into neat squares.
Bake Banana Brownies in Simple Steps
Oven Preparation Cozy workspace for transforming ingredients into delectable treats, setting temperature to warm and welcoming 325°F while readying a metal baking pan with protective non-stick layers.
Chocolate Magic Delicate chocolate transformation happens through gentle microwaving, creating smooth liquid gold by melting morsels with silky olive oil in careful intervals.
Egg Whisking Dance Energetic blending of egg and sugar creates a fluffy, pale canvas that will become the foundation of incredible brownies, whipping until texture becomes luxuriously thick.
Banana Fusion Soft, ripe bananas merge with vanilla, introducing natural sweetness and moisture, then marrying seamlessly with melted chocolate mixture.
Dry Ingredient Symphony Cocoa powder and complementary dry ingredients sift together, gently folding into wet mixture, creating a velvety batter without overworking.
Nutty Accent Optional walnut pieces provide delightful crunch, sprinkled lovingly across top and throughout brownie landscape.
Baking Transformation Oven works its magic, transforming batter into rich, decadent squares, watching carefully until toothpick reveals perfect moistness.
Cooling Patience Allowing brownies to rest and settle, creating perfect texture before slicing into tempting squares of pure comfort.
Customize Your Banana Brownies
Replace walnuts with pecans, almonds, or chocolate chips for a personalized twist that adds crunch and flavor.
Use overripe bananas for deeper sweetness and more intense banana flavor in your brownies.
Substitute olive oil with coconut oil or vegan butter to create a delicious dairy-free version of this decadent treat.
Keep brownies fresh by storing in an airtight container at room temperature for up to 4 days, or freeze for up to 3 weeks for longer enjoyment.
How to Serve Banana Brownies Warm
Pair with Creamy Companions: Serve these luscious brownies alongside a scoop of vanilla bean ice cream or a dollop of whipped cream for a decadent dessert experience.
Drizzle with Delightful Sauce: Enhance the brownie’s richness by adding a warm caramel or chocolate sauce that cascades over the top, creating an irresistible treat.
Garnish with Nutty Crunch: Sprinkle additional chopped walnuts or toasted pecans over the brownies to add a delightful textural contrast and nutty flavor profile.
Create Dessert Platter Magic: Arrange the brownies on a beautiful serving board with fresh berries, a light dusting of powdered sugar, and a few mint leaves for an elegant presentation.
Store Banana Brownies Properly
Maximize Freshness: Store brownies in an airtight container at room temperature for 3-4 days, keeping them soft and delicious.
Freeze for Future Cravings: Wrap individual brownies in plastic wrap, then place in a freezer-safe bag. They’ll stay fresh for up to 3 months.
Revive Refrigerated Treats: Warm slightly in the microwave for 10-15 seconds to restore that fresh-from-the-oven softness and enhance banana flavor.
Quick Meal Prep Tip: Slice brownies before freezing for easy grab-and-go snacks or dessert portions that thaw quickly at room temperature.
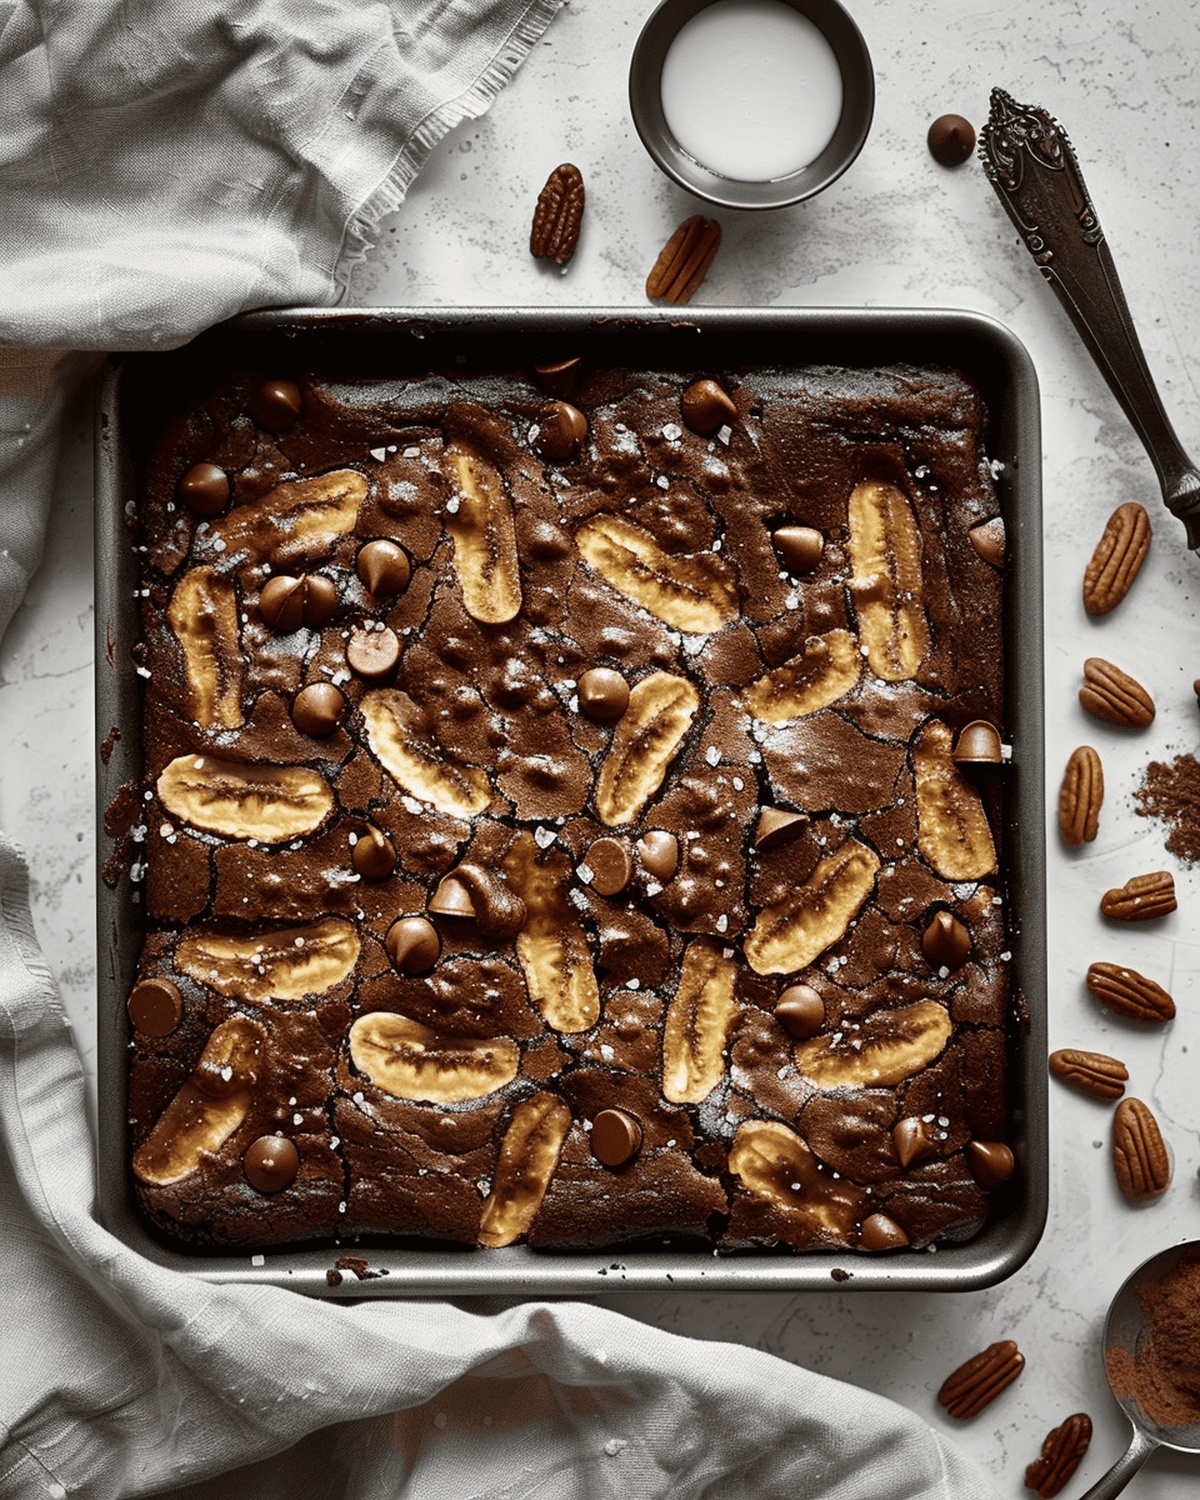
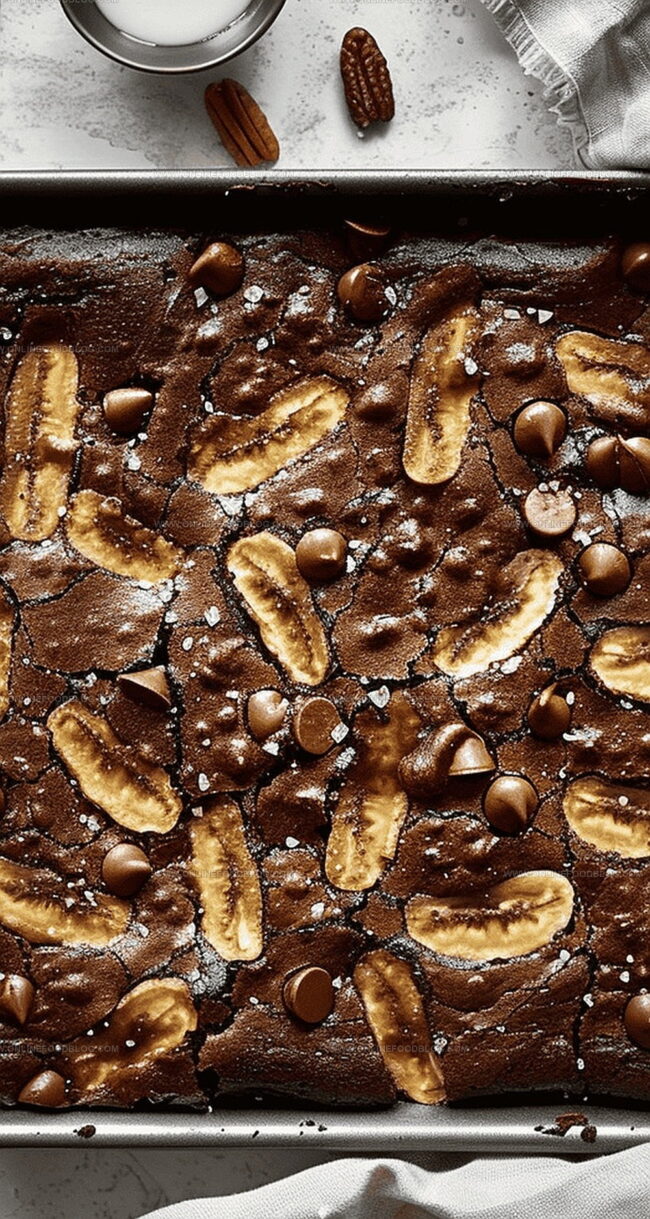
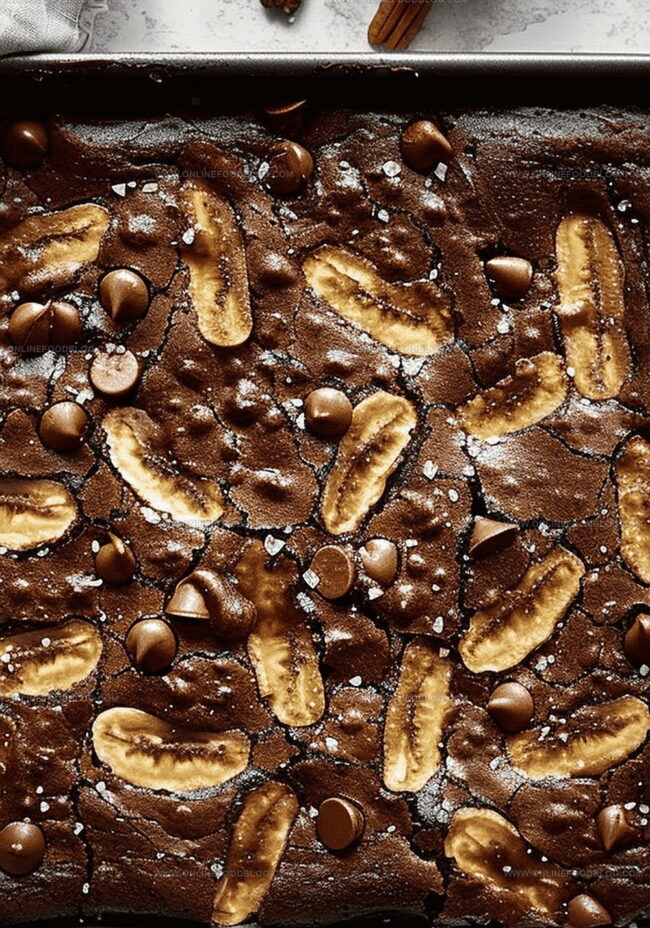
Rich chocolate brownies featuring banana bliss take dessert lovers on a delectable journey through sweet, moist layers. Creamy mashed bananas and dark chocolate create a heavenly combination that will satisfy chocolate cravings in one indulgent bite.
Ingredients
Scale
1 cup (180g) semi-sweet chocolate chips
⅓ cup (88g) mashed overripe banana (about 1 brown banana)
¾ cup (158g) white granulated sugar
½ cup (65g) all-purpose flour
⅓ cup (60g) olive oil
1 large egg, room temperature
2 tbsps (10g) Dutched cocoa powder
⅔ cup (90g) chopped walnuts, divided (optional)
1 tsp vanilla extract
½ tsp salt
¼ tsp baking powder
Instructions
Preparation: Calibrate oven to 325°F (163°C) and line an 8×8 inch metal baking pan with non-stick spray and parchment paper, ensuring complete surface coverage.
Egg Tempering: Immerse egg in warm water for 10 minutes to reach room temperature, enhancing batter consistency.
Chocolate Fusion: Melt chocolate chips and olive oil in microwave using 15-second intervals, stirring until achieving a smooth, glossy texture.
Aeration Process: Utilize stand mixer to whip egg and sugar on medium-high speed for 3-4 minutes, transforming mixture into a pale, voluminous cream.
Flavor Integration: Blend mashed banana and vanilla extract into whipped mixture, then gently fold melted chocolate until perfectly homogeneous.
Dry Ingredient Incorporation: Sift cocoa powder, flour, salt, and baking powder, then delicately fold into wet ingredients, eliminating any flour remnants.
Walnut Distribution: Fold two-thirds of chopped walnuts into batter, transfer to prepared pan, and sprinkle remaining nuts across surface for visual appeal and crunch.
Degree: Certificate in Food and Beverage Management
Focus: Essential knowledge of recipe development, ingredient sourcing, and food business basics.
Mia Reynolds fell in love with baking as a teenager experimenting in her family kitchen. Her passion took her to New England Culinary Institute, where she learned practical pastry techniques, and later to Community College of Vermont to deepen her understanding of food management.
Mia combines clear, simple baking instructions with heartwarming stories, making home baking approachable for everyone.

Mia Reynolds
Food Writer & Home Cooking Specialist
Expertise
Easy Home Baking, Recipe Writing and Storytelling, Local and Seasonal Ingredients, Baking for Beginners
Education
New England Culinary Institute (NECI), Montpelier, Vermont
Community College of Vermont, Winooski, Vermont
Mia Reynolds fell in love with baking as a teenager experimenting in her family kitchen. Her passion took her to New England Culinary Institute, where she learned practical pastry techniques, and later to Community College of Vermont to deepen her understanding of food management.
Mia combines clear, simple baking instructions with heartwarming stories, making home baking approachable for everyone.