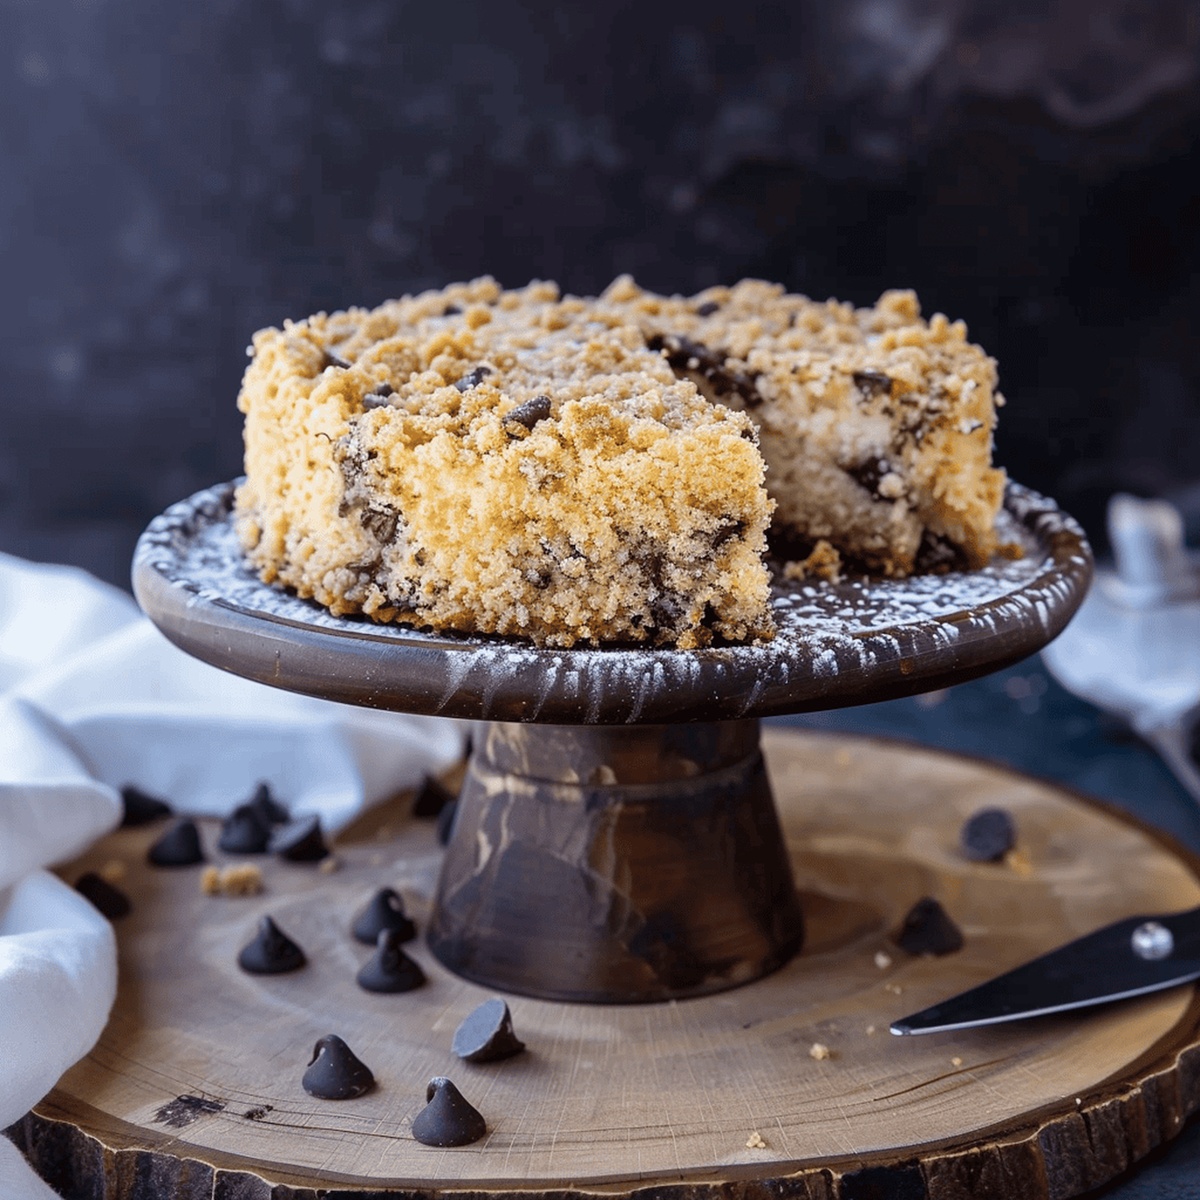
Light & Fluffy Chocolate Chip Ricotta Crumb Cake Recipe
Bakers have long sought the perfect blend of tender, moist cake with irresistible chocolate chip ricotta crumb cake that melts in your mouth.
This delightful dessert combines the richness of ricotta with the classic comfort of a traditional crumb cake.
Silky cheese and chocolate chips create a luxurious texture that dances between creamy and crumbly.
Each slice promises a symphony of flavors that will make your taste buds sing with delight.
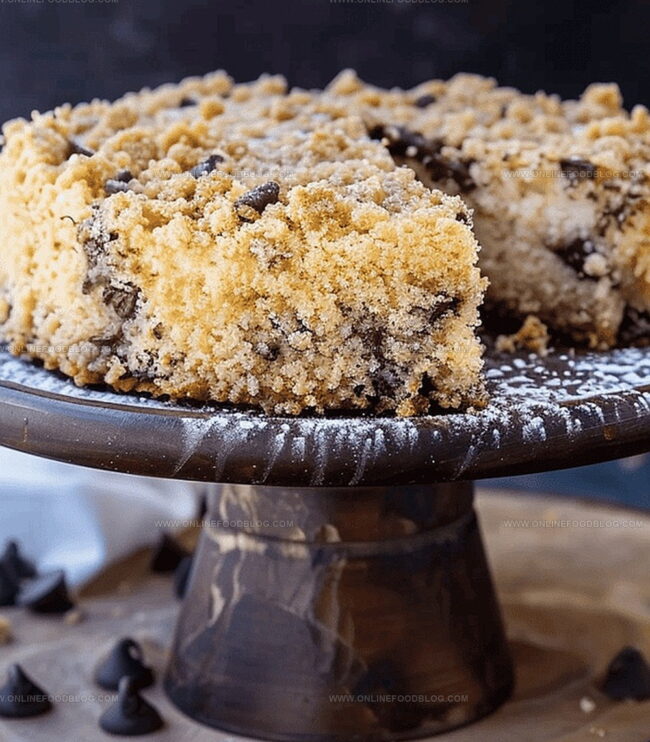
The subtle sweetness and buttery crumb topping add depth to every single bite.
Warm from the oven or enjoyed at room temperature, this cake turns an ordinary moment into something extraordinary.
Dive into this decadent recipe and experience a slice of pure culinary bliss.
Quick Recipe Overview
Chocolate Chip Ricotta Crumb Cake Ingredients
For Crumb Crust:For Filling:For Finishing Touches:Tools for Assembling Ricotta Crumb Cake
Steps to Bake Chocolate Chip Ricotta Crumb Cake
Create a delightful base using flour, sugar, and butter. Mix ingredients until they resemble soft, sandy texture that will form the cake’s delicious framework.
Carefully press most of the crumbly mixture into a round cake pan, ensuring an even coating along the bottom and sides. Chill the crust to help it set perfectly.
Blend ricotta with sugar and egg until smooth and silky. Gently fold in tiny chocolate morsels, creating a luscious center that will make taste buds dance.
Drizzle remaining crumb mixture over the ricotta layer. Scatter extra chocolate chips across the top for bursts of sweet surprise.
Slide the cake into a warm oven at 350°F. Watch as golden edges develop and the aroma fills your kitchen with anticipation.
Allow the cake to rest and cool completely. This patience ensures perfect texture and helps flavors meld together beautifully.
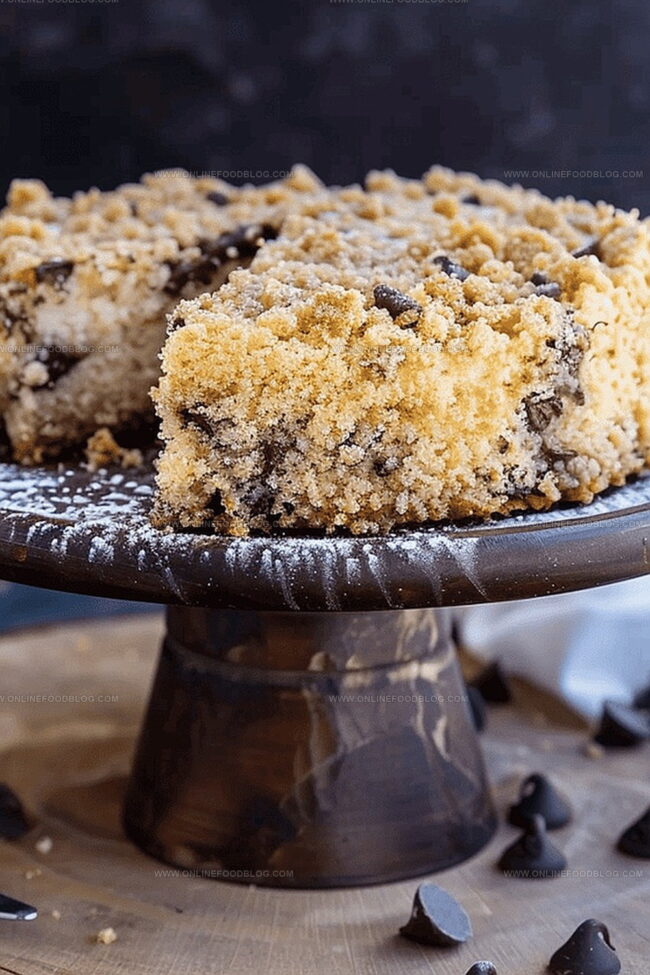
Dust with powdered sugar for a delicate, cloud-like appearance. Serve alongside a scoop of creamy vanilla ice cream for an extra touch of indulgence.
Tips for Moist Cake and Crunchy Topping
Serving Ideas for Ricotta Crumb Cake
How to Store Chocolate Chip Crumb Cake
Print
Fluffy Chocolate Chip Ricotta Crumb Cake
- Total Time: 1 hour
- Yield: 13 1x
Description
Sweet and moist chocolate chip ricotta crumb cake delivers a delightful blend of creamy ricotta and rich chocolate. Homemade comfort presents a simple yet indulgent dessert you’ll savor bite after delectable bite.
Ingredients
- 2 large eggs
- 1½ cups (355 ml) + 2 tbsps ricotta cheese
- 1 cup (240 ml) granulated sugar
- 2½ cups (590 ml) all-purpose flour
- ½ cup (120 ml) mini chocolate chips
- ½ cup (120 ml) butter, very cold or frozen and grated
- 2–3 tbsps (30–45 ml) powdered/icing sugar
- 2 tsps baking powder
- 1 pinch salt (if using unsalted butter, add ¼ tsp salt)
Instructions
- Prepare Pan: Crumple and dampen a parchment square, lining an 8-inch round cake pan with minimal wrinkles for easy removal.
- Create Crumb Base: Blend flour, sugar, baking powder, and salt, then grate frozen butter into the mixture. Use a fork to transform into a sandy texture, incorporating an egg until ingredients barely hold together.
- Form Crust: Press two-thirds of the crumb mixture into the pan’s bottom and sides, creating an even base. Refrigerate while preparing the filling.
- Craft Ricotta Filling: Whip ricotta, sugar, and egg into a silky cream, gently folding in mini chocolate chips for even distribution.
- Assemble Cake: Remove chilled crust from refrigerator, spread ricotta filling in a uniform layer. Sprinkle remaining crumb mixture and additional chocolate chips across the surface.
- Bake and Cool: Slide cake into a preheated 350°F oven for 35-40 minutes until the top achieves a golden-brown hue. Cool completely at room temperature to enhance flavor and structure.
- Finish and Serve: Dust with powdered sugar and optionally pair with vanilla ice cream for a decadent presentation.
Notes
- Chill the Crust: Refrigerating the crumb base helps it set firmly and prevents sogginess, creating a crisp foundation for your cake.
- Butter Grating Trick: Freeze butter beforehand and grate it directly into dry ingredients for ultra-light, evenly distributed crumbs that melt perfectly in your mouth.
- Gentle Mixing Matters: Avoid overmixing the dough to maintain a tender, crumbly texture that doesn’t become tough or dense.
- Topping Technique: Sprinkle chocolate chips generously on top for a delightful visual appeal and extra chocolatey crunch in every bite.
- Prep Time: 20 minutes
- Cook Time: 30-40 minutes
- Category: Desserts, Breakfast
- Method: Baking
- Cuisine: American
Nutrition
- Serving Size: 13
- Calories: 220
- Sugar: 15 g
- Sodium: 85 mg
- Fat: 10 g
- Saturated Fat: 6 g
- Unsaturated Fat: 4 g
- Trans Fat: 0 g
- Carbohydrates: 30 g
- Fiber: 1 g
- Protein: 4 g
- Cholesterol: 40 mg
Mia Reynolds
Food Writer & Home Cooking Specialist
Expertise
Easy Home Baking, Recipe Writing and Storytelling, Local and Seasonal Ingredients, Baking for Beginners
Education
New England Culinary Institute (NECI), Montpelier, Vermont
Community College of Vermont, Winooski, Vermont
Mia Reynolds fell in love with baking as a teenager experimenting in her family kitchen. Her passion took her to New England Culinary Institute, where she learned practical pastry techniques, and later to Community College of Vermont to deepen her understanding of food management.
Mia combines clear, simple baking instructions with heartwarming stories, making home baking approachable for everyone.