Easy Homemade Egyptian Bread Rolls Recipe: Fluffy Bites of Joy
Egyptian bread rolls whisper tales of ancient culinary traditions that have survived millennia.
Soft, pillowy, and deeply aromatic, these delightful rounds connect modern kitchens with generations of skilled bakers.
Rich wheat landscapes and time-honored techniques contribute to their distinctive texture and remarkable flavor profile.
Fragrant spices and traditional preparation methods elevate these rolls beyond simple sustenance into a cultural experience.
Crafted with precision and passion, each roll represents a delicate balance between technique and intuition.
Warm ovens upgrade simple ingredients into golden, tender circles that complement multiple dishes beautifully.
The magic of these bread rolls lies in their ability to transport you through flavor and tradition.
Egyptian Bread Rolls You’ll Want to Bake Again
What Goes Into Traditional Egyptian Bread Rolls
Dry Ingredients:Wet Ingredients:Finishing Ingredients:Step-by-Step Guide to Making These Rolls
Step 1: Gather Ingredients
Ensure all ingredients are at room temperature for the best results.
Step 2: Create Dough Base
In a large mixing bowl, combine flour, instant yeast, sugar, and salt. Mix dry ingredients thoroughly to distribute evenly.
Step 3: Mix Wet Ingredients
Add melted butter and warm milk to the dry ingredients. Blend until a soft, cohesive dough forms. The mixture should feel slightly sticky but not too wet.
Step 4: Knead to Perfection
Transfer the dough to a lightly floured surface. Knead vigorously for 10 minutes, stretching and folding to develop gluten. The dough should become smooth, elastic, and spring back when touched.
Step 5: First Rise
Place the dough in a greased bowl, covering it with a damp cloth. Let it rest in a warm, draft-free spot for 1 hour or until it doubles in size.
Step 6: Shape Bread Rolls
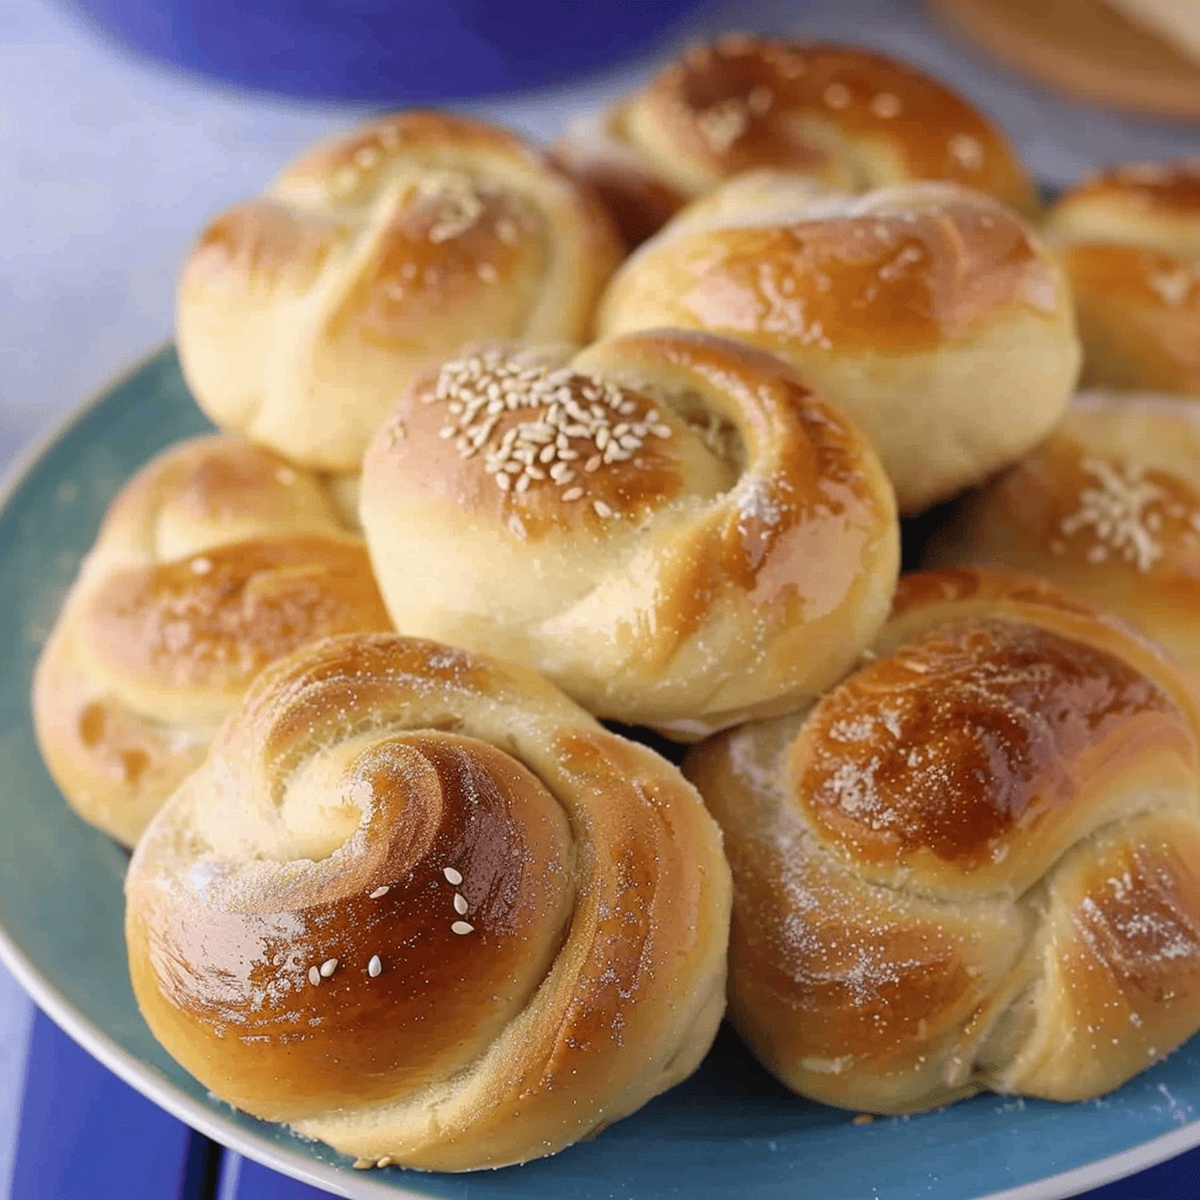
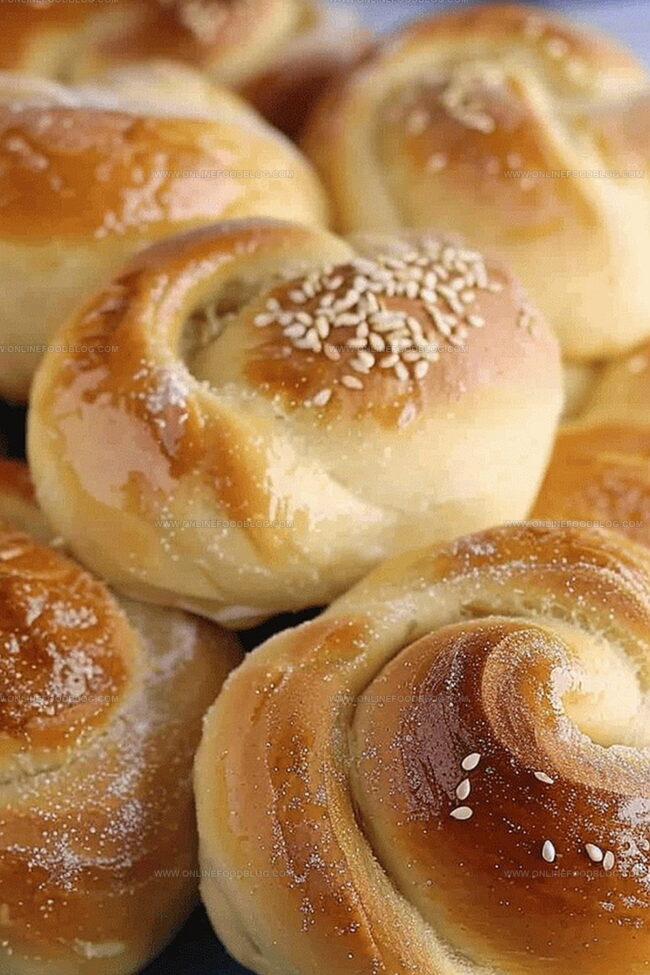
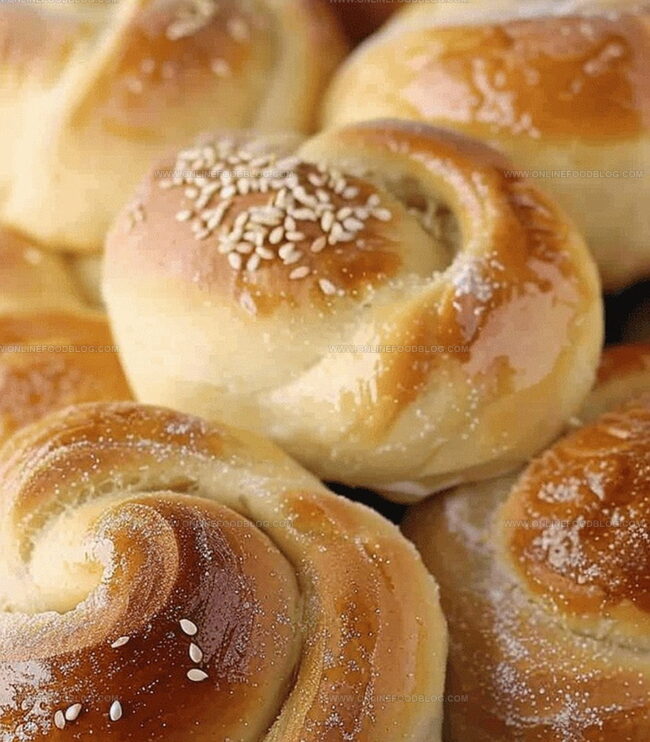
Punch down the risen dough to release air bubbles. Divide into 12 equal pieces. Roll each piece into a ball, then stretch into a rope. Create a knot by looping and tucking the ends.
Step 7: Second Rise
Arrange knotted rolls on a parchment-lined baking sheet. Cover with a damp cloth and let rise for 30 minutes. They should look puffy and slightly larger.
Step 8: Prepare for Baking
Preheat oven to 375°F (190°C). Gently brush each roll with beaten egg for a golden shine.
Step 9: Sprinkle and Decorate
Scatter sesame seeds over the egg-washed rolls for added texture and flavor.
Step 10: Bake to Golden Perfection
Slide the baking sheet into the preheated oven. Bake for 20-25 minutes until rolls turn a beautiful golden brown color.
Step 11: Cool and Serve
Remove from oven and let cool on a wire rack for 10 minutes. Serve warm for the most delightful experience.
Roll-Making Tips Passed Down Through Generations
How to Keep Egyptian Bread Rolls Fresh
What to Serve with These Savory Rolls
Regional Variations on Egyptian Bread Rolls
Print
Egyptian Bread Rolls Recipe
- Total Time: 45 minutes
- Yield: 12 1x
Description
Warm, pillowy Egyptian bread rolls bring Middle Eastern comfort to your table. Fragrant with herbs and spices, these authentic rolls offer a delightful journey through Egyptian culinary traditions you’ll savor with each delicious bite.
Ingredients
Primary Ingredients:
- 4 cups (480 grams) all-purpose flour
- 1 ¼ cups (296 milliliters) warm milk
- ¼ cup (56 grams) unsalted butter, melted
- 1 egg, beaten (for egg wash)
Leavening and Seasoning:
- 1 tablespoon instant yeast
- 1 tablespoon sugar
- 1 teaspoon salt
Garnish:
- Sesame seeds
Instructions
- Gather flour, instant yeast, sugar, salt, butter, and milk in a spacious mixing vessel to prepare the foundational dough mixture.
- Merge dry ingredients thoroughly, creating a uniform base for the Egyptian bread rolls.
- Gently introduce melted butter and warm milk (110°F/43°C) into the dry components, stirring until a cohesive, soft dough emerges.
- Transfer the nascent dough onto a lightly floured surface and engage in methodical kneading for approximately 8-10 minutes, developing gluten and achieving a smooth, resilient texture.
- Place the worked dough into a generously oiled bowl, envelop with a moistened kitchen towel, and allow fermentation in a draft-free, warm environment for 60-75 minutes until volume doubles.
- Deflate the risen dough by pressing down, then partition into 12 equivalent segments using a precise cutting technique.
- Manipulate each segment into a compact spherical shape, then elongate into slender rope-like strands approximately 6 inches (15 centimeters) long.
- Construct elegant knots by twisting and interlocking each rope, ensuring secure and aesthetic formation.
- Arrange the knotted rolls on a parchment-lined baking sheet, maintaining slight separation between each piece.
- Drape a damp cloth over the rolls, permitting a secondary proofing phase for 25-35 minutes.
- Preheat the oven to 375°F (190°C), creating an ideal baking environment.
- Delicately brush each roll’s surface with beaten egg, enhancing potential for golden coloration.
- Sprinkle sesame seeds generously across the egg-washed surfaces for textural complexity and visual appeal.
- Bake in the preheated oven for 18-22 minutes, monitoring until rolls achieve a rich, uniform golden-brown hue.
- Remove from oven and allow momentary cooling on a wire rack before serving these aromatic Egyptian bread rolls.
Notes
- Prepare ingredients at room temperature for optimal dough development and consistent texture.
- Kneading develops gluten, creating soft and stretchy bread rolls with excellent structure.
- Allow sufficient rising time to ensure light, airy rolls with delicate, tender crumb.
- Sesame seeds add nutty flavor and attractive visual appeal to the golden-brown exterior.
- Storing rolls in an airtight container maintains freshness for 2-3 days at room temperature.
- Freeze unbaked rolls after shaping to enjoy fresh bread anytime by thawing and baking directly.
- Prep Time: 20 minutes
- Cook Time: 25 minutes
- Category: Breakfast, Snacks
- Method: Baking
- Cuisine: Egyptian
Nutrition
- Serving Size: 12
- Calories: 220 kcal
- Sugar: 2 g
- Sodium: 180 mg
- Fat: 8 g
- Saturated Fat: 4.5 g
- Unsaturated Fat: 2.5 g
- Trans Fat: 0 g
- Carbohydrates: 32 g
- Fiber: 1 g
- Protein: 6 g
- Cholesterol: 35 mg
Lucas Bennett
Founder & Recipe Creator
Expertise
Simple Everyday Recipes, Sustainable Cooking Practices, Creative Meal Planning, Recipe Testing and Improvement
Education
Fox Valley Technical College, Appleton, Wisconsin
Lake Superior College, Duluth, Minnesota
Lucas Bennett’s cooking journey started in his parents’ kitchen, where he learned to prepare tasty, no-fuss meals from scratch. His culinary passion led him to Fox Valley Technical College, where he gained practical cooking skills.
He then expanded his focus on sustainability at Lake Superior College. Today, Lucas shares easy, approachable recipes designed to make cooking enjoyable and stress-free for everyone.