Dreamy Sweetened Condensed Milk Snowballs Recipe

Dreamy Sweetened Condensed Milk Snowballs Recipe

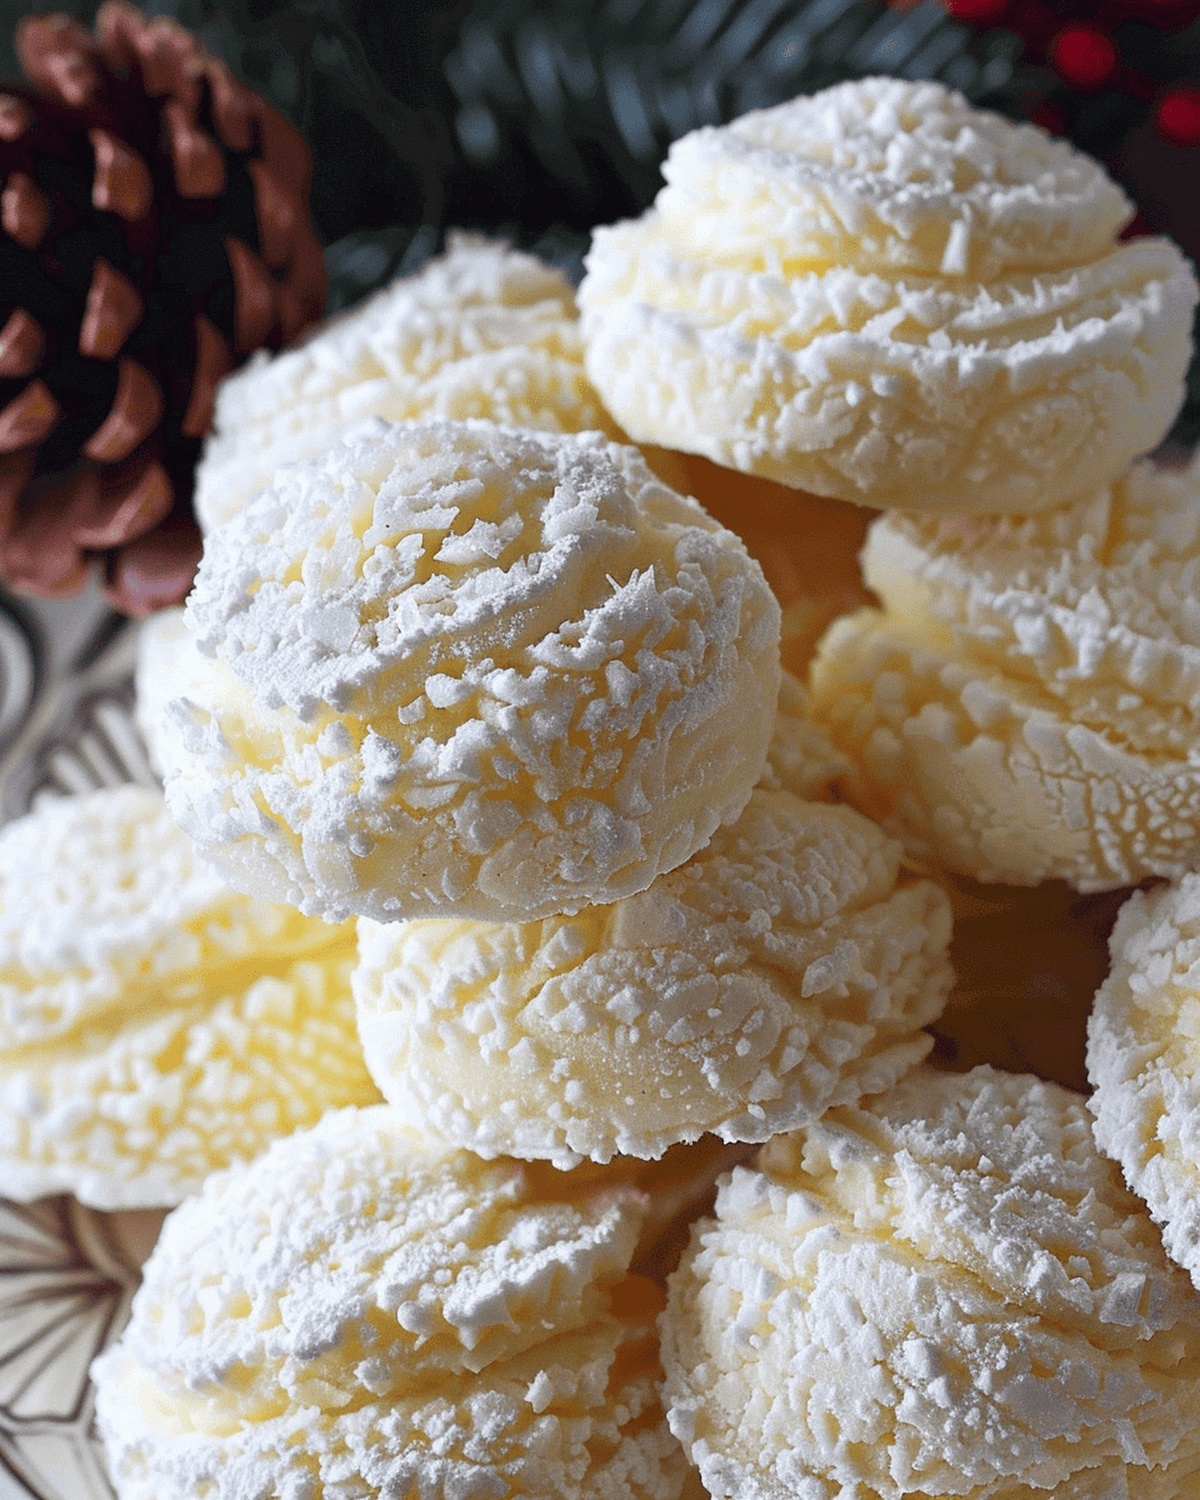
Delicate, powdery snowballs dusted with sweetened condensed milk bring winter’s whimsy right to your dessert plate.

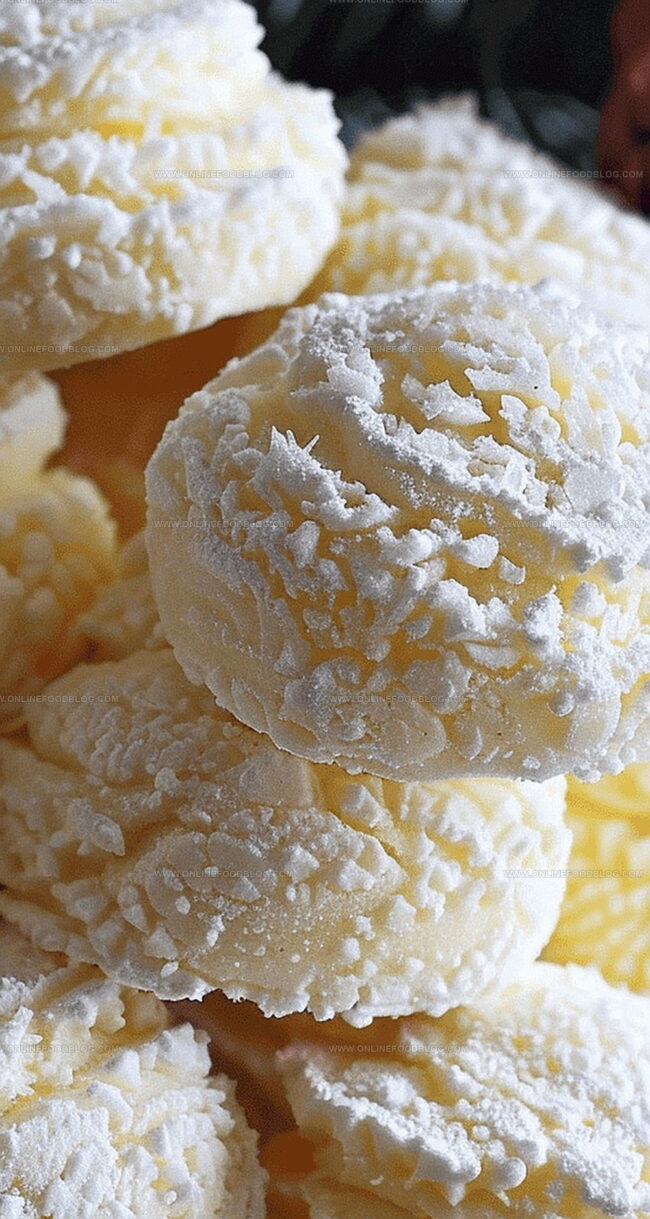
These melt-in-your-mouth treats dance between crisp and creamy textures that surprise even seasoned bakers.

Every bite promises a delightful blend of soft cookie and sweet, milky essence.

The recipe transforms simple ingredients into elegant confections that sparkle like fresh snowfall.

Perfectly portioned and easy to assemble, these snowballs make elegant additions to holiday cookie trays or afternoon tea spreads.

Light, delicate, and irresistibly smooth, they beckon you to savor each delectable moment.

Dive into this magical recipe and let the winter magic begin.

Making Sweetened Condensed Milk Snowballs at Home

  • Kitchen Preparation

Gather all necessary baking tools and create a clean workspace for cookie making.

  • Butter Transformation

Soften butter until it reaches a light, fluffy consistency with a smooth texture.

  • Milk Mixture

Blend sweetened condensed milk with softened butter, creating a creamy base for the cookies.

  • Flour Integration

Gently fold flour and baking powder into the wet mixture, forming a soft cookie dough.

  • Cookie Shaping

Scoop small rounds of dough onto a lined baking sheet, ensuring even spacing.

  • Baking Magic

Place cookies in a preheated oven, watching for a delicate golden edge that signals perfect doneness.

  • Sweet Finishing

Dust warm cookies with a light blanket of powdered sugar, creating a delightful winter-inspired treat.

Flavor Options and Add-ins for Snowballs

  • Adjust the cookie scoop for larger or smaller snowballs depending on your preference, ensuring consistent baking times.
  • Experiment by adding vanilla extract, almond extract, or zest of lemon or orange to introduce delightful aromatic dimensions to the basic recipe.
  • Store cookies in an airtight container to maintain their soft, tender texture and prevent them from becoming dry or crumbly.
  • Gently roll warm cookies in confectioner's sugar for a more even and thick coating, or use a fine-mesh sifter for a delicate, light dusting.
  • Sprinkle finely chopped nuts, drizzle melted chocolate, or add colorful sprinkles to create festive and personalized snowball cookies.

Serving Milk Snowballs at Parties or Holidays

  • Holiday Dessert Centerpiece: Create a stunning display by arranging these delicate snowball cookies on a decorative white plate with a light dusting of extra powdered sugar, perfect for holiday gatherings.
  • Cocoa Companion: Serve these sweet treats alongside a warm mug of rich hot chocolate or creamy cappuccino for an indulgent afternoon snack that complements the cookies' delicate texture.
  • Gift-Worthy Packaging: Pack these delightful snowball cookies in clear cellophane bags tied with festive ribbons, making them an adorable homemade gift for friends, neighbors, or holiday parties that will surely bring smiles.
  • Tea Time Elegance: Pair these light, powdery cookies with a delicate Earl Grey or chamomile tea for an elegant afternoon tea experience that highlights their subtle sweetness and melt-in-your-mouth texture.

Storage Tips for Keeping Snowballs Fresh

  • Freshness Fortress: Store these delightful snowballs in an airtight container at room temperature, keeping them soft and delicious for up to 5 days. The sealed environment prevents moisture loss and maintains their delicate texture.
  • Cool & Calm Storage: Place cookies in a single layer between sheets of parchment paper to prevent sticking and preserve their pristine powdered sugar coating. Gentle handling ensures each cookie remains picture-perfect.
  • Freezer Friend Strategy: Wrap individual snowballs in plastic wrap, then store in a freezer-safe container for up to 3 months. Thaw at room temperature for 30 minutes before serving, and dust with fresh confectioner's sugar for that just-baked magic.
  • Make-Ahead Magic: Prepare cookie dough in advance and refrigerate for 24 hours before baking. This technique allows flavors to meld and creates an even more rich, buttery taste profile that will make everyone swoon.

Quick Recipe Overview

Prep Time: 10 minutes

Cook Time: 12 minutes

Total Time: 22 minutes

Calories: 150 kcal

Servings: 22

Ingredient Guide for Milk Snowballs

For Base Ingredients:
  • Butter: Provides rich, creamy foundation that helps cookies achieve a tender texture and enhances overall flavor.
  • Sweetened Condensed Milk: Adds sweetness, moisture, and contributes to the soft, melt-in-your-mouth characteristic of the snowball cookies.
For Dry Ingredients:
  • Flour: Creates structure and ensures cookies hold their delicate snowball shape, select fresh, fine-milled all-purpose flour for best results.
  • Baking Powder: Helps cookies rise slightly and creates a light, airy texture, always use fresh powder for maximum leavening power.
For Finishing Ingredients:
  • Confectioner's Sugar: Provides elegant white coating that mimics snow, sifting creates a delicate, even dusting over warm cookies, choose ultra-fine powdered sugar for smooth finish.

Tools for Forming and Rolling Milk Snowballs

  • Mixing bowl: Essential for combining ingredients smoothly and easily.
  • Electric mixer or hand mixer: Perfect for beating butter and creating a creamy texture.
  • Cookie scoop: Helps create uniform, perfectly sized cookie portions.
  • Baking sheet: Provides a flat surface for baking cookies evenly.
  • Parchment paper: Prevents cookies from sticking and makes cleanup simple.
  • Wire rack: Allows cookies to cool completely without getting soggy.
  • Sifter or fine-mesh strainer: Creates a light, even dusting of powdered sugar.
  • Spatula: Helps scrape down bowl sides and mix ingredients thoroughly.
Print
clock clock iconcutlery cutlery iconflag flag iconfolder folder iconinstagram instagram iconpinterest pinterest iconfacebook facebook iconprint print iconsquares squares iconheart heart iconheart solid heart solid icon
Dreamy Sweetened Condensed Milk Snowballs Recipe

Dreamy Sweetened Condensed Milk Snowballs


5 Stars 4 Stars 3 Stars 2 Stars 1 Star

4.8 from 20 reviews

  • Total Time: 22 minutes
  • Yield: 22 1x

Description

Mexican wedding cake-inspired sweetened condensed milk snowballs deliver a melt-in-your-mouth confection packed with nutty richness. Delicate powdered sugar coating creates an irresistible treat you cannot resist sampling.


Ingredients

Scale
  • 1 cup butter, softened
  • 2 cups all-purpose flour
  • ½ cup sweetened condensed milk
  • ½ cup confectioner’s sugar (powdered sugar)
  • 3 teaspoons (15 mL) baking powder

Instructions

  1. Preparation: Preheat oven to 320°F and line baking sheet with parchment paper.
  2. Butter Mixture: Cream butter until light and fluffy, then blend in sweetened condensed milk until smooth and well-combined.
  3. Dough Formation: Incorporate flour and baking powder, mixing gently to create a uniform dough without overworking.
  4. Portioning: Use a cookie scoop to create evenly sized dough mounds, arranging them with space between on the prepared baking sheet.
  5. Baking: Slide baking sheet into preheated oven and bake until cookies develop subtle golden edges, approximately 12 minutes.
  6. Cooling and Finishing: Allow cookies to rest on baking sheet for five minutes, then transfer to a wire rack. While still warm, generously dust with confectioner’s sugar, ensuring a delicate, sweet coating covers the surface.

Notes

  • Butter Temperature Matters: Ensure butter is softened at room temperature for smooth, even creaming that creates a light, fluffy base for the cookies.
  • Avoid Overmixing Dough: Gently fold flour and baking powder to prevent tough, dense cookies; mix just until ingredients are combined for tender results.
  • Precise Spacing Technique: Use a cookie scoop for uniform size and leave adequate space between dough mounds to prevent cookies from merging during baking.
  • Sugar Dusting Timing: Apply confectioner’s sugar while cookies are still warm to help the sugar adhere better and create a delicate, elegant coating.
  • Prep Time: 10 minutes
  • Cook Time: 12 minutes
  • Category: Desserts, Snacks
  • Method: Baking
  • Cuisine: American

Nutrition

  • Serving Size: 22
  • Calories: 150
  • Sugar: 6 g
  • Sodium: 25 mg
  • Fat: 8 g
  • Saturated Fat: 5 g
  • Unsaturated Fat: 3 g
  • Trans Fat: 0 g
  • Carbohydrates: 20 g
  • Fiber: 0 g
  • Protein: 2 g
  • Cholesterol: 30 mg
Mia Reynolds

Mia Reynolds

Food Writer & Home Cooking Specialist

Expertise

Easy Home Baking, Recipe Writing and Storytelling, Local and Seasonal Ingredients, Baking for Beginners

Education

New England Culinary Institute (NECI), Montpelier, Vermont

  • Certificate: Baking and Pastry Arts Certificate
  • Focus: Hands-on baking skills, pastry basics, and creating delicious, approachable baked goods.

Community College of Vermont, Winooski, Vermont

  • Degree: Certificate in Food and Beverage Management
  • Focus: Essential knowledge of recipe development, ingredient sourcing, and food business basics.

Mia Reynolds fell in love with baking as a teenager experimenting in her family kitchen. Her passion took her to New England Culinary Institute, where she learned practical pastry techniques, and later to Community College of Vermont to deepen her understanding of food management.

Mia combines clear, simple baking instructions with heartwarming stories, making home baking approachable for everyone.

Leave a Reply

Your email address will not be published. Required fields are marked *

Recipe rating 5 Stars 4 Stars 3 Stars 2 Stars 1 Star