Irresistible Peanut Butter Blossom Bars Recipe Made Simple
Soft, chewy, and irresistibly delicious, these peanut butter blossom bars combine classic cookie comfort with a modern twist.
The beloved chocolate-topped treat gets a delightful makeover in bar form, promising pure indulgence in every bite.
Buttery peanut butter dough creates a rich, melt-in-your-mouth base that brings nostalgic memories flooding back.
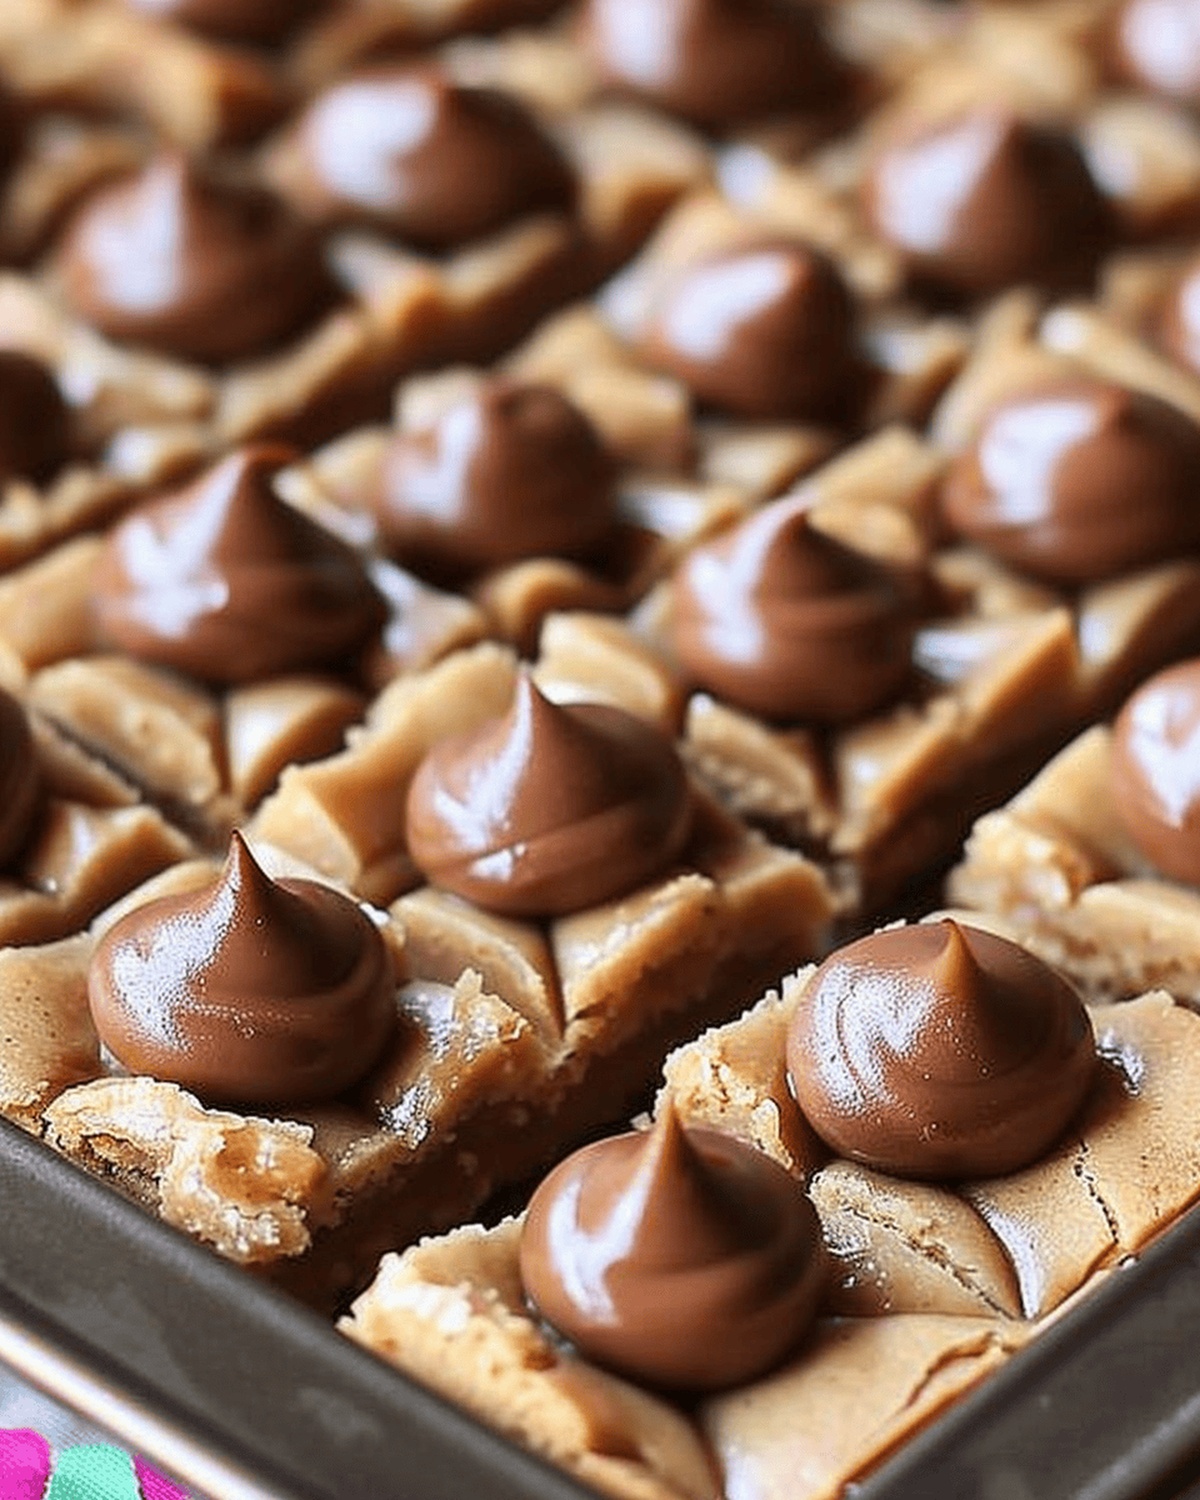
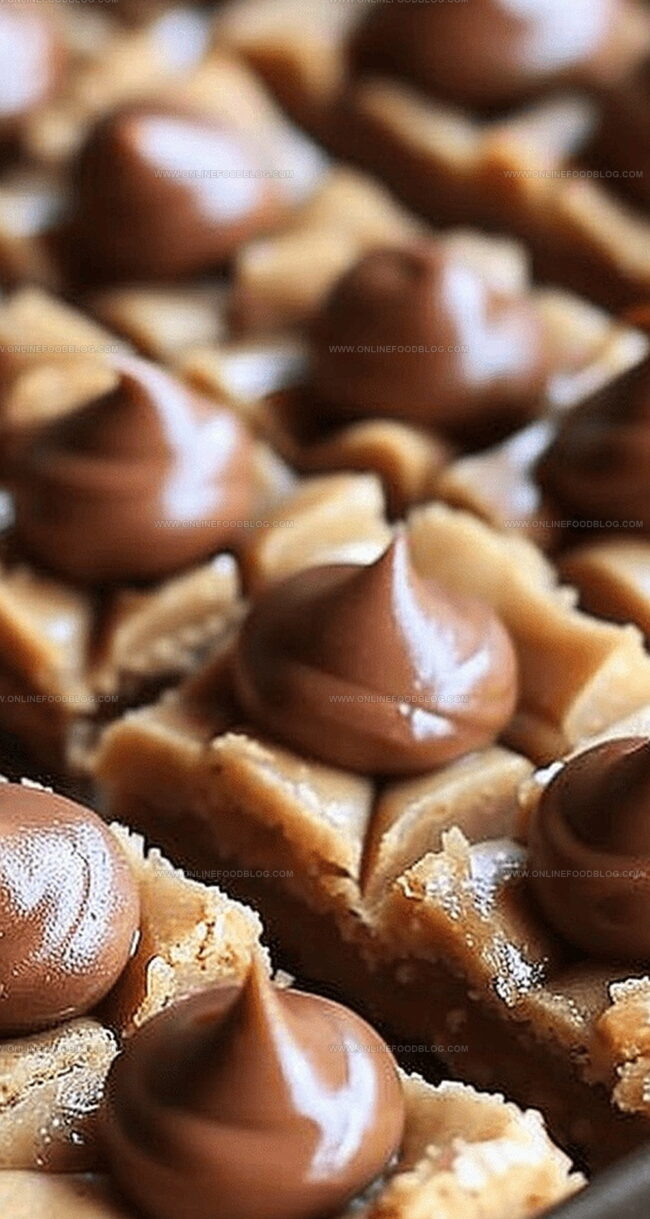
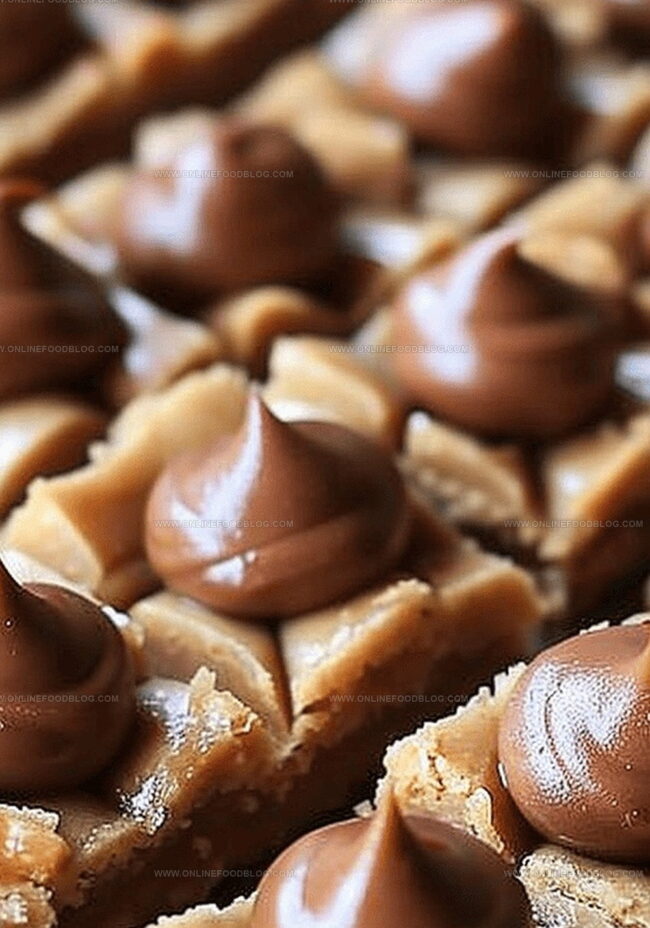
Hershey’s kisses nestled on top add a perfect chocolatey crown to this crowd-pleasing dessert.
The bars offer a simple yet spectacular approach to the traditional cookie, making them ideal for bake sales, potlucks, or weekend treats.
With minimal effort and maximum flavor, you’ll fall in love with this effortless spin on a timeless classic.
Grab a plate and get ready to savor every sweet, nutty morsel of this irresistible dessert.
Quick Recipe Overview
Peanut Butter Blossom Bars Ingredient Checklist
For Wet Ingredients:For Dry Ingredients:For Topping and Finishing:Tools to Bake Peanut Butter Blossom Bars
Baking Instructions for Peanut Butter Bars
Set up your kitchen workspace with all necessary tools and preheat the oven to create a warm baking environment.
Blend together soft butter, sugars, peanut butter, and egg until the mixture looks smooth and inviting.
Fold in dry ingredients and chocolate chips, mixing until a soft, cohesive dough emerges that promises delicious results.
Spread the dough evenly across the baking dish, sprinkling a light sugar dusting for extra texture and sparkle.
Slide the pan into the oven and watch as golden edges develop, signaling the bars are transforming into a delectable treat.
Once removed from the oven, gently nestle a Hershey’s Kiss into the center of each bar while the dough is still warm.
Let the bars rest and cool completely, allowing the chocolate to set and flavors to meld before cutting into perfect squares.
Tips for Chocolate Placement and Peanut Flavor
Serving Peanut Butter Blossom Bars with Style
Best Storage Method for Peanut Blossom Bars
Print
Dreamy Peanut Butter Blossom Bars Recipe
- Total Time: 37 minutes
- Yield: 17 1x
Description
Peanut butter blossom bars blend classic cookie flavors into an irresistible dessert bar. Chocolate-topped squares deliver nostalgic comfort with rich, sweet notes that invite homemade happiness.
Ingredients
- ½ cup (120 ml / 4 fl oz) creamy peanut butter
- ½ cup (115 g / 4 oz) unsalted butter, softened
- ½ cup (100 g) brown sugar
- ½ cup (100 g) granulated sugar
- 1.5 cups (360 ml / 12 fl oz) all-purpose flour
- ⅔ cup (113 g / 4 oz) milk chocolate chips
- 1 large egg
- ¾ tsp baking soda
- ½ tsp baking powder
- 1/8 tsp salt
- 24 Hershey’s Kisses
Instructions
- Preparation: Preheat the oven to 350°F (175°C) and grease a 9×13-inch baking dish to ensure effortless release of the bars.
- Base Creation: Blend softened butter, granulated sugar, brown sugar, peanut butter, and egg until the mixture transforms into a light, aerated consistency with a uniform texture.
- Dough Formation: Integrate flour, baking soda, baking powder, and salt into the wet mixture, folding gently to maintain the dough’s delicate structure. Fold in milk chocolate chips for bursts of sweetness.
- Pan Distribution: Spread the dough evenly across the prepared baking dish, using gentle pressure to create a smooth, consistent layer. Dust the surface with a light sprinkle of granulated sugar for a crystalline finish.
- Baking Process: Slide the pan into the preheated oven and bake for 20-22 minutes. Monitor the edges for a golden-brown hue and test doneness with a toothpick that should emerge clean when inserted into the center.
- Chocolate Accent: Immediately after removing from the oven, while the bars remain warm and pliable, press a Hershey’s Kiss into the center of each bar, allowing the chocolate to melt slightly and create a perfect union with the peanut butter base.
- Cooling and Serving: Let the bars cool completely within the baking dish to facilitate clean cutting. Slice into individual bars and store in an airtight container to preserve their soft, decadent texture.
Notes
- Butter Softening Tip: Ensure butter is at room temperature for smooth, even mixing that creates a fluffy base without lumps.
- Sugar Sprinkling Technique: Gently dust granulated sugar before baking to achieve a delightful crispy golden crust with subtle crunch.
- Chocolate Kiss Placement: Press Hershey’s Kisses immediately after baking while bars are warm, allowing chocolate to melt slightly and create a beautiful glossy finish.
- Storage Strategy: Keep bars in airtight container to preserve moisture and prevent them from becoming dry or crumbly within 3-4 days.
- Prep Time: 15 minutes
- Cook Time: 22 minutes
- Category: Desserts, Snacks
- Method: Baking
- Cuisine: American
Nutrition
- Serving Size: 17
- Calories: 200
- Sugar: 12 g
- Sodium: 80 mg
- Fat: 10 g
- Saturated Fat: 4 g
- Unsaturated Fat: 6 g
- Trans Fat: 0 g
- Carbohydrates: 26 g
- Fiber: 1 g
- Protein: 3 g
- Cholesterol: 25 mg
Mia Reynolds
Food Writer & Home Cooking Specialist
Expertise
Easy Home Baking, Recipe Writing and Storytelling, Local and Seasonal Ingredients, Baking for Beginners
Education
New England Culinary Institute (NECI), Montpelier, Vermont
Community College of Vermont, Winooski, Vermont
Mia Reynolds fell in love with baking as a teenager experimenting in her family kitchen. Her passion took her to New England Culinary Institute, where she learned practical pastry techniques, and later to Community College of Vermont to deepen her understanding of food management.
Mia combines clear, simple baking instructions with heartwarming stories, making home baking approachable for everyone.