
Foolproof 4-Ingredient Peanut Butter Balls Recipe
Dive into a world of sweet simplicity with these irresistible 4-ingredient peanut butter balls that promise pure delight.
Packed with rich, creamy peanut butter flavor, these no-bake treats deliver a quick and satisfying snack in minutes.
Combining pantry staples like powdered sugar, chocolate, and crispy rice cereal creates a magical blend of textures and tastes.
The recipe is so straightforward that even novice bakers can whip up these delectable bites with confidence.
Each ball bursts with nostalgic comfort and just the right balance of sweetness and nuttiness.
Rolled and coated to perfection, these peanut butter balls will become your go-to dessert for any occasion.
Get ready to indulge in a treat that’s sure to vanish from the plate in record time.
Quick Recipe Overview
Ingredients in 4-Ingredient Peanut Butter Balls
For Base Mixture:For Coating:For Optional Garnish:Tools to Prep These Simple Treats
How to Assemble Peanut Butter Balls Quickly
Blend smooth peanut butter with softened butter in a mixing bowl. Gently incorporate powdered sugar until a cohesive mixture forms. Refrigerate the dough for a quick cool-down period to help it set and become manageable.
Craft small spherical treats by hand, rolling the chilled mixture into compact orbs. Arrange these delightful morsels on a clean baking sheet, then return to the refrigerator to stabilize their shape.
Carefully melt chocolate using a gentle double boiler technique or microwave method. Create a smooth, glossy chocolate bath for dunking the peanut butter spheres.
Delicately submerge each ball into the warm chocolate, allowing excess to drip away. Place the chocolate-kissed treats on parchment paper. Chill in the refrigerator until the chocolate sets and the texture becomes perfectly crisp.
Add-In Ideas to Change It Up
Presentation Tips for Peanut Butter Balls
Where to Store Your Peanut Butter Balls
Print
Dreamy Peanut Butter Balls
- Total Time: 50min
- Yield: 13 1x
Description
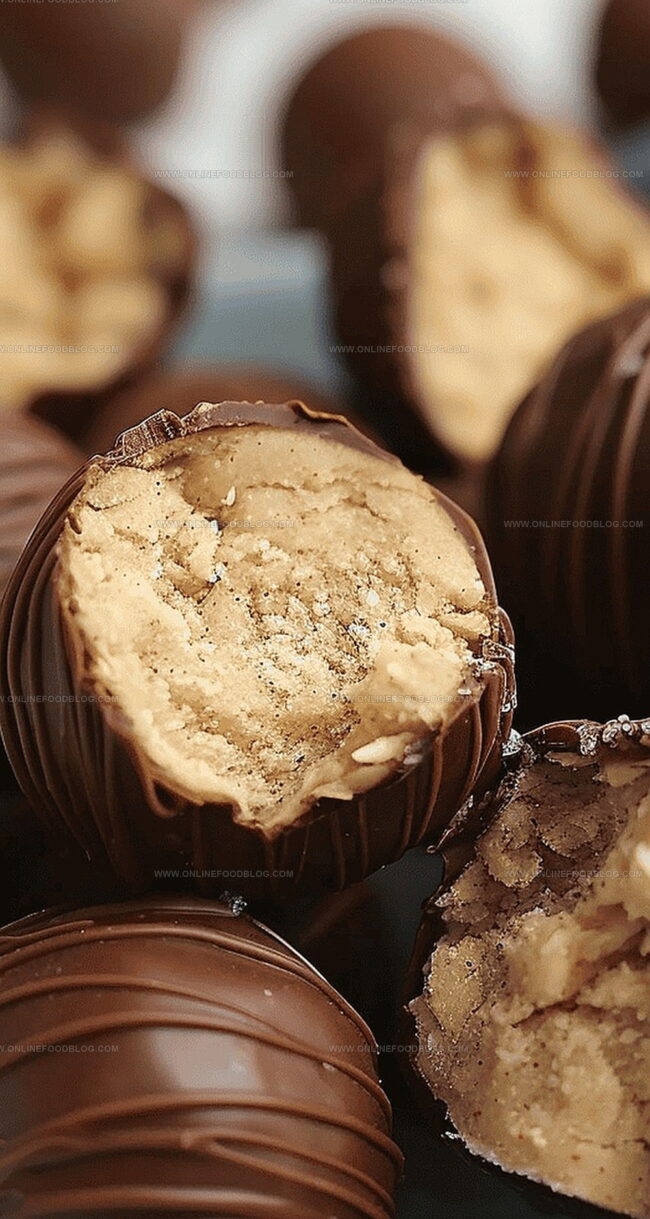
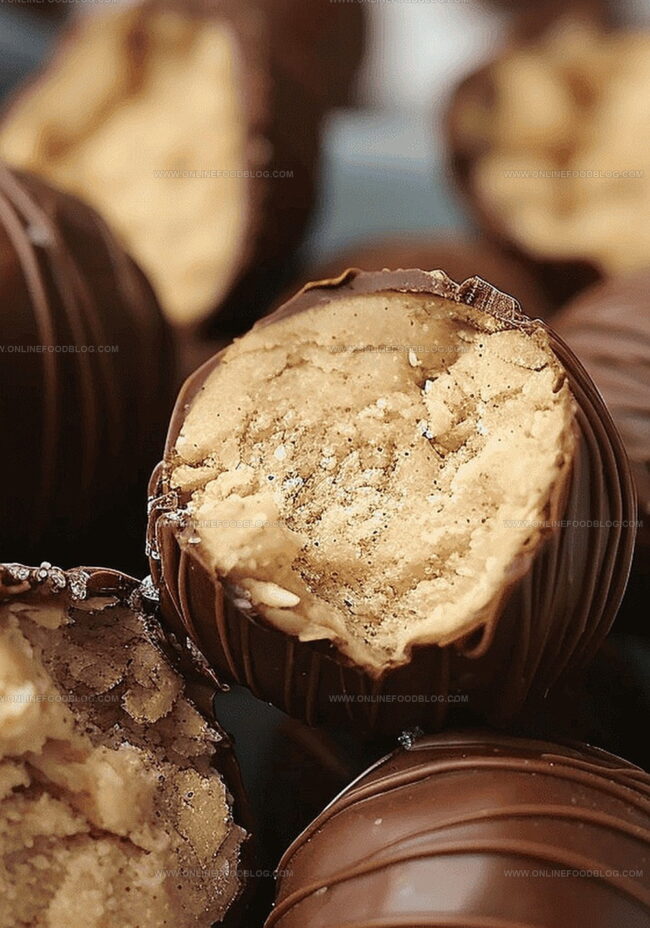
Irresistible chocolate-dipped peanut butter balls emerge as a simple dessert perfect for quick sweet cravings. Rich chocolate and creamy peanut butter combine into delightful treats you can create in minutes with minimal kitchen effort.
Ingredients
- ½ cup (118 ml) creamy peanut butter
- 1 cup (120 g) powdered sugar
- 3 tbsps (45 g) salted butter, softened
- 1 cup (170 g) semi-sweet chocolate chips
- 1 tbsp (15 ml) vegetable shortening or coconut oil (optional)
Instructions
- Creaming: In a large mixing bowl, vigorously combine softened butter and creamy peanut butter until achieving a smooth, homogeneous blend.
- Dough Formation: Gradually fold in powdered sugar, mixing thoroughly until the mixture transforms into a pliable, cohesive dough.
- Chilling Preparation: Refrigerate the dough for 15 minutes to firm up and simplify the shaping process.
- Shaping: Craft uniform spherical treats by rolling chilled dough between palms, creating consistent one-inch diameter balls.
- Initial Cooling: Arrange the spheres on a chilled baking sheet, maintaining slight spacing, and return to refrigerator for 20 minutes to stabilize their structure.
- Chocolate Coating: Melt chocolate chips using a microwave or double boiler, stirring carefully to prevent burning and ensure a silky-smooth consistency.
- Dipping and Finishing: Utilize a dipping fork to submerge each peanut butter ball completely in molten chocolate, gently tapping to remove excess coating. Place the chocolate-covered delicacies on wax paper to set.
- Storage: Refrigerate the completed confections until ready to serve, preserving their elegant chocolate exterior and luscious interior.
Notes
- Chill for Perfection: Refrigerate the mixture twice to achieve optimal texture and make rolling easier, preventing sticky hands and ensuring uniform ball shape.
- Smooth Chocolate Coating: Use low, steady heat when melting chocolate and stir constantly to prevent burning, creating a glossy, even chocolate shell.
- Dipping Technique: Tap excess chocolate gently off the fork to maintain a thin, elegant coating without creating messy drips or uneven surfaces.
- Storage Wisdom: Keep these treats refrigerated to maintain their firm texture and prevent chocolate from melting, ensuring a delightful, cool treat anytime.
- Prep Time: 15min
- Cook Time: 35min
- Category: Snacks, Desserts
- Method: Blending
- Cuisine: American
Nutrition
- Serving Size: 13
- Calories: 156
- Sugar: 14 g
- Sodium: 75 mg
- Fat: 9 g
- Saturated Fat: 4 g
- Unsaturated Fat: 5 g
- Trans Fat: 0 g
- Carbohydrates: 18 g
- Fiber: 1 g
- Protein: 3 g
- Cholesterol: 10 mg
Mia Reynolds
Food Writer & Home Cooking Specialist
Expertise
Easy Home Baking, Recipe Writing and Storytelling, Local and Seasonal Ingredients, Baking for Beginners
Education
New England Culinary Institute (NECI), Montpelier, Vermont
Community College of Vermont, Winooski, Vermont
Mia Reynolds fell in love with baking as a teenager experimenting in her family kitchen. Her passion took her to New England Culinary Institute, where she learned practical pastry techniques, and later to Community College of Vermont to deepen her understanding of food management.
Mia combines clear, simple baking instructions with heartwarming stories, making home baking approachable for everyone.