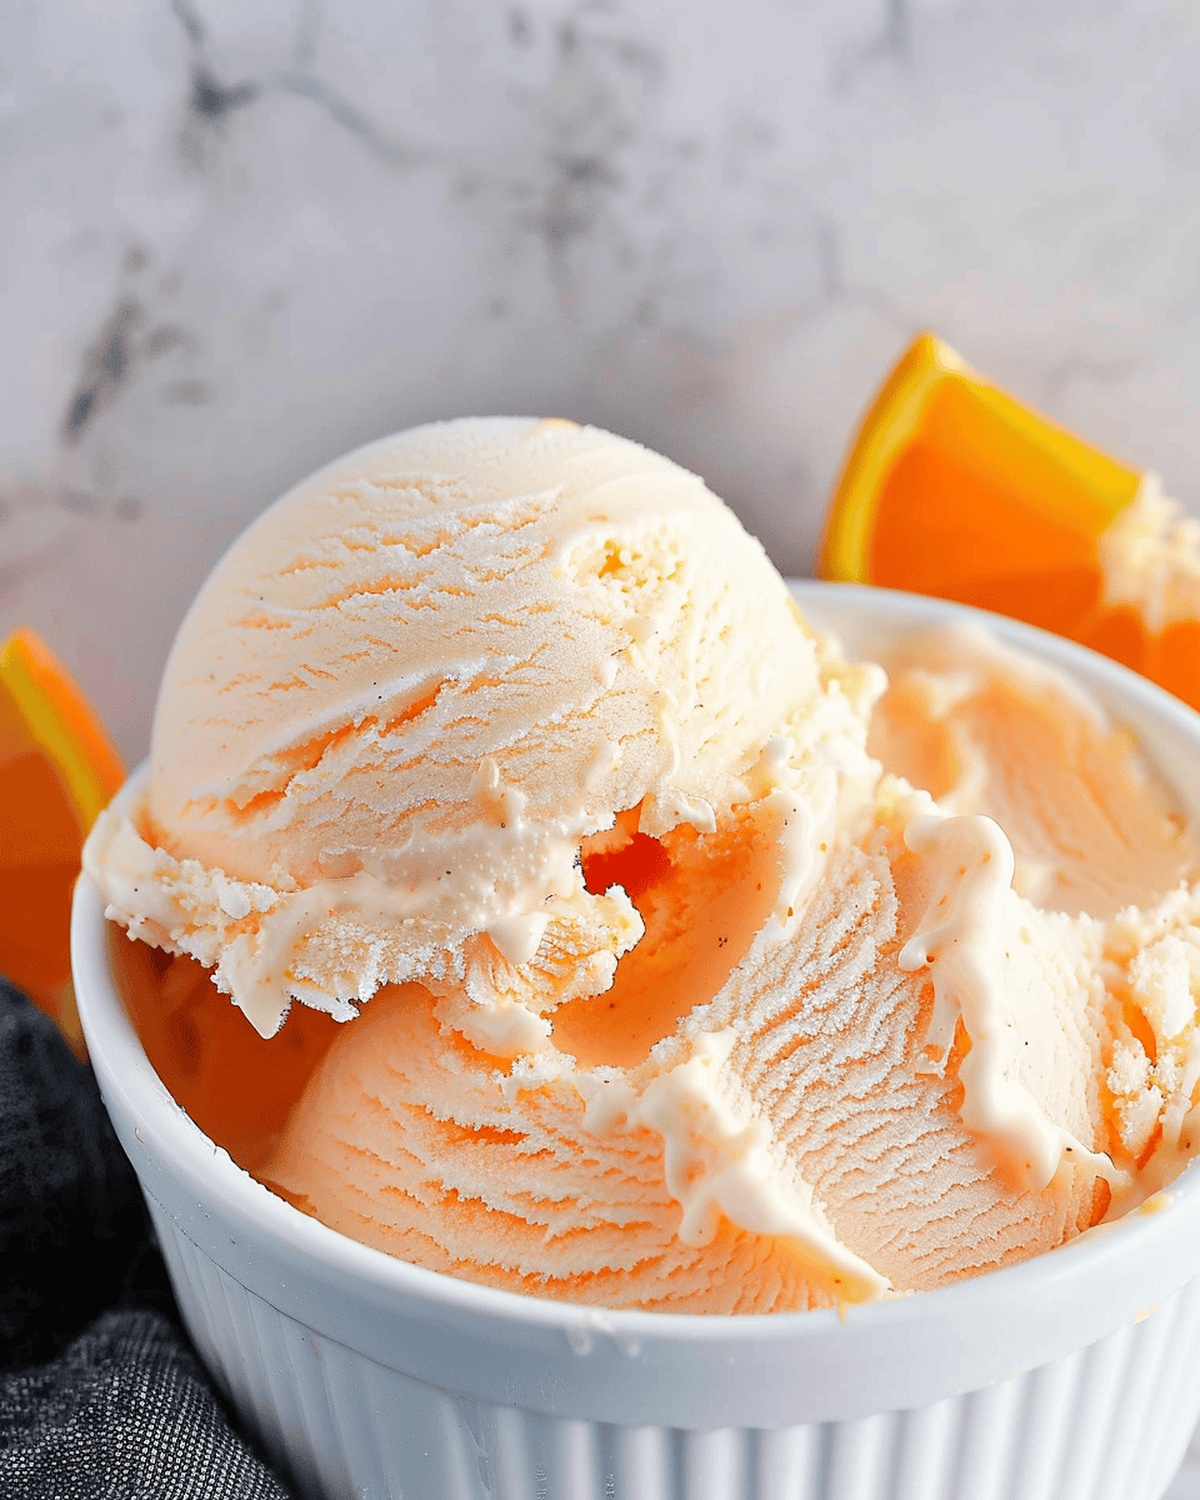
Zingy Orange Creamsicle Ice Cream Recipe for Summer Joy
Sweet summer memories flood back with this nostalgic orange creamsicle ice cream that captures childhood’s purest joy.
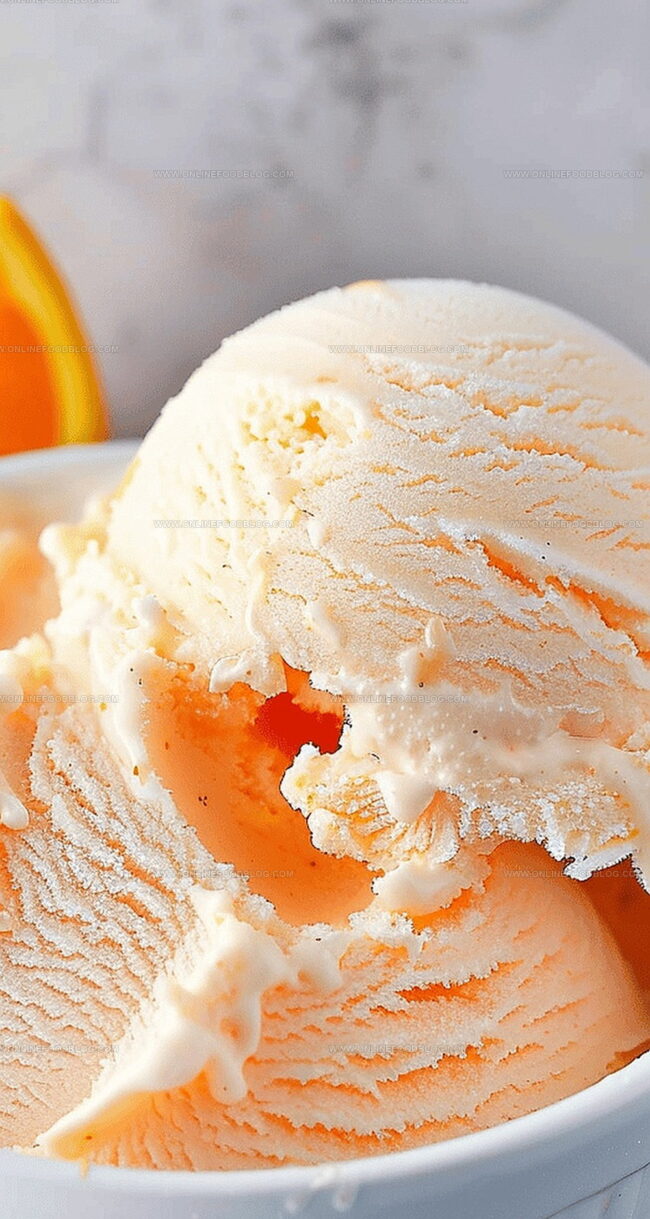
Tangy citrus notes dance perfectly with creamy vanilla undertones, creating a dessert that sings of sunshine and carefree days.
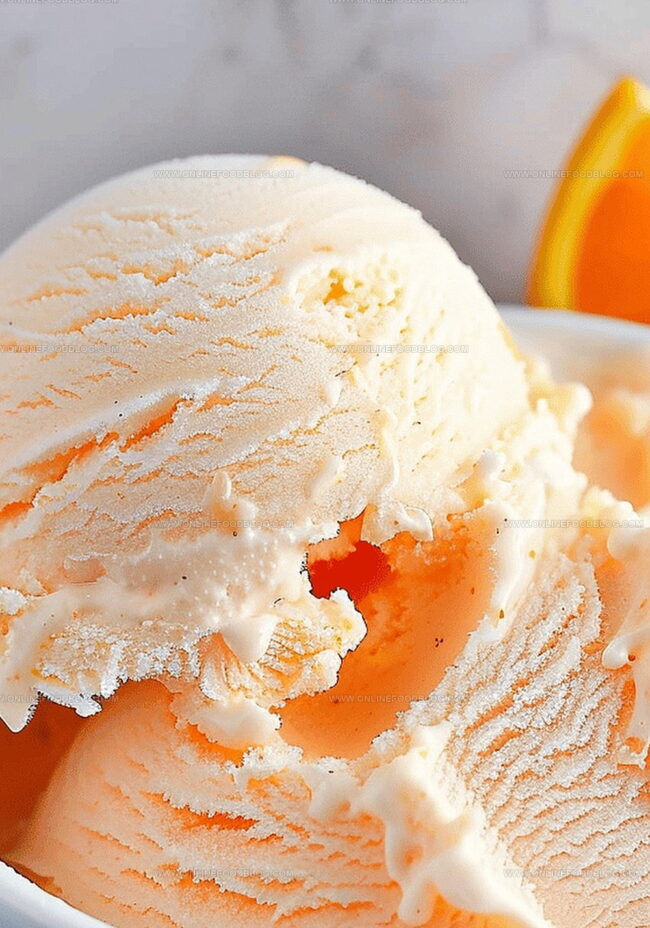
Every spoonful swirls with bright orange zest and smooth, luxurious cream, promising a refreshing escape from ordinary treats.
The secret lies in balancing fresh orange juice with rich dairy, allowing each ingredient to shine independently.
Cool and velvety, this homemade ice cream beats any store-bought version with its vibrant, authentic flavors.
Simple ingredients and minimal effort deliver maximum deliciousness in a dessert that feels like a cool breeze on a hot afternoon.
Grab your ice cream maker and let’s whip up a batch of pure, nostalgic bliss.
Quick Recipe Overview
Orange Creamsicle Ice Cream Ingredient Breakdown
For Base and Sweetness:For Citrus and Flavor Profile:For Finishing and Enhancement:Tools to Make This Frozen Treat at Home
No-Churn Orange Ice Cream Instructions
Grab a spacious mixing bowl and combine all the luscious ingredients – the rich cream, sweet sugar, zesty orange juice, smooth milk, vibrant orange and vanilla extracts, and a tiny pinch of salt. Stir everything together until you create a silky smooth base that promises delightful flavor.
Transfer your dreamy mixture into an ice cream maker and let the machine work its transformative wonder. Follow the specific guidelines for your churning device to ensure the perfect texture and consistency.
Once churned, carefully transfer the soft, swirling orange cream into a container. Seal the top with protective plastic wrap, creating a barrier against freezer odors. Slide the container into the chilly depths of your freezer and allow it to solidify for several hours or overnight.
When ready to indulge, remove the ice cream from the freezer. Let it rest for a brief moment to soften slightly, making scooping a breeze. Serve in chilled bowls and savor the creamy, nostalgic taste of a classic orange creamsicle.
Flavor Variations for Creamsicle Lovers
How to Scoop & Serve with Style
Tips for Ice Cream Texture in the Freezer
Print
Dreamy Orange Creamsicle Ice Cream Recipe
- Total Time: 40 minutes
- Yield: 7 1x
Description
Homemade orange creamsicle ice cream combines nostalgic childhood flavors with creamy sophistication. Summer dessert enthusiasts will delight in this refreshing treat that blends citrus zest and sweet vanilla notes.
Ingredients
- 1 cup (200 g) sugar
- 1 cup (237 ml) fresh squeezed orange juice
- 1 ½ cups (355 ml) whole milk
- 2 cups (473 ml) heavy whipping cream
- 1 tbsp orange extract
- 2 tsps vanilla extract
- 1 pinch salt
Instructions
- Blending Base: Combine heavy cream, granulated sugar, freshly squeezed orange juice, whole milk, orange extract, vanilla extract, and kosher salt in a large mixing bowl, whisking thoroughly until sugar completely dissolves.
- Color Enhancement: If desired, add orange food coloring and stir until color integrates evenly throughout the mixture.
- Churning Process: Pour liquid base into an electric ice cream maker and churn for 20-25 minutes, monitoring until the mixture achieves a soft, pillowy consistency characteristic of fresh ice cream.
- Freezing Preparation: Gently transfer churned ice cream into a freezer-safe container, smoothing the surface with a spatula to create a uniform texture and eliminate air pockets.
- Freezing and Setting: Seal container with a tight-fitting lid or plastic wrap, then place in the freezer for 4-6 hours or preferably overnight, allowing the ice cream to solidify and develop a rich, luxurious mouthfeel.
- Serving Technique: Remove ice cream from freezer 2-3 minutes before serving, permitting slight thawing to facilitate effortless scooping and maximize flavor intensity.
Notes
- Optimize Color Vibrancy: Add food coloring drops for a visually appealing, bright orange hue that matches the classic creamsicle look.
- Ensure Sugar Dissolution: Whisk ingredients thoroughly until sugar completely melts, preventing graininess in the final ice cream texture.
- Churn Precisely: Follow manufacturer’s ice cream maker instructions carefully, aiming for the 20-25 minute churning window to achieve optimal creamy consistency.
- Patience Pays Off: Allow ice cream to freeze 4-6 hours or overnight for a smoother, more developed flavor profile and ideal scooping texture.
- Prep Time: 15 minutes
- Cook Time: 25 minutes
- Category: Desserts, Snacks
- Method: Blending
- Cuisine: American
Nutrition
- Serving Size: 7
- Calories: 365
- Sugar: 28 g
- Sodium: 50 mg
- Fat: 27 g
- Saturated Fat: 17 g
- Unsaturated Fat: 10 g
- Trans Fat: 0 g
- Carbohydrates: 36 g
- Fiber: 0 g
- Protein: 3 g
- Cholesterol: 80 mg
Mia Reynolds
Food Writer & Home Cooking Specialist
Expertise
Easy Home Baking, Recipe Writing and Storytelling, Local and Seasonal Ingredients, Baking for Beginners
Education
New England Culinary Institute (NECI), Montpelier, Vermont
Community College of Vermont, Winooski, Vermont
Mia Reynolds fell in love with baking as a teenager experimenting in her family kitchen. Her passion took her to New England Culinary Institute, where she learned practical pastry techniques, and later to Community College of Vermont to deepen her understanding of food management.
Mia combines clear, simple baking instructions with heartwarming stories, making home baking approachable for everyone.