Zesty Orange Creamsicle Bars Recipe: Sunny Citrus Joy
Summer’s sweet nostalgia comes alive with these delightful orange creamsicle bars that capture childhood memories in every single bite.
Creamy, tangy, and perfectly refreshed, this dessert weaves together classic flavors reminiscent of favorite frozen treats.
The zesty orange essence dances beautifully against a smooth, velvety cream base that promises pure indulgence.
Each bar delivers a cool, silky texture that melts effortlessly on your tongue.
Bright citrus notes blend seamlessly with rich, sweet undertones, creating a dessert that feels both familiar and excitingly new.
Simple ingredients and straightforward steps make these bars an accessible treat for any skill level.
Dive into this delectable recipe and let these orange creamsicle bars transport you to sunny, carefree afternoons.
Quick Recipe Overview
What Goes Into Orange Creamsicle Bars
For Crust:For Filling:For Garnish:Tools for Making Creamsicle Bars
Instructions for Orange Creamsicle Bars
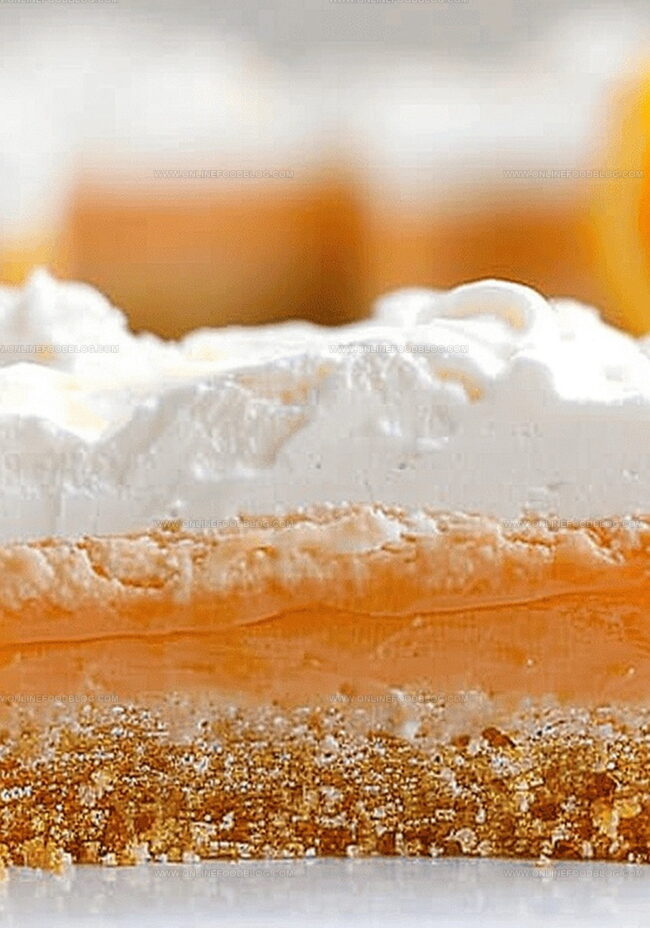
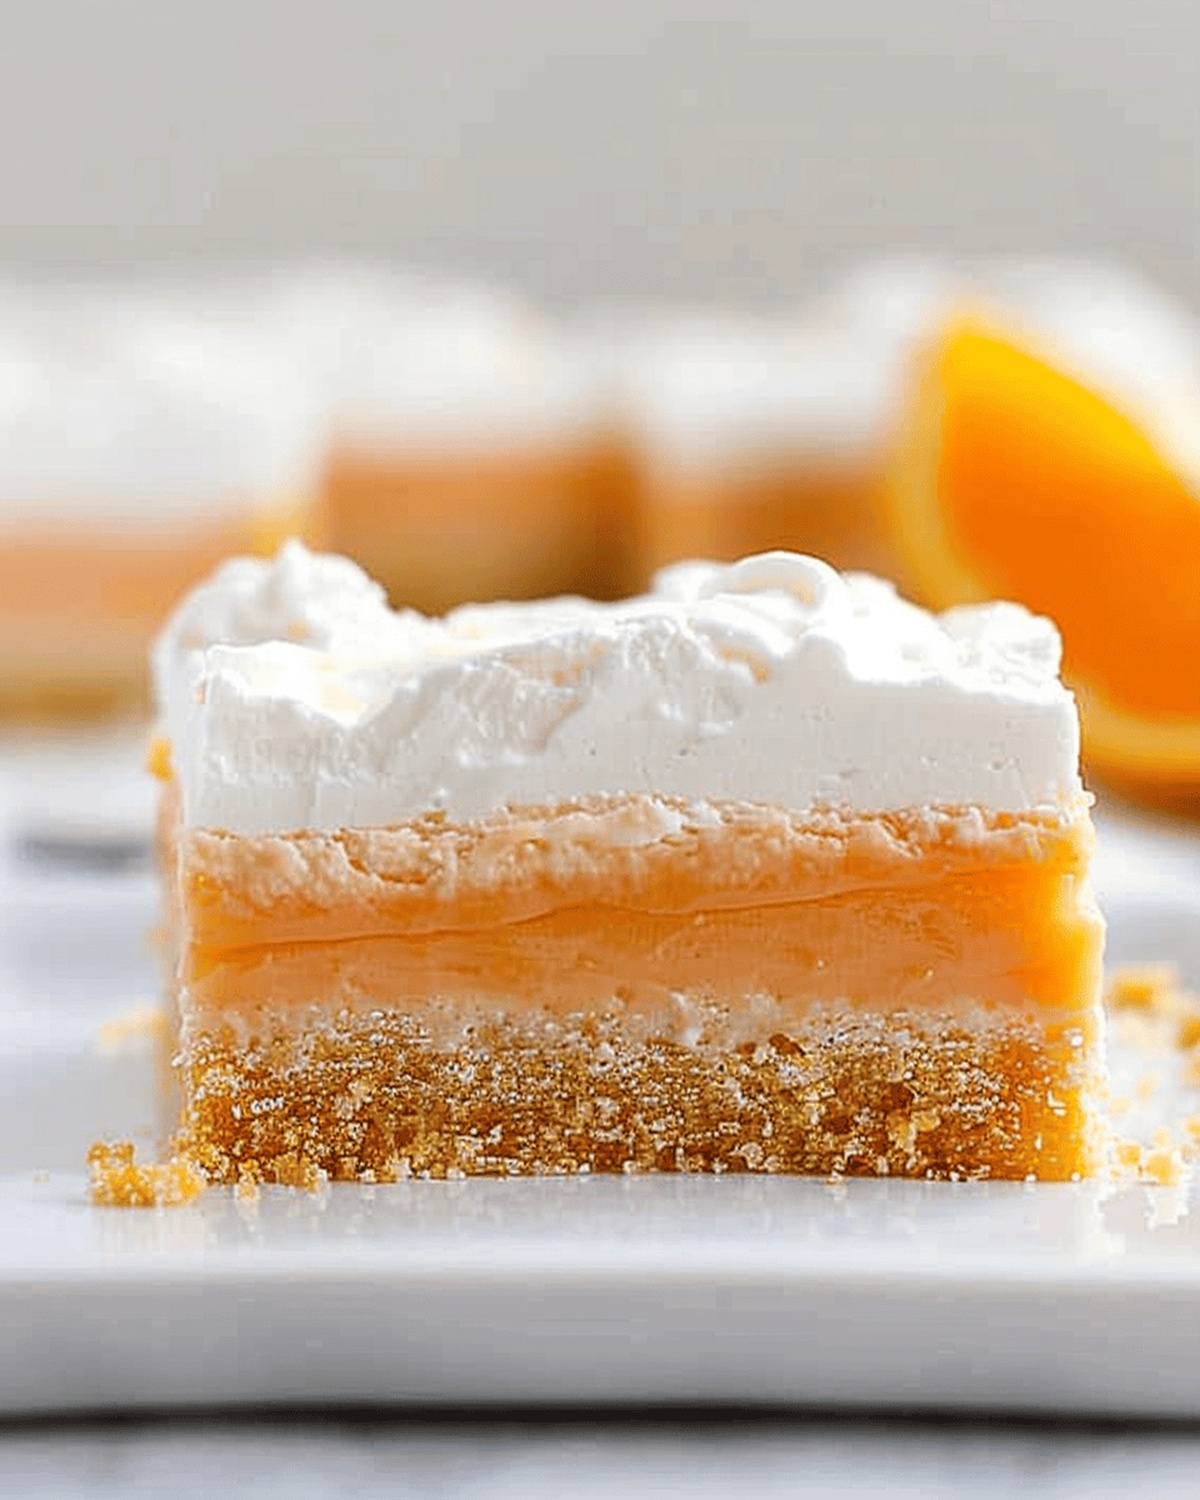
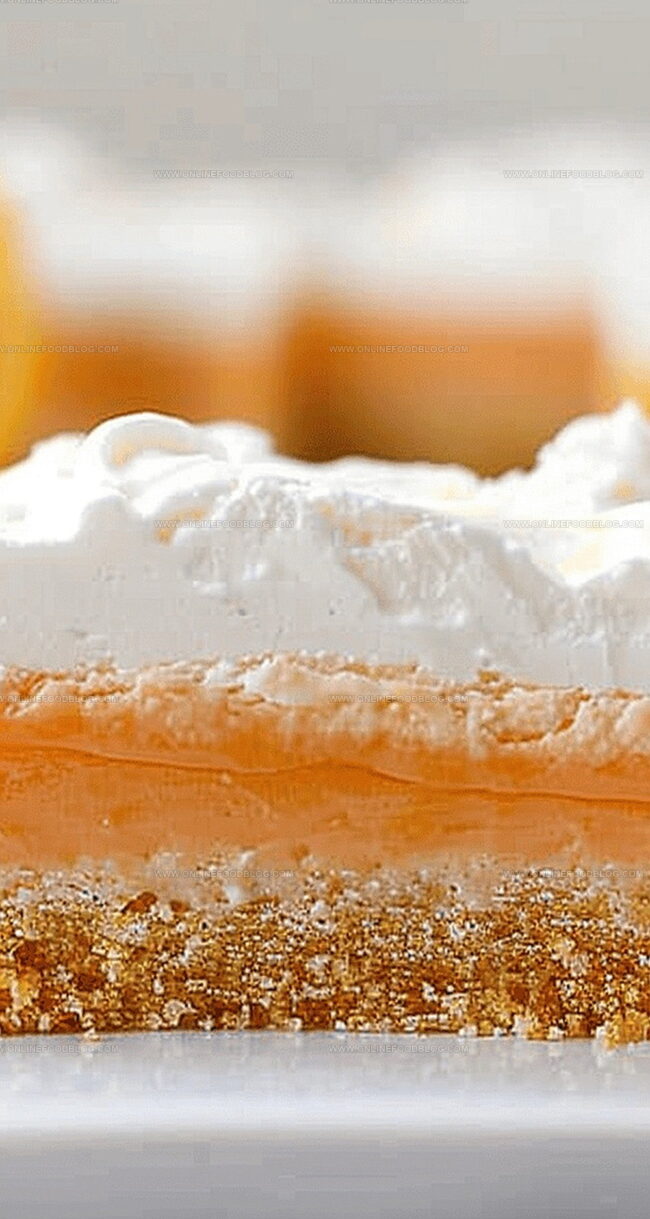
Crush graham crackers into fine crumbs, blending with melted butter to create a smooth base that will anchor the entire dessert. Press this mixture firmly into a parchment-lined baking dish, creating a solid platform for the creamy layers to come.
Whip cream cheese until silky and soft, incorporating zesty orange notes and a hint of sweetness. Gently fold in fluffy whipped topping, creating a light and airy mixture that captures the essence of a classic creamsicle treat.
Introduce a burst of tangy orange flavor by swirling orange jello mix into a portion of the cream cheese blend. This adds a playful splash of color and an extra dimension of citrusy brightness to the dessert.
Allow the bars to rest in the refrigerator, letting the layers meld and set. This resting period transforms the individual components into a harmonious, creamy dessert that promises a refreshing and nostalgic taste experience.
Creamsicle Bar Tweaks & Expert Tips
Serving Orange Creamsicle Bars Beautifully
How to Store Orange Creamsicle Bars
Print
Dreamy Orange Creamsicle Bars
- Total Time: 1 hour 20 minutes
- Yield: 13 1x
Description
Summer’s craving for orange creamsicle bars leads to this refreshing dessert combining tangy citrus and creamy sweetness. Cool, zesty squares provide perfect relief during warm afternoons when you want something light and delightful.
Ingredients
- 2 blocks (8 oz / 226 g) cream cheese, room temperature
- 3 cups whipped topping
- 2 cups (14–16 sheets / 168 g) honey graham crackers, finely crushed
- 1½ cups (125 g) confectioners’ sugar
- ½ cup (1 stick / 113 g) unsalted butter, melted
- ¼ cup orange jello mix (from a 3 oz / 85 g box)
- 1 medium orange, juiced (about ¼ cup juice)
- 1 tbsp granulated sugar
- 1 tsp orange zest
- Orange slice (optional)
Instructions
- Crust Preparation: Blend graham cracker crumbs with sugar, then fold in melted butter until mixture achieves a consistent sandy texture. Press firmly into parchment-lined 8×8-inch pan, ensuring uniform coverage. Refrigerate for 15-20 minutes to solidify.
- Cream Cheese Foundation: Whip cream cheese until velvety smooth, then incorporate sugar, orange zest, and orange juice. Blend until mixture transforms into a silky, luminous consistency.
- Layering Technique: Gently fold whipped topping into cream cheese mixture, maintaining its delicate airiness. Divide mixture into two portions, spreading first layer evenly across chilled crust.
- Orange Infusion: Introduce orange jello powder into remaining cream cheese mixture, stirring until vibrant orange color emerges. Carefully distribute this zesty layer atop initial cream cheese foundation.
- Finishing Touch: Crown dessert with remaining whipped topping, creating an elegant, cloud-like surface. Refrigerate for minimum 1 hour, preferably overnight, allowing flavors to harmonize and texture to set completely.
- Serving Presentation: Remove from refrigerator, lift from pan using parchment paper edges, and slice into precise, picturesque squares ready for indulgence.
Notes
- Prep Pan Perfectly: Line with parchment paper, ensuring complete bottom and side coverage for effortless bar removal and clean cutting.
- Crush Crumbs Carefully: Press graham cracker mixture firmly and evenly to create a compact, stable crust that won’t crumble when slicing.
- Whip Without Lumps: Beat cream cheese thoroughly to achieve a silky smooth texture, eliminating any potential grainy or chunky consistency.
- Chill for Success: Refrigerate bars for at least 1 hour, preferably overnight, to allow flavors to develop and layers to set completely for the best taste and texture.
- Prep Time: 20 minutes
- Cook Time: 1 hour
- Category: Desserts, Snacks
- Method: Blending
- Cuisine: American
Nutrition
- Serving Size: 13
- Calories: 250
- Sugar: 18 g
- Sodium: 150 mg
- Fat: 14 g
- Saturated Fat: 8 g
- Unsaturated Fat: 4 g
- Trans Fat: 0 g
- Carbohydrates: 30 g
- Fiber: 1 g
- Protein: 2 g
- Cholesterol: 40 mg
Mia Reynolds
Food Writer & Home Cooking Specialist
Expertise
Easy Home Baking, Recipe Writing and Storytelling, Local and Seasonal Ingredients, Baking for Beginners
Education
New England Culinary Institute (NECI), Montpelier, Vermont
Community College of Vermont, Winooski, Vermont
Mia Reynolds fell in love with baking as a teenager experimenting in her family kitchen. Her passion took her to New England Culinary Institute, where she learned practical pastry techniques, and later to Community College of Vermont to deepen her understanding of food management.
Mia combines clear, simple baking instructions with heartwarming stories, making home baking approachable for everyone.