Silky No-Churn Ice Cream Recipe: A Sweet Summer Dream
Sweet summer days call for a delightful no-churn ice cream that breaks all the traditional churning rules with ease.
This creamy, dreamy dessert comes together in minutes without an expensive ice cream maker.
You’ll love how simple ingredients magically become a luxurious frozen treat that rivals any store-bought version.
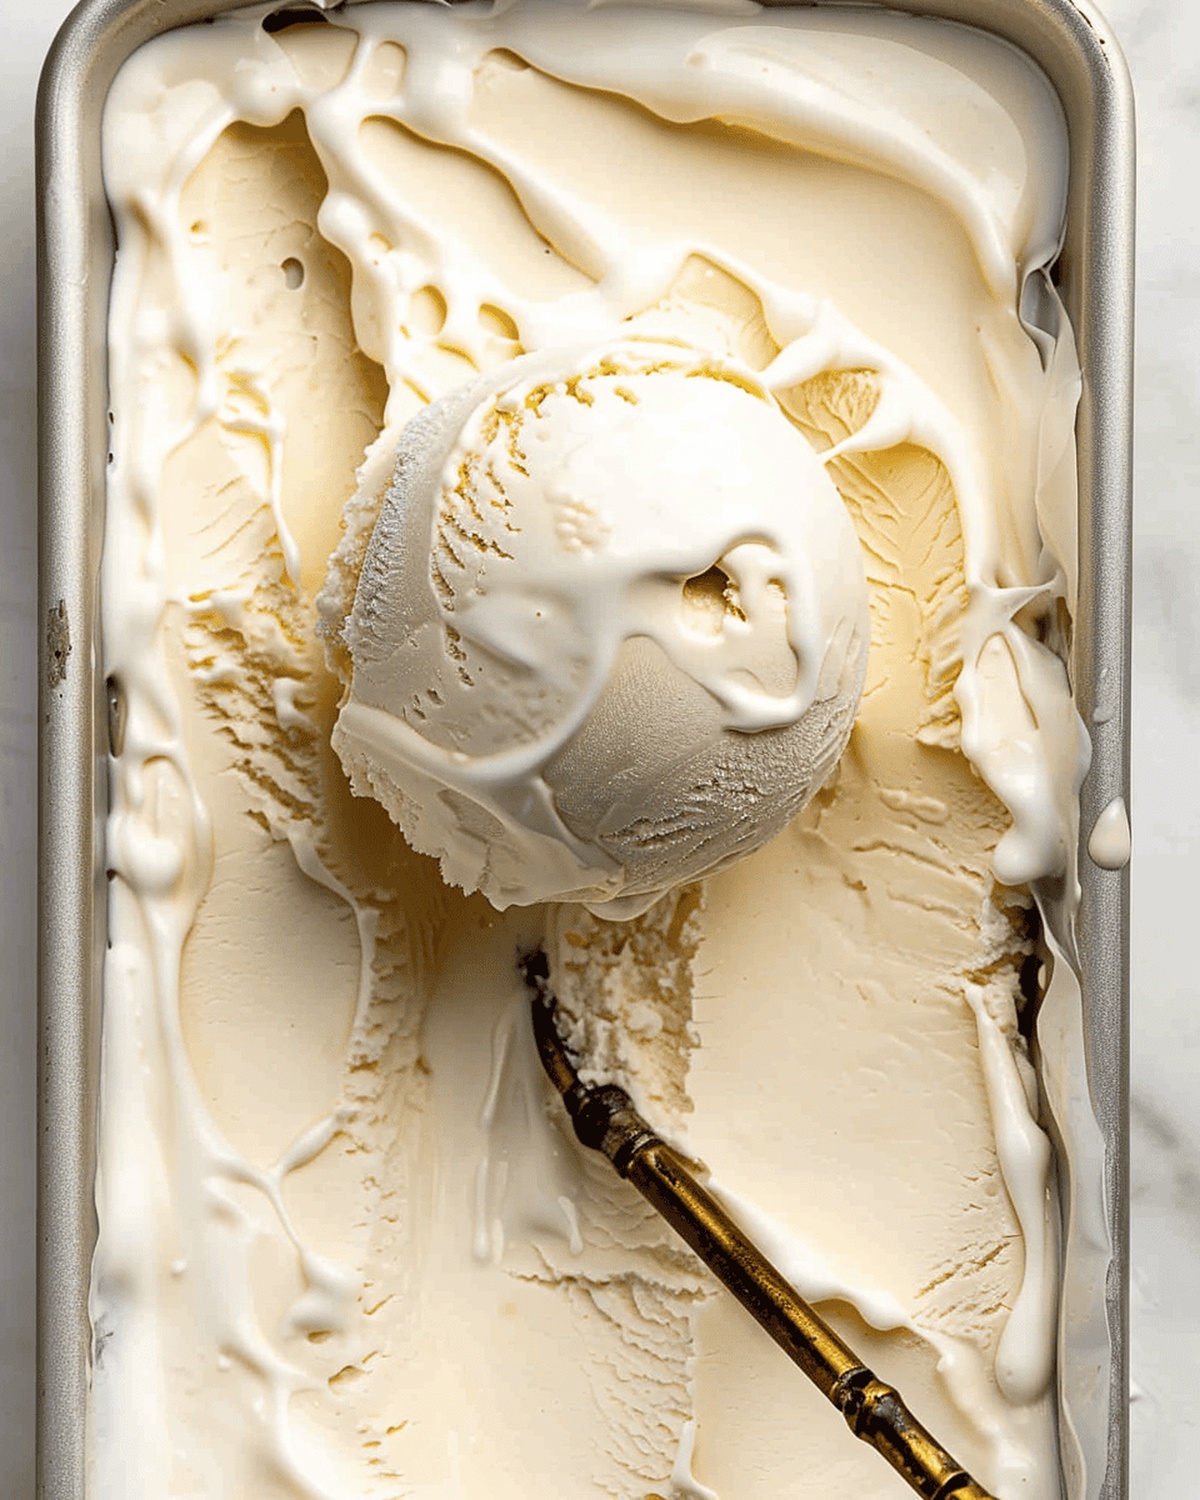
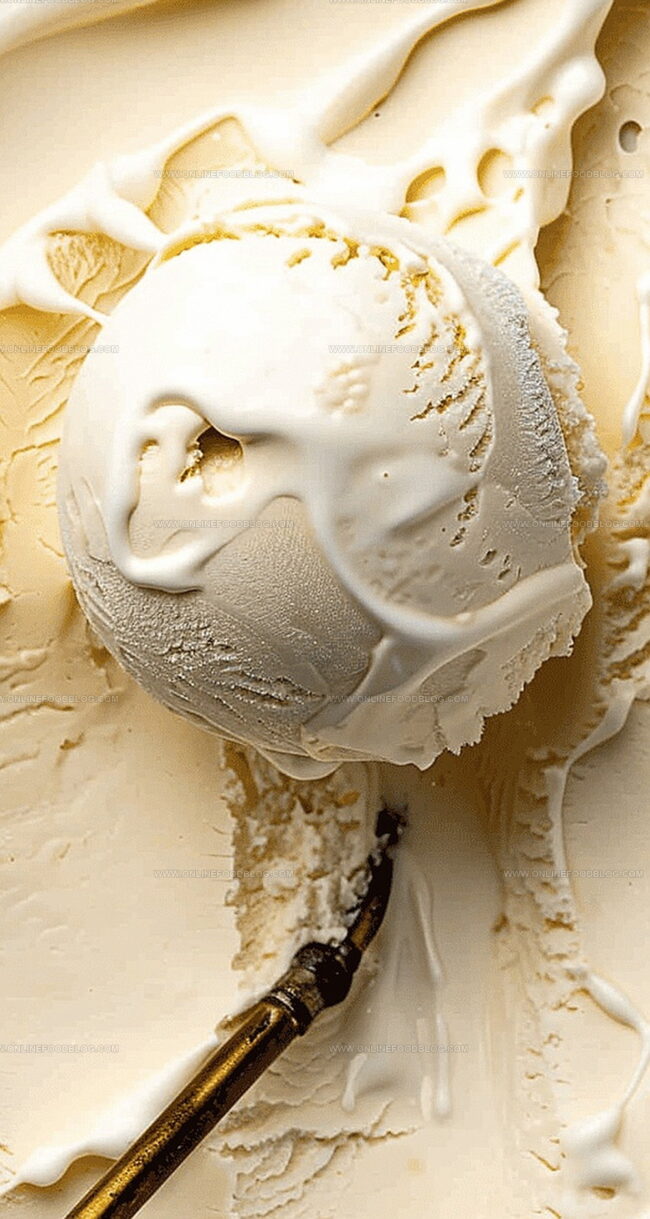
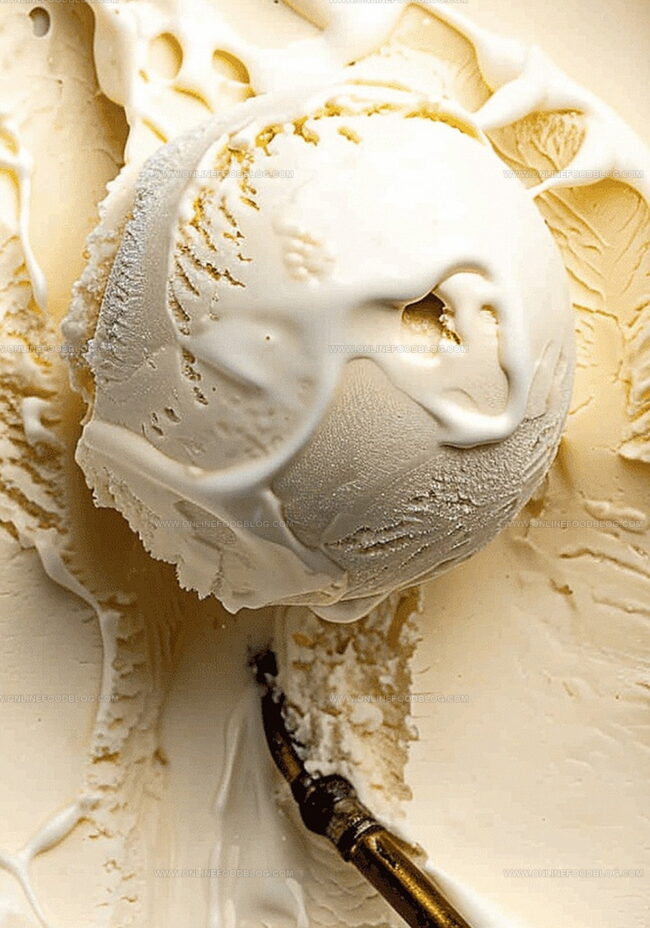
The secret to this no-churn ice cream lies in whipping cream to soft peaks and folding in sweetened condensed milk.
Rich, velvety, and impossibly smooth, this dessert requires just a handful of pantry staples and minimal effort.
The best part?
You can customize the flavors with endless mix-ins like chocolate chips, fruit, or nuts.
Get ready to indulge in a scoop of pure, homemade bliss that will become your go-to summer dessert.
Quick Recipe Overview
No-Churn Ice Cream: Ingredient List
For The Base:For Flavor Enhancers:For Optional Mix-Ins:Kitchen Tools for Freezing Without an Ice Cream Maker
Steps to Make No-Churn Ice Cream Easily
Grab a spacious mixing bowl and unleash your inner chef. Whip the cream with enthusiasm until it transforms into fluffy clouds that hold their shape when you lift the beaters. The secret is finding that perfect moment of peaks without going overboard.
In a separate bowl, welcome vanilla extract into the sweet condensed milk world. Think of folding as a delicate dance – gently combine the whipped cream into the milk mixture, preserving all that beautiful airiness you’ve created.
This is where creativity kicks in! Want to jazz up your dessert? Sprinkle in crushed cookies, chocolate chunks, or fresh berries. Fold these treasures into your creamy base with a light touch, ensuring every scoop will be a surprise.
Transfer your dreamy concoction into a container that can brave the freezer. Seal it tight – no air allowed! Tuck it away for 4-6 hours and let the cold transform your mixture into a luscious, creamy treat that’ll make taste buds dance with joy.
Sweet Mix-Ins and Swirl Variations
Serving Ideas for Summer or Movie Nights
Freezer Tips to Keep It Scoopable
Print
Dreamy No-Churn Ice Cream Recipe
- Total Time: 4 hours 10 minutes
- Yield: 5 1x
Description
Homemade no-churn ice cream delivers creamy perfection without complex machinery or churning. Whipped cream and sweetened condensed milk blend into a luxurious dessert you can customize with countless flavor combinations.
Ingredients
- 14 ounces (397 grams) sweetened condensed milk
- 2 cups (473 ml) heavy whipping cream
- 1 teaspoon (5 ml) vanilla extract
Instructions
- Whipping: Utilize an electric mixer to whip heavy cream into voluminous, sturdy peaks that hold their shape without becoming grainy or over-beaten.
- Base Preparation: Blend sweetened condensed milk with vanilla extract in a separate bowl, creating a smooth, aromatic foundation for the frozen dessert.
- Fusion and Incorporation: Gently fold the whipped cream into the condensed milk mixture using careful, sweeping motions to maintain the mixture’s delicate airiness and prevent deflation.
- Flavor Enhancement: Introduce textural elements like crushed chocolate sandwich cookies, dark chocolate shards, or fresh seasonal berries, distributing them evenly throughout the creamy base with minimal mixing.
- Freezing Process: Transfer the mixture to a freezer-safe container with an airtight lid, smoothing the surface to ensure uniform freezing and optimal texture development.
- Chilling and Setting: Seal the container completely and place in the freezer’s coldest section, allowing the ice cream to solidify and develop its rich, creamy consistency for 4-6 hours or until perfectly set.
Notes
- Whip with Precision: Achieve soft, billowy peaks in heavy cream by carefully controlling electric whisking to maintain a delicate texture without over-beating.
- Flavor Foundation Matters: Mix vanilla extract thoroughly into sweetened condensed milk for a rich, aromatic base that elevates the entire dessert’s taste profile.
- Fold Gently: Use gentle, sweeping motions when combining whipped cream and condensed milk to preserve airiness and prevent mixture deflation.
- Freeze Strategically: Store in the coldest freezer section, tightly sealed, allowing 4-6 hours of undisturbed freezing to develop a smooth, creamy consistency.
- Prep Time: 10 minutes
- Cook Time: 0 minutes
- Category: Desserts, Snacks
- Method: Blending
- Cuisine: American
Nutrition
- Serving Size: 5
- Calories: 409
- Sugar: 26 g
- Sodium: 83 mg
- Fat: 30 g
- Saturated Fat: 18 g
- Unsaturated Fat: 12 g
- Trans Fat: 0 g
- Carbohydrates: 35 g
- Fiber: 0 g
- Protein: 4 g
- Cholesterol: 100 mg
Mia Reynolds
Food Writer & Home Cooking Specialist
Expertise
Easy Home Baking, Recipe Writing and Storytelling, Local and Seasonal Ingredients, Baking for Beginners
Education
New England Culinary Institute (NECI), Montpelier, Vermont
Community College of Vermont, Winooski, Vermont
Mia Reynolds fell in love with baking as a teenager experimenting in her family kitchen. Her passion took her to New England Culinary Institute, where she learned practical pastry techniques, and later to Community College of Vermont to deepen her understanding of food management.
Mia combines clear, simple baking instructions with heartwarming stories, making home baking approachable for everyone.