
Heavenly No Bake Mini Cannoli Cheesecakes Recipe
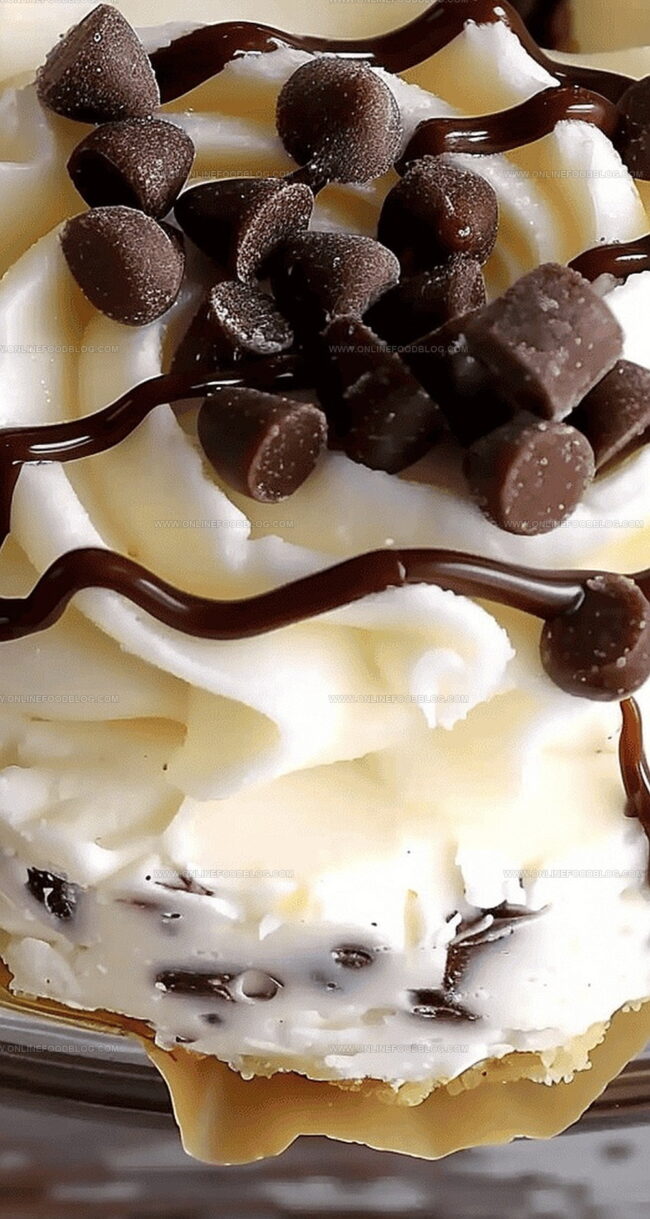
Creamy, decadent no bake mini cannoli cheesecakes dance with the spirit of Sicily, bringing a delightful twist to traditional desserts.
These petite treats capture the essence of classic cannoli in a wonderfully effortless style.
Silky cream cheese mingles with ricotta, creating a luscious base that melts in your mouth.
Crisp cannoli shells crumble and fold into the smooth mixture, adding a delightful crunch to each bite.
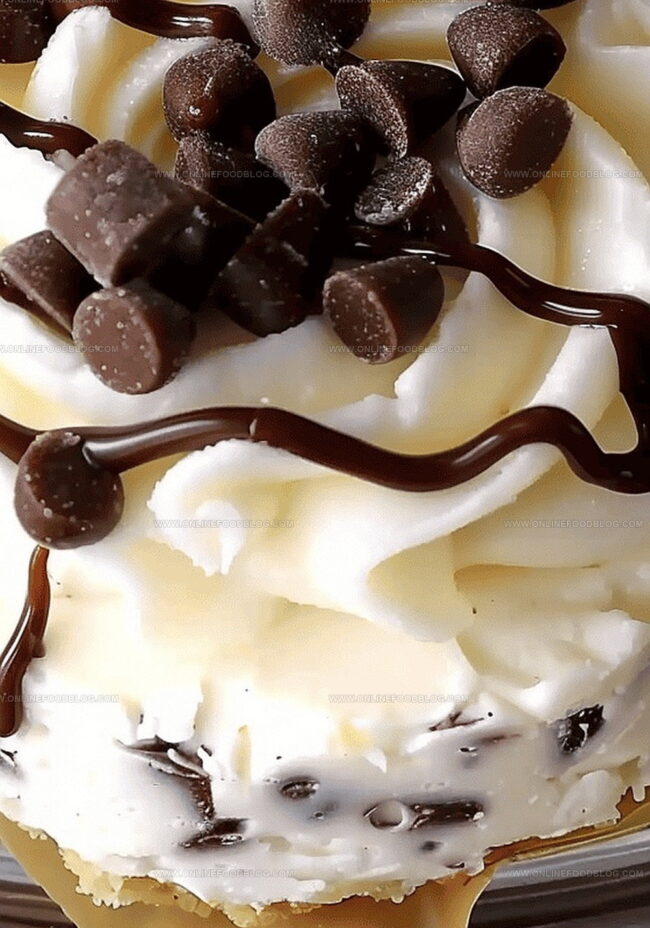
Sweet chocolate chips sprinkled throughout provide bursts of rich flavor that complement the creamy filling.
The delicate desserts come together quickly, requiring no oven and minimal prep time.
Dive into these irresistible mini cheesecakes that promise to transport you straight to an Italian pastry shop with every single spoonful.
Quick Recipe Overview
Ingredients for No Bake Mini Cannoli Cheesecakes
For The Crust:For The Creamy Filling:For Garnish and Decoration:Setup Guide for Mini Cannoli Cheesecake Success
Simple Steps to Make Cannoli Cheesecakes
Crush cannoli shells or graham crackers into fine crumbs. Mix with melted butter and press into muffin liners. Chill in refrigerator while preparing filling.
Gently pat ricotta dry with paper towel. Whip mascarpone and cream cheese until silky. Incorporate ricotta and blend smoothly. Gradually mix in powdered sugar.
Whip heavy cream with vanilla until peaks form sturdily. Carefully fold whipped cream into cheese mixture. Sprinkle mini chocolate chips throughout.
Scoop cheese mixture into prepared muffin cups. Refrigerate for minimum six hours until firm. Store extra filling in piping bag.
Pipe reserved filling on top of chilled cheesecakes. Drizzle melted chocolate if desired. Scatter additional chocolate chips for extra crunch. Serve and savor these delightful mini desserts.
Flavor Tricks for No Bake Mini Cannoli Cheesecakes
Presenting No Bake Mini Cannoli Cheesecakes
Make-Ahead Notes for No Bake Cannoli Cheesecakes
Print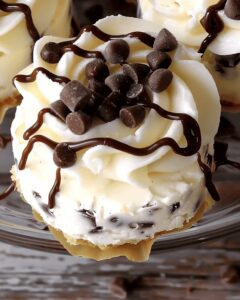
Dreamy Mini Cannoli Cheesecakes
- Total Time: 6 hours 20 minutes
- Yield: 13 1x
Description
Mini cannoli cheesecakes shine as a delectable Italian-inspired dessert blending creamy ricotta with sweet mascarpone. Crisp cannoli shell fragments provide delightful crunch while chocolate chips sprinkled throughout add rich complexity you’ll savor in each delectable bite.
Ingredients
- 8 oz (227 g) cream cheese, softened
- 16 oz (454 g) mascarpone cheese, softened
- ½ cup (120 g) whole ricotta, strained
- 1 ¼ cup (210 g) mini chocolate chips
- 1 ½ cup (180 g) powdered sugar
- 1 ¼ cup (300 ml) heavy whipping cream
- 2 tsp (10 ml) vanilla extract
- Chocolate drizzle (optional)
Instructions
- Crust Formation: Pulverize cannoli shells or graham crackers and blend thoroughly with melted butter. Press the crumb mixture firmly into baking cups within the muffin pan, creating a compact foundational layer. Refrigerate during filling preparation.
- Cheese Blend: Pat ricotta dry with paper towel. Combine mascarpone and cream cheese until achieving a velvety texture. Integrate ricotta, blending until uniformly smooth. Gradually fold in powdered sugar, ensuring complete incorporation.
- Cream Integration: Whip heavy cream with vanilla extract until developing stiff, defined peaks. Gently fold whipped cream into cheese mixture, maintaining a light, airy consistency. Delicately incorporate mini chocolate chips, distributing evenly throughout the mixture.
- Chilling and Setting: Transfer cannoli mixture into chilled baking cups. Refrigerate for minimum 6 hours or preferably overnight, allowing complete solidification. Store additional filling in piping bag within refrigerator.
- Finishing Touches: Once set, elegantly pipe reserved cannoli filling atop cheesecakes. Optionally embellish with melted chocolate drizzle and extra chocolate chips. Serve thoroughly chilled for optimal flavor and texture.
Notes
- Drain Ricotta Thoroughly: Remove excess moisture using paper towels to prevent watery cheesecake and ensure a thick, creamy texture.
- Chill Before Serving: Refrigerate for at least 6 hours or overnight to allow flavors to meld and achieve the perfect set consistency.
- Fold Gently: Use a light folding technique when incorporating whipped cream to maintain the airy, delicate structure of the cheesecake.
- Prep Ahead: Make the cheesecakes a day in advance for stress-free entertaining and enhanced flavor development.
- Prep Time: 20 minutes
- Cook Time: 0 minutes
- Category: Desserts, Snacks
- Method: None
- Cuisine: Italian
Nutrition
- Serving Size: 13
- Calories: 296
- Sugar: 22 g
- Sodium: 85 mg
- Fat: 24 g
- Saturated Fat: 14 g
- Unsaturated Fat: 10 g
- Trans Fat: 0 g
- Carbohydrates: 23 g
- Fiber: 1 g
- Protein: 4 g
- Cholesterol: 92 mg
Mia Reynolds
Food Writer & Home Cooking Specialist
Expertise
Easy Home Baking, Recipe Writing and Storytelling, Local and Seasonal Ingredients, Baking for Beginners
Education
New England Culinary Institute (NECI), Montpelier, Vermont
Community College of Vermont, Winooski, Vermont
Mia Reynolds fell in love with baking as a teenager experimenting in her family kitchen. Her passion took her to New England Culinary Institute, where she learned practical pastry techniques, and later to Community College of Vermont to deepen her understanding of food management.
Mia combines clear, simple baking instructions with heartwarming stories, making home baking approachable for everyone.