
Brew Magic at Home: Dreamy Coffee Syrup Recipe
On a lazy weekend morning, brewing the perfect coffee syrup can turn an ordinary breakfast into a decadent experience.
This homemade coffee syrup delivers rich, silky sweetness that dancers across your taste buds with incredible depth.
Baristas and home cooks alike adore how simple ingredients combine to create something extraordinary.
Sweet, smooth, and intensely aromatic, the syrup brings restaurant-quality flavor directly to your kitchen.
A few basic pantry staples are all you need to craft this liquid gold.
Professional chefs know that small touches like this coffee syrup can dramatically enhance desserts, cocktails, and morning beverages.
Start stirring and get ready to impress everyone at the breakfast table.
Quick Recipe Overview
What Goes in Coffee Syrup
For Sweetening and Flavoring:For Preservation and Storage:Equipment for Brewing Coffee Syrup
How to Cook Up Coffee Syrup
A delightful homemade syrup that transforms ordinary drinks into extraordinary experiences. This sweet liquid gold brings rich coffee flavor to your favorite beverages and desserts.
Grab a pan and combine coffee grounds with sugar. Heat gently, allowing the mixture to dance and meld together. Stir consistently until sugar completely dissolves into a smooth, glossy mixture.
Optional but recommended – add a splash of vanilla for deeper complexity. The vanilla creates a subtle warmth that elevates the entire syrup’s character.
Remove from heat and let the mixture cool naturally. This resting period allows flavors to settle and integrate beautifully.
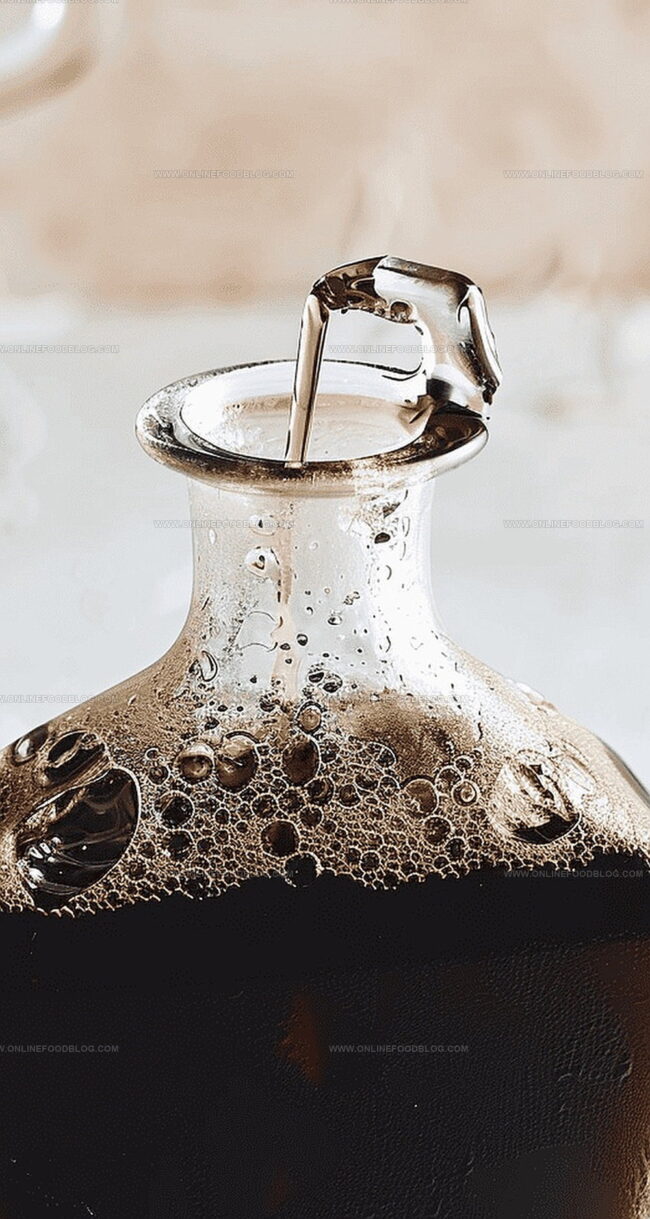
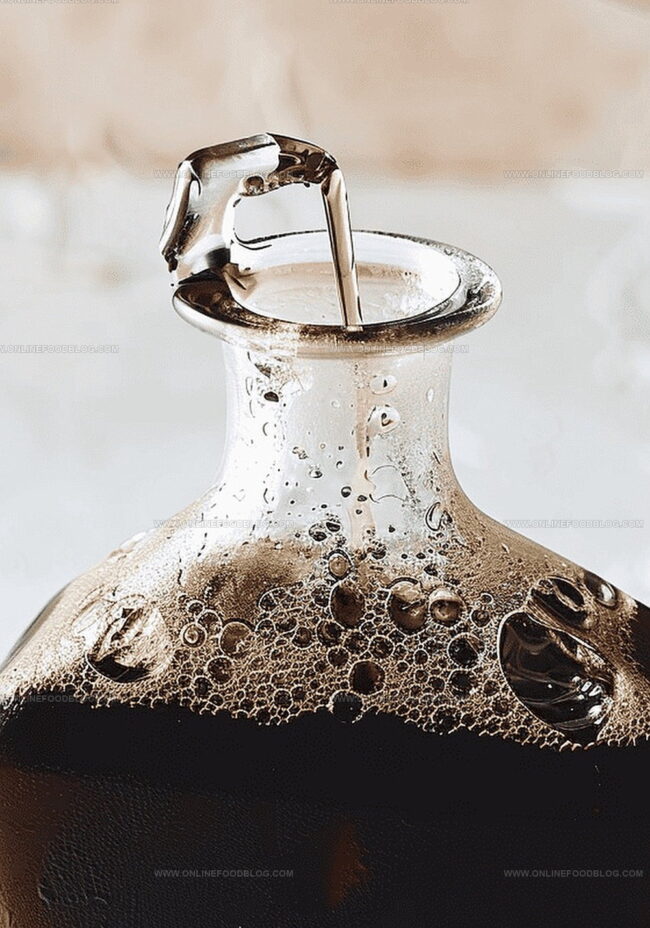
Strain the syrup through a fine mesh to ensure silky smoothness. Transfer into a clean glass container with a tight seal. Refrigerate and enjoy within four weeks for maximum taste intensity.
Drizzle over ice cream, mix into cocktails, swirl into coffee, or use as a unique cake glaze. Your homemade coffee syrup becomes a versatile culinary companion that sparks creativity in the kitchen.
Flavor Boosts for Coffee Syrup
Coffee Syrup Serving Tips
Coffee Syrup Storage Tips
Print
Dreamy Coffee Syrup Recipe
- Total Time: 15 minutes
- Yield: 2 1x
Description
Silky coffee syrup weaves Italian culinary magic through desserts and breakfast classics. Drizzled over pancakes or mixed into cocktails, this rich liquid brings sweet espresso intensity to countless recipes.
Ingredients
- 250 g (8.8 oz) brown sugar
- 250 ml (8.5 fl oz) strong black coffee
- 0.5–1 tsp (2.5–5 ml) vanilla extract (optional)
Instructions
- Sugar Dissolution: In a medium saucepan, combine granulated sugar and freshly brewed coffee over a low flame, whisking meticulously to ensure complete sugar integration without caramelization.
- Flavor Enhancement: Remove pan from heat and incorporate pure vanilla extract, stirring delicately to distribute aromatic essence throughout the liquid mixture.
- Cooling and Straining: Allow syrup to cool naturally to ambient temperature, then position a fine-mesh strainer over a sanitized glass container and carefully transfer the liquid, eliminating potential sediment.
- Storage and Preservation: Seal the container securely, refrigerate, and gently shake before each use to maintain optimal flavor and uniform texture for up to four weeks.
Notes
- Prevent Sugar Burning: Maintain low heat and whisk constantly to dissolve sugar without caramelizing, ensuring a smooth, clear syrup texture.
- Vanilla Integration Technique: Add vanilla extract after removing from heat to preserve delicate aromatic compounds and prevent flavor degradation.
- Storage Optimization: Use a clean, sterilized glass container and refrigerate immediately to extend syrup shelf life up to four weeks.
- Shake Before Use: Always gently mix the syrup before serving to restore its consistent texture and redistribute any settled ingredients.
- Prep Time: 5 minutes
- Cook Time: 10 minutes
- Category: Drinks, Snacks
- Method: Simmering
- Cuisine: American
Nutrition
- Serving Size: 2
- Calories: 270
- Sugar: 67 g
- Sodium: 5 mg
- Fat: 0 g
- Saturated Fat: 0 g
- Unsaturated Fat: 0 g
- Trans Fat: 0 g
- Carbohydrates: 67 g
- Fiber: 0 g
- Protein: 1 g
- Cholesterol: 0 mg
Mia Reynolds
Food Writer & Home Cooking Specialist
Expertise
Easy Home Baking, Recipe Writing and Storytelling, Local and Seasonal Ingredients, Baking for Beginners
Education
New England Culinary Institute (NECI), Montpelier, Vermont
Community College of Vermont, Winooski, Vermont
Mia Reynolds fell in love with baking as a teenager experimenting in her family kitchen. Her passion took her to New England Culinary Institute, where she learned practical pastry techniques, and later to Community College of Vermont to deepen her understanding of food management.
Mia combines clear, simple baking instructions with heartwarming stories, making home baking approachable for everyone.