Dreamy Coconut Squares Recipe: Sweet Paradise in Every Bite
Mouthwatering coconut squares dance between sweet indulgence and tropical paradise, promising a delectable treat that melts in your mouth.
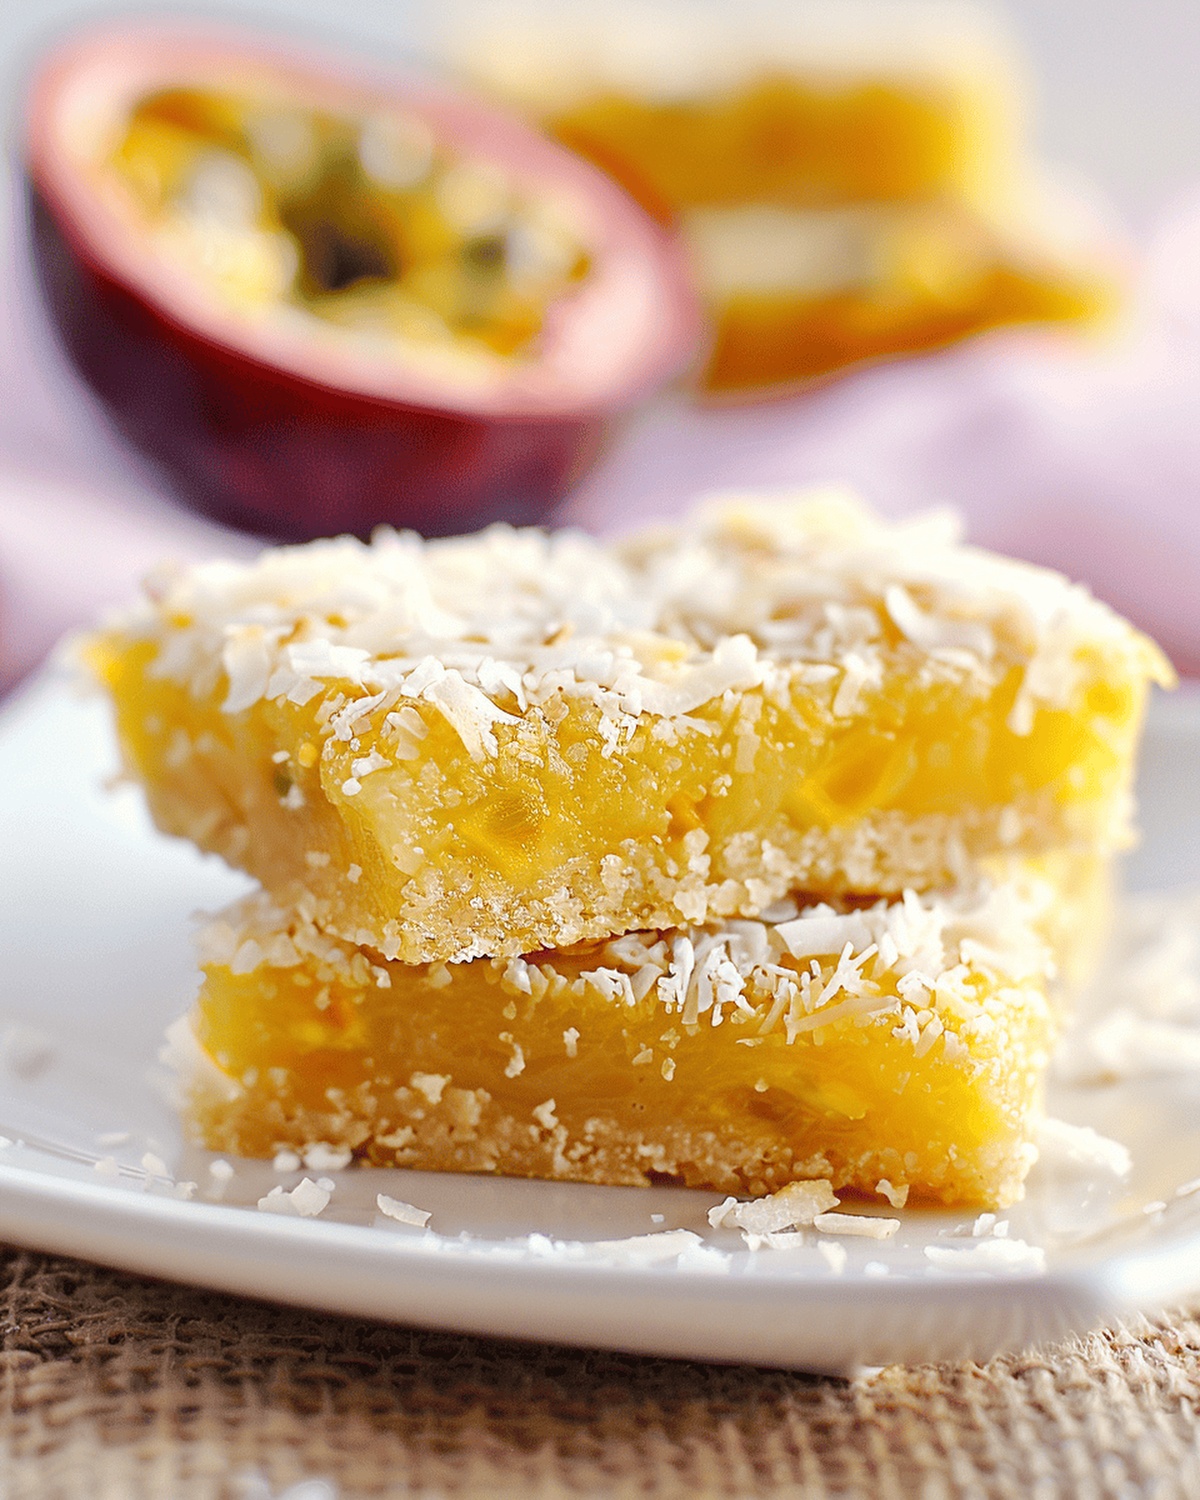
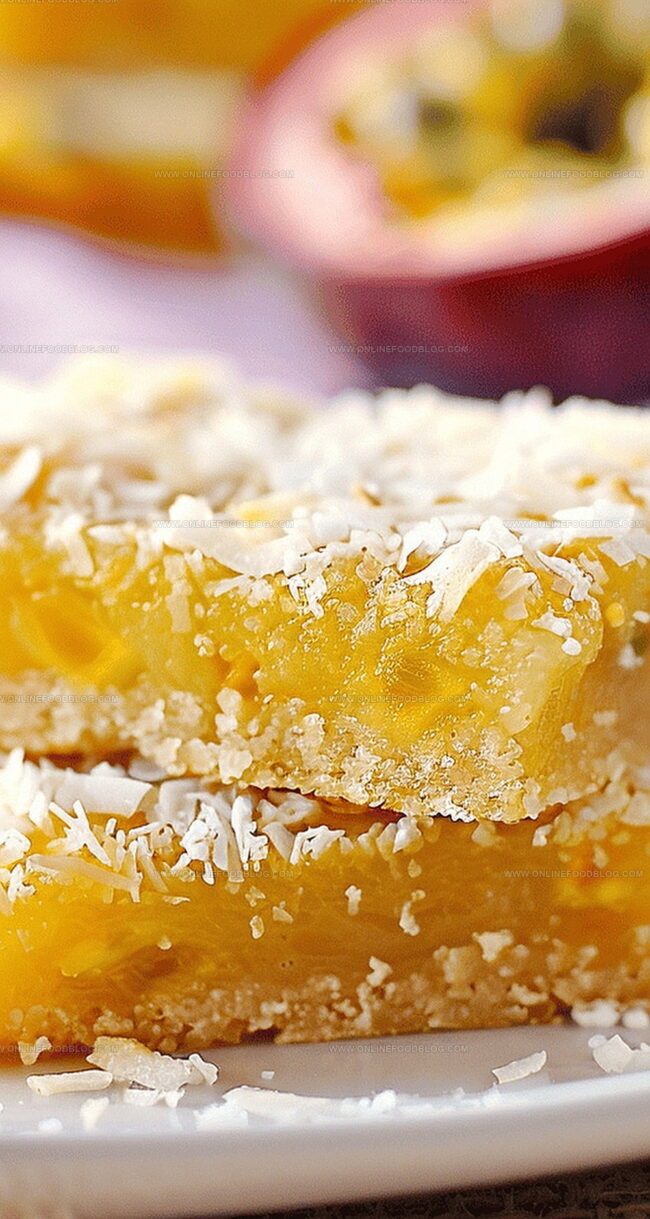
Soft, buttery layers combine with shredded coconut to create a dessert that whispers of island breezes and sunny afternoons.
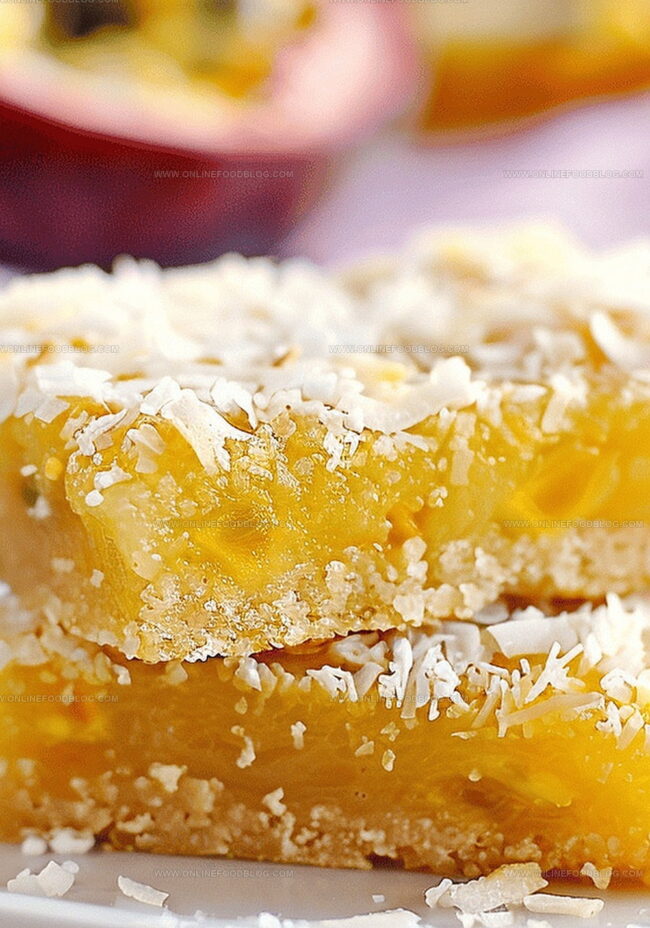
The golden edges hint at a perfectly caramelized texture that beckons you closer.
Delicate and rich, these squares offer a simple yet sophisticated flavor profile that elevates any dessert spread.
Each bite delivers a harmonious blend of sweetness and subtle coconut essence.
Bakers of all skill levels can master this irresistible recipe with just a few basic ingredients.
These coconut squares will become your new go-to dessert for every occasion, from casual gatherings to elegant celebrations.
Quick Recipe Overview
Coconut Squares: What You’ll Need to Get Started
For Base Layer:For Passion Cream Filling:For Finishing Touches:Baking Tools to Make Coconut Squares a Breeze
Equipment & Tools:How to Prepare and Bake Coconut Squares
Create a delightful shortbread foundation using soft butter, brown sugar, flour, and grated coconut. Blend ingredients until they form a smooth, cohesive mixture that promises a melt-in-your-mouth experience.
Spread the shortbread mixture into a lined baking pan, ensuring an even surface. Use a fork to gently puncture the entire layer, which helps prevent unwanted rising during baking.
Warm the oven and bake the coconut base until it turns a beautiful golden color. This creates a sturdy platform for the luscious passion fruit layer that follows.
Whisk together eggs, sugar, flour, and vibrant passion fruit puree to create a silky, tropical cream. This layer will transform the simple shortbread into an extraordinary dessert.
Pour the passion fruit cream over the golden shortbread base. Return to the oven for a second bake, allowing the layers to meld into a harmonious treat.
Once baked, remove from the oven and let the dessert cool completely. Sprinkle additional coconut on top for extra texture and visual appeal. Cut into elegant squares ready to delight.
Keep the coconut squares chilled until serving to maintain their perfect texture and flavor integrity.
Creative Add-Ins for Your Coconut Squares
Ways to Serve Coconut Squares for Any Occasion
How to Store Coconut Squares Without Losing Flavor
Print
Dreamy Coconut Squares
- Total Time: 1 hour 2 minutes
- Yield: 13 1x
Description
Scrumptious coconut squares deliver Brazilian dessert magic with layers of creamy coconut and sweet condensed milk. Rich tropical flavors promise a delightful escape to Brazilian culinary traditions you’ll savor with each delectable bite.
Ingredients
- 150 g (5.3 oz) passion fruit puree or juice
- 100 g (3.5 oz) eggs (about 2 eggs)
- 125 g (4.4 oz) flour
- 90 g (3.2 oz) soft demi-sel butter
- 85 g (3 oz) granulated sugar
- 40 g (1.4 oz) brown sugar
- 20 g (0.7 oz) grated coconut
- 18 g (0.6 oz) flour
Instructions
- Pan Preparation: Line a 20 x 20 cm baking pan completely with parchment paper, covering bottom and sides meticulously.
- Base Creation: Cream butter and brown sugar using an electric mixer until smooth, then fold in flour and grated coconut to form a cohesive dough.
- Initial Baking: Press dough evenly into the pan, puncture surface with a fork, and bake at 175°C for 16 minutes until edges turn golden brown.
- Cream Preparation: Whisk eggs and sugar until light and frothy, then gently blend in flour and passion fruit puree, ensuring a smooth consistency.
- Final Assembly: Lower oven temperature to 160°C, pour passion fruit cream over the partially baked shortbread base, and bake for an additional 16 minutes.
- Finishing Touches: Cool completely on a wire rack, sprinkle with extra grated coconut, slice into elegant squares, and refrigerate if not serving immediately.
Notes
- Prep Like a Pro: Line the baking pan completely with parchment paper, allowing extra overhang for easy lifting and clean removal of the dessert.
- Mixing Magic: Cream butter and sugar thoroughly until light and fluffy to create a smooth, uniform base that ensures perfect texture in the shortbread layer.
- Prevent Bubbling: Use a fork to poke multiple holes in the shortbread base before baking, which helps prevent unwanted rising and creates a more stable foundation.
- Chill for Perfection: Refrigerate the squares after cooling to help set the passion fruit cream and enhance the overall flavor intensity, making the dessert more refreshing and stable.
- Prep Time: 30 minutes
- Cook Time: 32 minutes
- Category: Desserts, Snacks
- Method: Baking
- Cuisine: Asian
Nutrition
- Serving Size: 13
- Calories: 157
- Sugar: 9.5 g
- Sodium: 67 mg
- Fat: 7.5 g
- Saturated Fat: 4.6 g
- Unsaturated Fat: 2.9 g
- Trans Fat: 0 g
- Carbohydrates: 22 g
- Fiber: 0.4 g
- Protein: 3.3 g
- Cholesterol: 62 mg
Mia Reynolds
Food Writer & Home Cooking Specialist
Expertise
Easy Home Baking, Recipe Writing and Storytelling, Local and Seasonal Ingredients, Baking for Beginners
Education
New England Culinary Institute (NECI), Montpelier, Vermont
Community College of Vermont, Winooski, Vermont
Mia Reynolds fell in love with baking as a teenager experimenting in her family kitchen. Her passion took her to New England Culinary Institute, where she learned practical pastry techniques, and later to Community College of Vermont to deepen her understanding of food management.
Mia combines clear, simple baking instructions with heartwarming stories, making home baking approachable for everyone.