Crunchy Katsu Chicken with Coconut Rice Recipe: Island Delight
Golden, crispy, and irresistibly delicious, this katsu chicken recipe delivers a flavor explosion that’ll make your taste buds dance.
Perfectly seasoned chicken breasts coated in a crunchy panko breading guarantee an epic meal that stands out from ordinary dinner options.
The accompanying coconut rice adds a creamy, tropical undertone that complements the crispy chicken beautifully.
Tender chicken meets a delicate, fragrant rice base, creating a harmonious blend of textures and flavors.
Each bite promises a satisfying crunch that melts in your mouth with rich, savory notes.
Simple ingredients come together to craft a restaurant-quality dish you can easily make at home.
Grab your apron and get ready to impress with this mouthwatering culinary adventure.
Quick Recipe Overview
What You’ll Need for Crispy Katsu Chicken & Coconut Rice
For Protein Base:For Coating Elements:For Accompaniments and Finishing:Tools You’ll Want for Katsu Chicken
Cooking Guide for Katsu Chicken with Coconut Rice
Boil rice in generously salted water following package guidelines. After cooking, return rice to pot and blend with creamy coconut milk over residual warmth.
Create three separate stations: flour, beaten eggs, and crispy breadcrumbs. Gently season chicken with salt and pepper, then delicately coat through each station.
Pour sesame oil into a hot skillet. Sear chicken fillets until golden brown, approximately 2-3 minutes per side. Adjust heat to ensure even cooking without scorching.
Thinly slice cucumber and creamy avocado. These vibrant ingredients will complement the golden chicken.
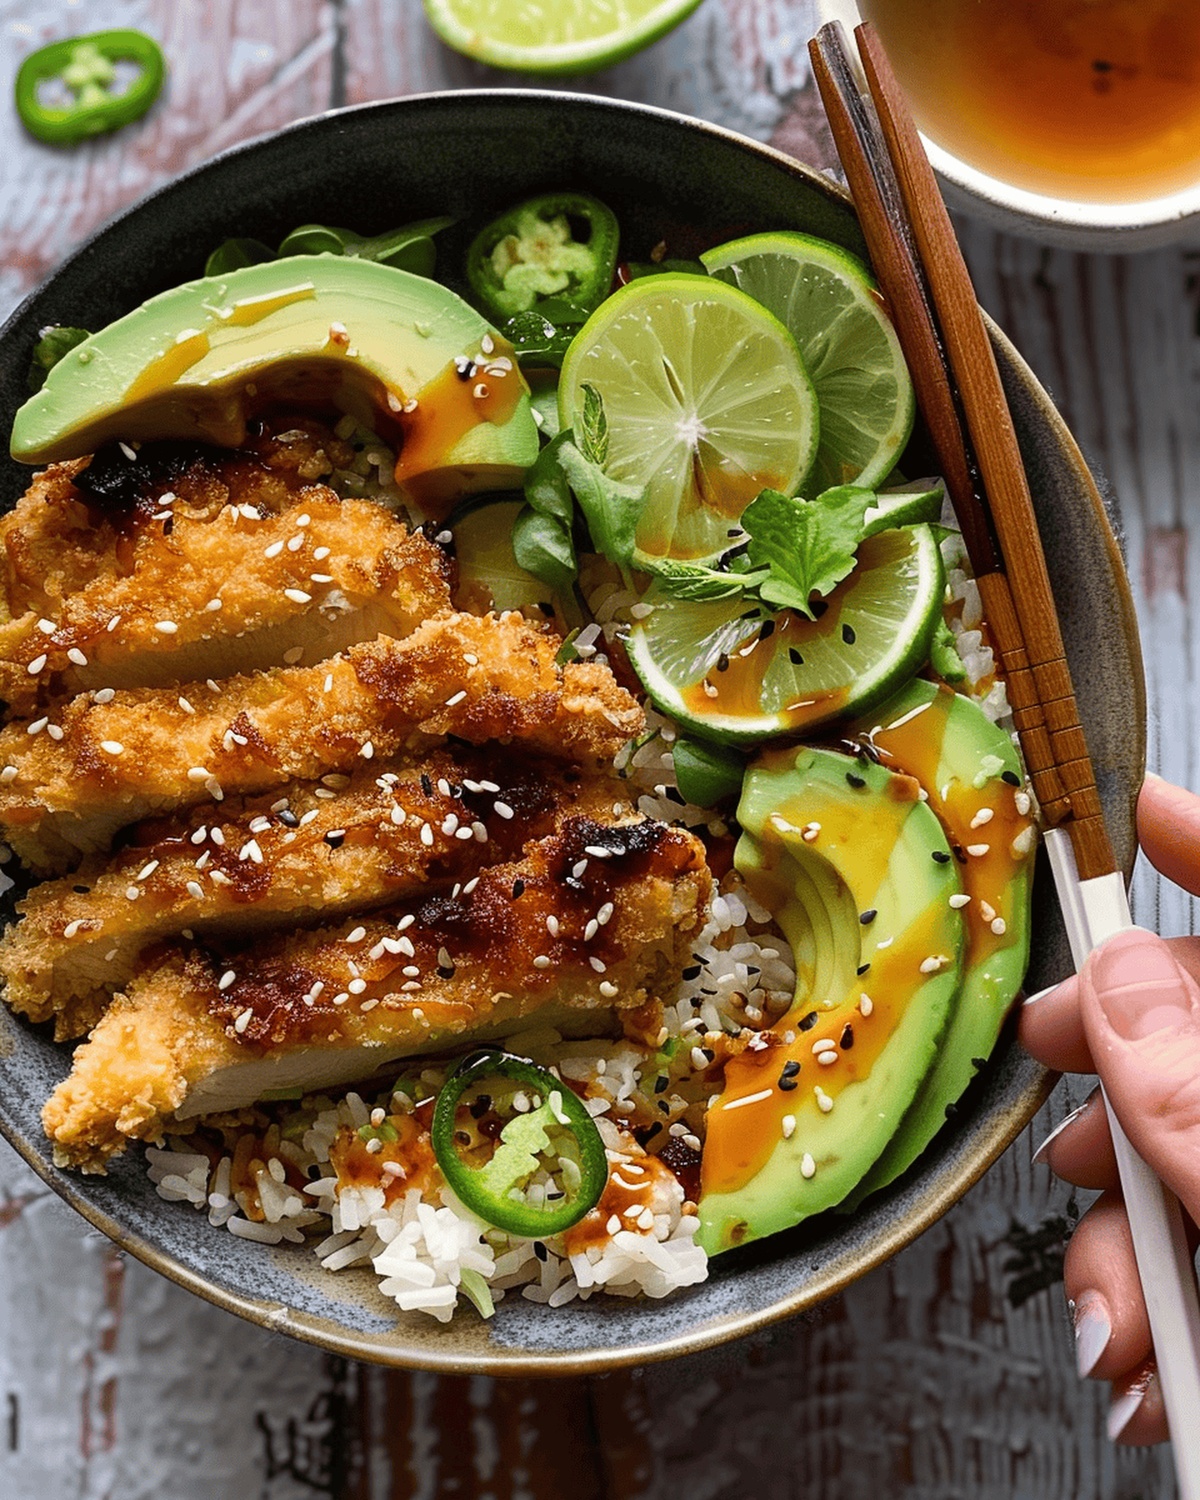
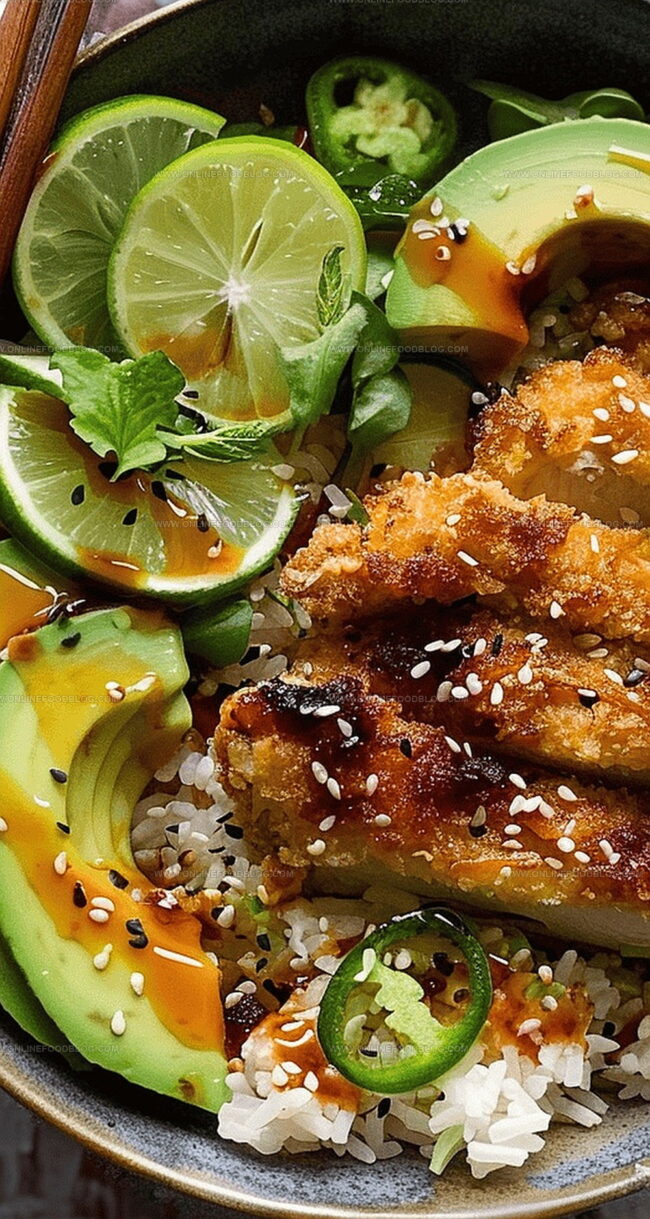
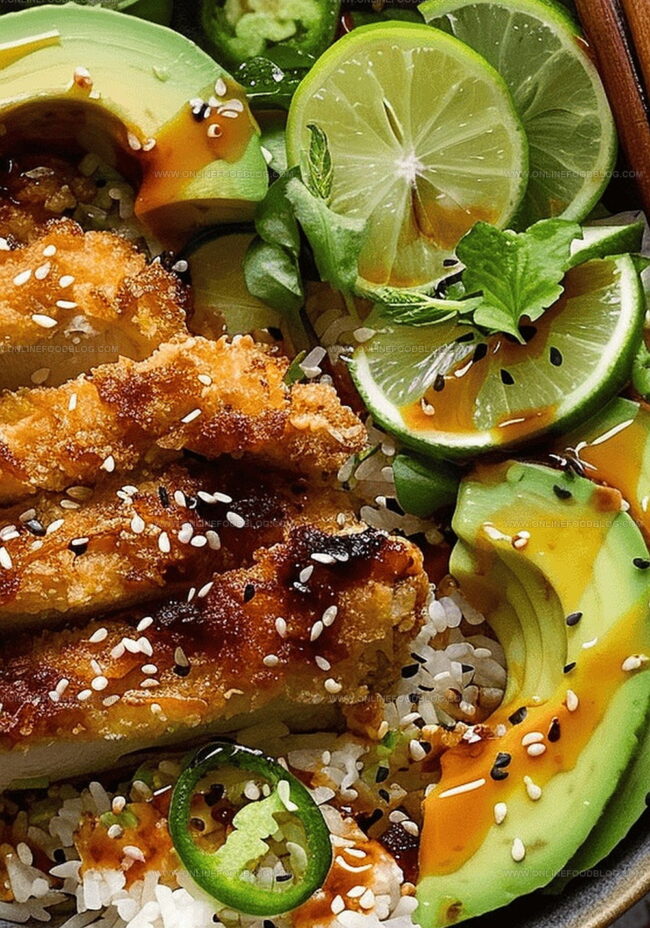
Layer fluffy coconut rice as a base. Arrange sliced crispy chicken on top. Scatter cucumber and avocado around the plate. Sprinkle with toasted sesame seeds, drizzle lime juice, and add a touch of spicy oil for extra zest.
Tips to Perfect Your Crispy Katsu Combo
Serve Up Katsu Chicken with Tropical Style
Keeping Leftover Katsu Chicken Tidy & Tasty
Print
Crunchy Katsu Chicken With Coconut Rice Recipe
- Total Time: 30 minutes
- Yield: 3 1x
Description
Homemade crispy katsu chicken with coconut rice delivers Japanese comfort cuisine straight to dinner tables. Crunchy panko-crusted chicken alongside fragrant coconut rice makes you crave another delicious bite.
Ingredients
- 2 chicken fillets (125 g / 4.4 oz)
- 40 g (1.4 oz) panko breadcrumbs
- 30 g (1.1 oz) flour
- 2 tbsps sesame oil (for cooking)
- Salt
- Pepper
- 100 g (3.5 oz) basmati rice
- 2 tbsps coconut milk
- 1 mini cucumber
- 1 avocado
- 2 tbsps sesame seeds
- ½ lime
- Spicy oil (optional)
Instructions
- Rice Preparation: Immerse rice in salted water and cook following package instructions until perfectly fluffy and tender.
- Breading Setup: Arrange three distinct coating stations – flour, whisked eggs, and breadcrumbs – for seamless chicken preparation.
- Chicken Seasoning: Generously season chicken fillets with kosher salt and black pepper, ensuring comprehensive coverage.
- Coating Process: Systematically transform chicken by dredging in flour, dunking in egg wash, and thoroughly coating with breadcrumbs for ultimate crispiness.
- Frying Technique: Heat sesame oil in a heavy skillet over medium-high heat until it reaches optimal sizzling temperature.
- Cooking Chicken: Carefully place breaded fillets into hot oil, searing 2-3 minutes per side until achieving a rich golden-brown crust, then reduce heat and continue cooking until internal temperature reaches 165°F.
- Vegetable Preparation: Delicately slice cucumber into translucent half-moons and avocado into elegant wedges, sprinkling cucumber with salt to remove excess moisture.
- Rice Finishing: After cooking, drain rice and fold in coconut milk, creating a creamy, fragrant base.
- Plating and Garnishing: Slice chicken diagonally, arrange coconut rice in serving bowls, top with crispy katsu, and embellish with cucumber, avocado, sesame seeds, fresh lime juice, and optional spicy oil.
Notes
- Prep Like a Pro: Organize your three coating stations before starting to ensure a smooth, mess-free breading process.
- Temperature Matters: Use a meat thermometer to confirm chicken reaches 165°F for safe, perfectly cooked meat without overcooking.
- Oil Mastery: Maintain medium-high heat for crispy, golden-brown exterior without burning the breading or undercooking the chicken.
- Moisture Magic: Lightly salt cucumber slices to draw out excess water, preventing soggy sides and enhancing overall dish texture.
- Prep Time: 10 minutes
- Cook Time: 20 minutes
- Category: Dinner, Lunch
- Method: Frying
- Cuisine: Japanese
Nutrition
- Serving Size: 3
- Calories: 640
- Sugar: 2 g
- Sodium: 400 mg
- Fat: 28 g
- Saturated Fat: 9 g
- Unsaturated Fat: 17 g
- Trans Fat: 0 g
- Carbohydrates: 75 g
- Fiber: 5 g
- Protein: 30 g
- Cholesterol: 80 mg
Mia Reynolds
Food Writer & Home Cooking Specialist
Expertise
Easy Home Baking, Recipe Writing and Storytelling, Local and Seasonal Ingredients, Baking for Beginners
Education
New England Culinary Institute (NECI), Montpelier, Vermont
Community College of Vermont, Winooski, Vermont
Mia Reynolds fell in love with baking as a teenager experimenting in her family kitchen. Her passion took her to New England Culinary Institute, where she learned practical pastry techniques, and later to Community College of Vermont to deepen her understanding of food management.
Mia combines clear, simple baking instructions with heartwarming stories, making home baking approachable for everyone.