Crunchy, Irresistible Crispy Golden Onion Rings Recipe
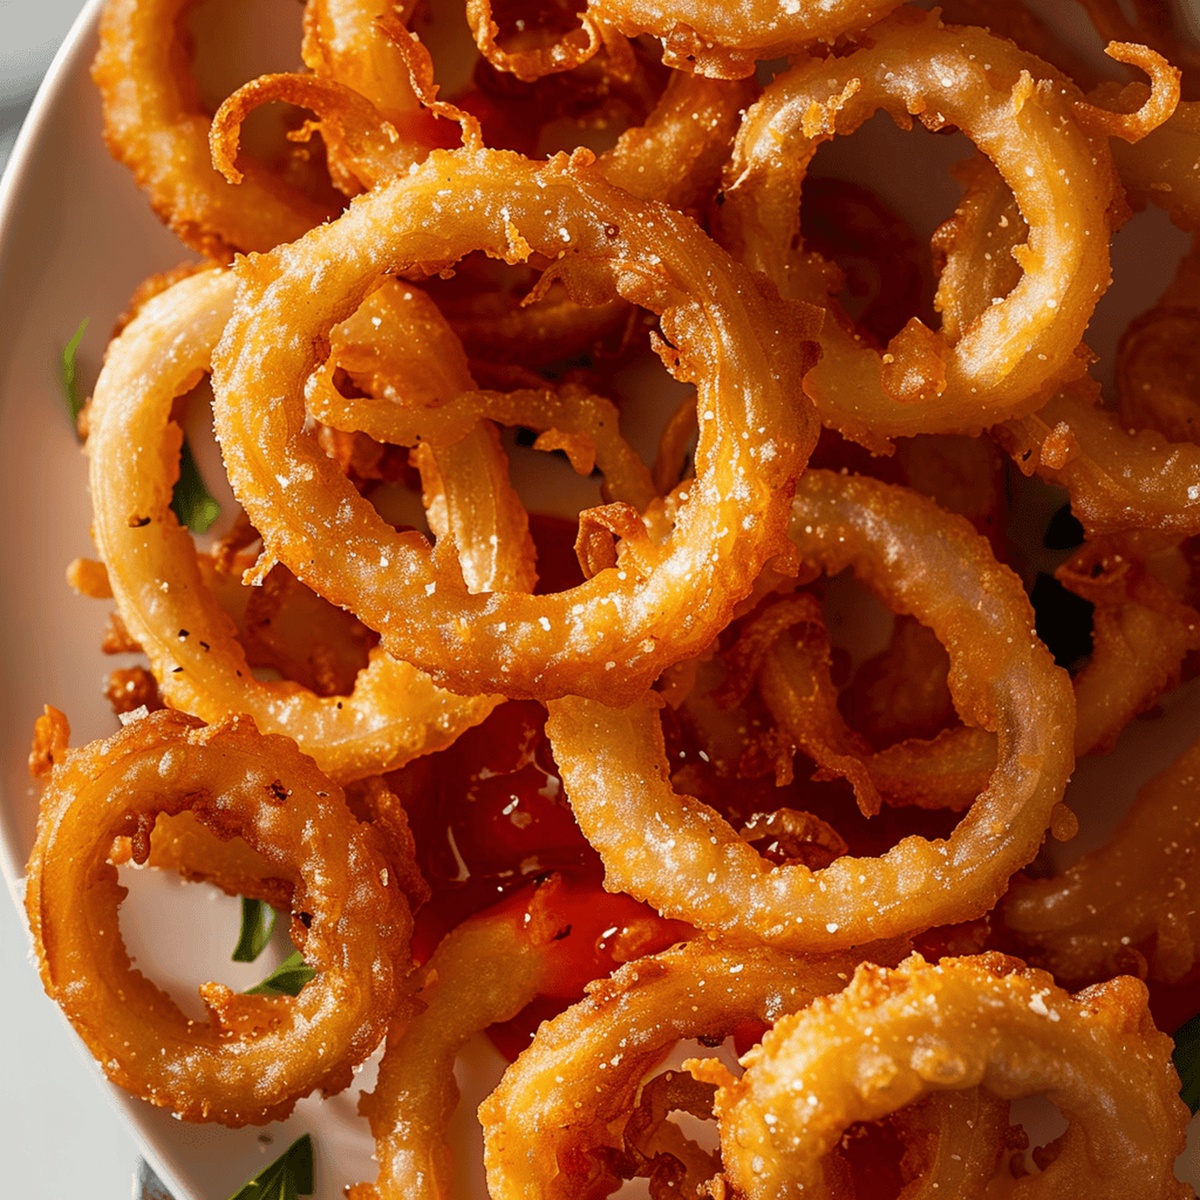
Sizzling and golden, these delectable onion rings with their perfectly crispy batter promise a mouthwatering crunch that’ll make your taste buds dance.
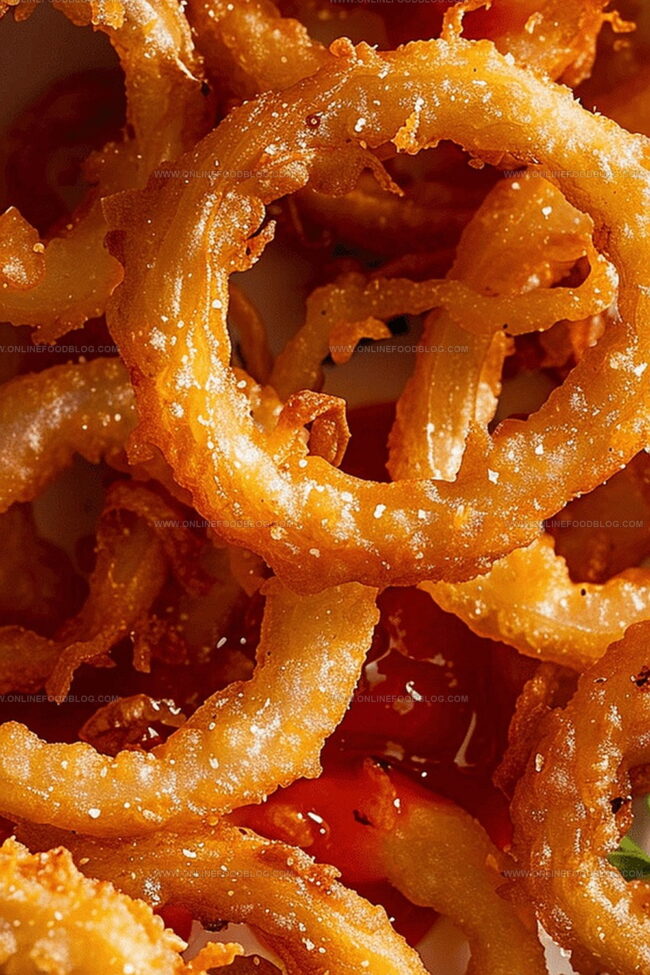
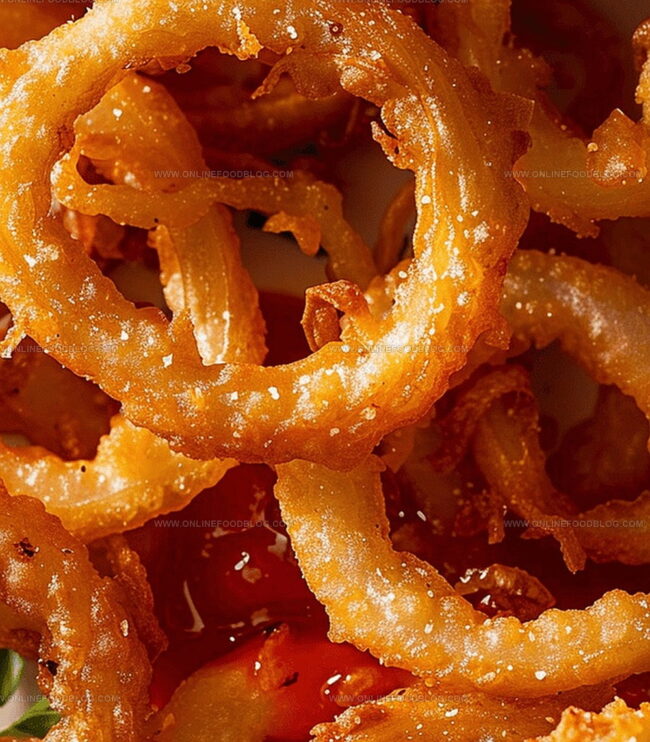
The secret to incredible onion rings lies in achieving that ideal golden-brown exterior and tender interior.
Every bite delivers a satisfying crackle that transforms an ordinary snack into a restaurant-worthy treat.
We’ve mastered a technique that ensures each ring emerges from the oil with a light, airy coating that’s never greasy.
The combination of simple ingredients and precise cooking method guarantees onion rings that are crisp, flavorful, and irresistibly tempting.
Grab your apron and get ready to impress everyone with these crowd-pleasing rings that disappear faster than you can serve them.
Quick Recipe Overview
What’s in Crispy Golden Onion Rings
For Batter Base:For Coating and Preparation:For Main Ingredient:For Frying:Optional Serving:Tools to Fry or Bake Golden Onion Rings
Cooking Crispy Onion Rings at Home
Select fresh, firm onions with smooth, crisp outer layers. Remove papery skin and slice into uniform circular shapes, ensuring each ring looks perfect and even.
Create a light, airy coating using flour, seasonings, and sparkling water. Whisk ingredients until smooth, forming a silky mixture that will transform ordinary onion slices into crunchy delights.
Warm cooking oil to precise golden-brown zone, around 370°F. The right heat ensures maximum crispiness without greasy residue.
Gently dunk each onion ring into batter, allowing excess to drip off. This ensures a delicate, even layer that will crisp beautifully when fried.
Carefully lower battered rings into hot oil, cooking until edges turn gorgeous amber color. Flip once to guarantee uniform crunchiness on all sides.
Transfer rings onto paper towels to remove extra oil. Sprinkle with light salt and serve immediately alongside zesty dipping sauces for maximum flavor enjoyment.
Tips for Getting the Perfect Crunch in Onion Rings
Serving Suggestions for Crispy Golden Onion Rings
How to Store Onion Rings and Keep Them Crisp
Print
Crunchy Golden Onion Rings
- Total Time: 30 minutes
- Yield: 5 1x
Description
Crisp homemade onion rings highlight classic American comfort fare with perfect golden crunch. Seasoned batter and careful frying create delightful rings you’ll savor alongside burgers or as a satisfying snack.
Ingredients
- 1 large onion
- 1 ½ cups flour
- 2 tablespoons flour (additional)
- 12 fluid ounces (355 milliliters) seltzer water
- 2 teaspoons salt
- 2 teaspoons paprika
- 1 teaspoon baking powder
- 1 teaspoon garlic powder
- ½ teaspoon pepper
- Oil for frying
Instructions
- Prep Station: Position cooling racks over a baking sheet for efficient oil drainage and quick accessibility during the frying process.
- Onion Preparation: Peel onion with stem facing outward, slice into precise 0.5-inch rings, carefully separating each individual ring.
- Moisture Management: Submerge onion rings in ice water for 15 minutes to neutralize sharp flavors, then meticulously dry using paper towels to guarantee optimal coating adherence.
- Coating Foundation: Evenly dust rings with cornstarch, creating a protective barrier that enhances batter connection and minimizes potential moisture interference.
- Batter Creation: Combine flour, baking powder, paprika, garlic powder, kosher salt, and black pepper in a mixing bowl, whisking until uniformly integrated.
- Liquid Integration: Gradually pour cold seltzer water into dry ingredients, stirring continuously until achieving a smooth, thin pancake-like consistency.
- Oil Calibration: Heat vegetable oil in a deep fryer or heavy pot to 365-375 degrees Fahrenheit, utilizing a kitchen thermometer for precise temperature control.
- Battering and Frying: Dip cornstarch-coated rings into prepared batter, allowing excess to drip off, then carefully lower into hot oil using tongs, cooking for approximately 1 minute and 20 seconds while flipping midway to ensure consistent golden-brown coloration.
- Finishing Touch: Transfer crispy rings to prepared cooling racks, allowing excess oil to drain, and serve immediately alongside preferred dipping sauce.
Notes
- Chill Onion Rings: Soak in ice-cold water to remove sharp onion edges and soften texture, ensuring a milder, more pleasant flavor profile.
- Control Oil Temperature: Maintain consistent 365-375°F heat to prevent soggy or burnt rings, using a reliable kitchen thermometer for precision.
- Drain Excess Oil: Place fried rings on cooling racks to keep crispy coating crunchy and prevent becoming greasy or soggy.
- Batter Consistency Matters: Mix seltzer water gradually to achieve thin pancake-like batter, creating light, airy, and crisp coating that adheres perfectly.
- Prep Time: 20 minutes
- Cook Time: 10 minutes
- Category: Appetizer, Snacks
- Method: Frying
- Cuisine: American
Nutrition
- Serving Size: 5
- Calories: 210
- Sugar: 1 g
- Sodium: 450 mg
- Fat: 8 g
- Saturated Fat: 1 g
- Unsaturated Fat: 7 g
- Trans Fat: 0 g
- Carbohydrates: 32 g
- Fiber: 2 g
- Protein: 3 g
- Cholesterol: 0 mg
Mia Reynolds
Food Writer & Home Cooking Specialist
Expertise
Easy Home Baking, Recipe Writing and Storytelling, Local and Seasonal Ingredients, Baking for Beginners
Education
New England Culinary Institute (NECI), Montpelier, Vermont
Community College of Vermont, Winooski, Vermont
Mia Reynolds fell in love with baking as a teenager experimenting in her family kitchen. Her passion took her to New England Culinary Institute, where she learned practical pastry techniques, and later to Community College of Vermont to deepen her understanding of food management.
Mia combines clear, simple baking instructions with heartwarming stories, making home baking approachable for everyone.