
Zesty Coconut-Coated Chicken Tenders Recipe
Weeknight dinners get a delightful tropical spin with these crispy coconut chicken tenders that promise a perfect crunch in every bite.
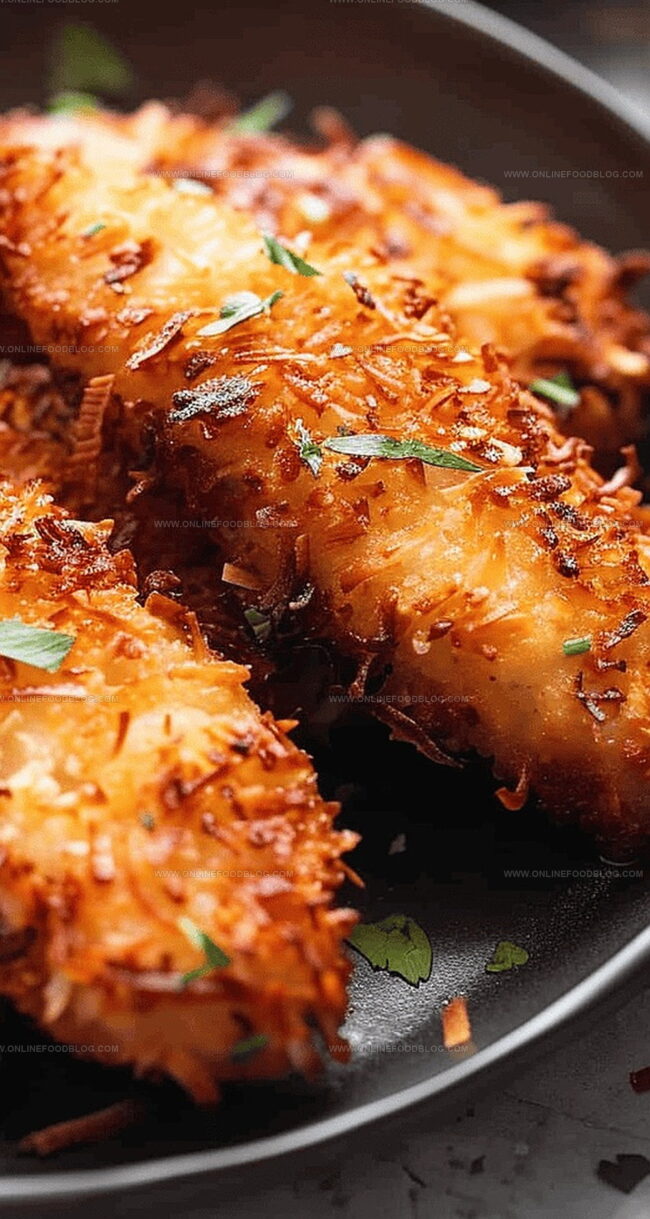
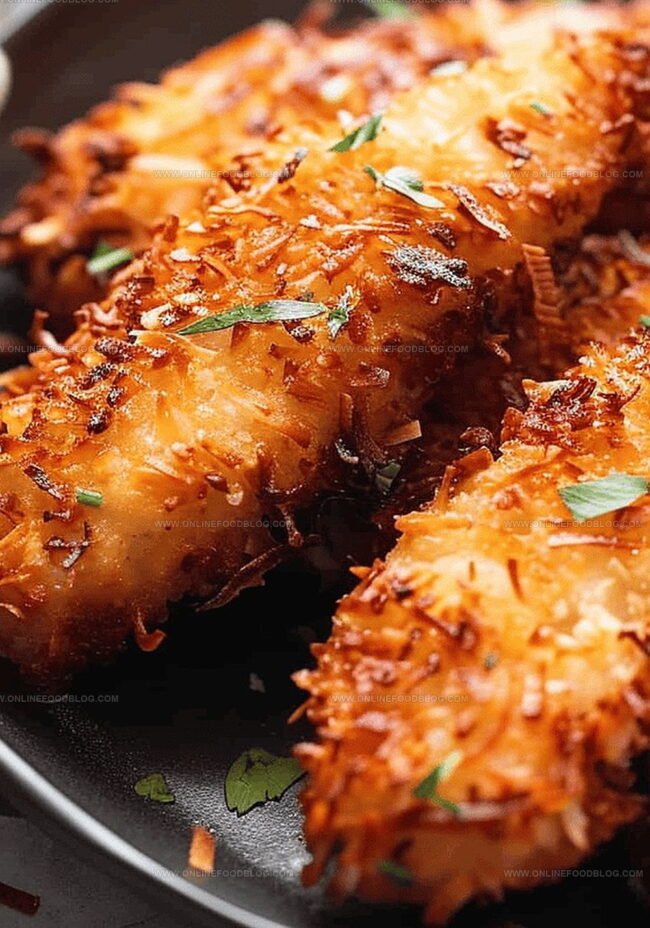
Coated generously with shredded coconut, the chicken emerges golden and irresistibly crisp from the oven.
The blend of panko breadcrumbs and coconut creates a magical exterior that seals in succulent chicken flavor.
Each tender offers a satisfying crackle that hints at the deliciousness within.
The combination of simple ingredients and quick preparation makes this recipe a weeknight winner for anyone seeking something beyond ordinary chicken.
Serve these tantalizing tenders with a zesty dipping sauce, and watch them disappear from the plate in record time.
Quick Recipe Overview
Ingredient Guide for Crispy Coconut Chicken Tenders
For Coating Base:For Moisture and Binding:For Crunchy Exterior:For Cooking and Finishing:For Chicken:Tools to Get Crispy Coconut Chicken Right
Frying Instructions for Coconut Chicken Tenders
Tropical Crunch Chicken Strips
Set up four wide bowls on your kitchen counter for a smooth coating process.
Mix flour with zesty seasonings to create a flavorful base layer for the chicken.
Whisk eggs until smooth and light, creating a sticky surface for the coating.
Dredge chicken strips through each station – first flour, then egg wash, followed by coconut and breadcrumb mix for maximum crunch.
Heat oil in a large skillet until it shimmers, indicating perfect frying conditions.
Carefully lower chicken strips into hot oil, cooking each side until golden and crispy. Work in batches to maintain optimal temperature.
Transfer fried strips onto a wire rack, allowing excess oil to drip away and maintaining their delightful crispiness.
Sprinkle with sea salt and serve alongside a sweet chili sauce for a tropical flavor explosion.
Crunchy Tips and Coconut Coating Tweaks
Ways to Serve Crispy Coconut Tenders
How to Store & Reheat Coconut Chicken Later
Print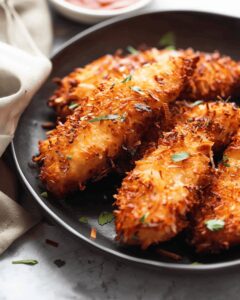
Crunchy Coconut Chicken Tenders Recipe
- Total Time: 30min
- Yield: 5 1x
Description
Crispy coconut chicken tenders blend Caribbean flavors with crunchy coating and tropical notes. Juicy chicken strips promise a delightful meal you’ll savor with each delectable bite.
Ingredients
- 2 eggs
- 1 pound (454 grams) chicken tenderloins
- ½ cup (60 grams) flour
- ⅔ cup (55 grams) shredded sweetened coconut flakes
- ⅔ cup (75 grams) panko bread crumbs
- 2 tbsps (30 ml) water
- ½ tsp chili powder
- ½ tsp salt
- ¼ tsp black pepper
- Oil for frying
- Sea salt flakes (optional)
- Sweet chili sauce
Instructions
- Coating Preparation: Arrange three shallow dishes – one with seasoned flour, another with whisked eggs, and the third with a blended mixture of coconut flakes and panko breadcrumbs.
- Dredging Process: Thoroughly coat each chicken tender in the seasoned flour, ensuring complete and uniform coverage, then dip into the egg wash, allowing excess to drip off, creating a tacky surface.
- Breading Technique: Generously roll the egg-coated tender in the coconut and panko mixture, gently pressing to secure a crisp, textured exterior.
- Frying Setup: Heat a robust skillet with sufficient oil for shallow frying, maintaining a medium temperature to achieve a golden, crispy crust.
- Cooking Method: Carefully place the breaded tenders in the hot oil, maintaining space between each piece to prevent overcrowding and ensure even cooking, frying for 3-4 minutes per side until golden brown and cooked through.
- Finishing Touch: Transfer the crispy tenders to a wire rack over absorbent paper to drain excess oil, then optionally sprinkle with delicate sea salt and serve with sweet chili sauce.
- Alternative Baking Option: For a healthier alternative, arrange coated tenders on a parchment-lined baking sheet and roast in a preheated 400°F oven for 20-25 minutes, flipping midway to ensure uniform browning.
Notes
- Coating Technique: Ensure each chicken tender is thoroughly and evenly coated by pressing the coconut-panko mixture gently, creating a crispy, textured exterior that locks in moisture.
- Oil Temperature Control: Maintain medium heat to achieve a golden-brown crust without burning, allowing the chicken to cook through evenly and remain juicy inside.
- Spacing Matters: Avoid overcrowding the skillet to prevent soggy tenders, giving each piece enough room for proper heat circulation and crisp development.
- Draining Method: Use a wire rack over paper towels to keep the tenders crispy by allowing excess oil to drip away, maintaining the perfect crunch and preventing sogginess.
- Prep Time: 15min
- Cook Time: 15min
- Category: Dinner, Snacks
- Method: Frying
- Cuisine: Thai
Nutrition
- Serving Size: 5
- Calories: 350
- Sugar: 3 g
- Sodium: 400 mg
- Fat: 18 g
- Saturated Fat: 8 g
- Unsaturated Fat: 10 g
- Trans Fat: 0 g
- Carbohydrates: 30 g
- Fiber: 2 g
- Protein: 20 g
- Cholesterol: 160 mg
Mia Reynolds
Food Writer & Home Cooking Specialist
Expertise
Easy Home Baking, Recipe Writing and Storytelling, Local and Seasonal Ingredients, Baking for Beginners
Education
New England Culinary Institute (NECI), Montpelier, Vermont
Community College of Vermont, Winooski, Vermont
Mia Reynolds fell in love with baking as a teenager experimenting in her family kitchen. Her passion took her to New England Culinary Institute, where she learned practical pastry techniques, and later to Community College of Vermont to deepen her understanding of food management.
Mia combines clear, simple baking instructions with heartwarming stories, making home baking approachable for everyone.