Homemade Chocolate Trail Mix Bars Recipe: Crunchy Sweet Joy
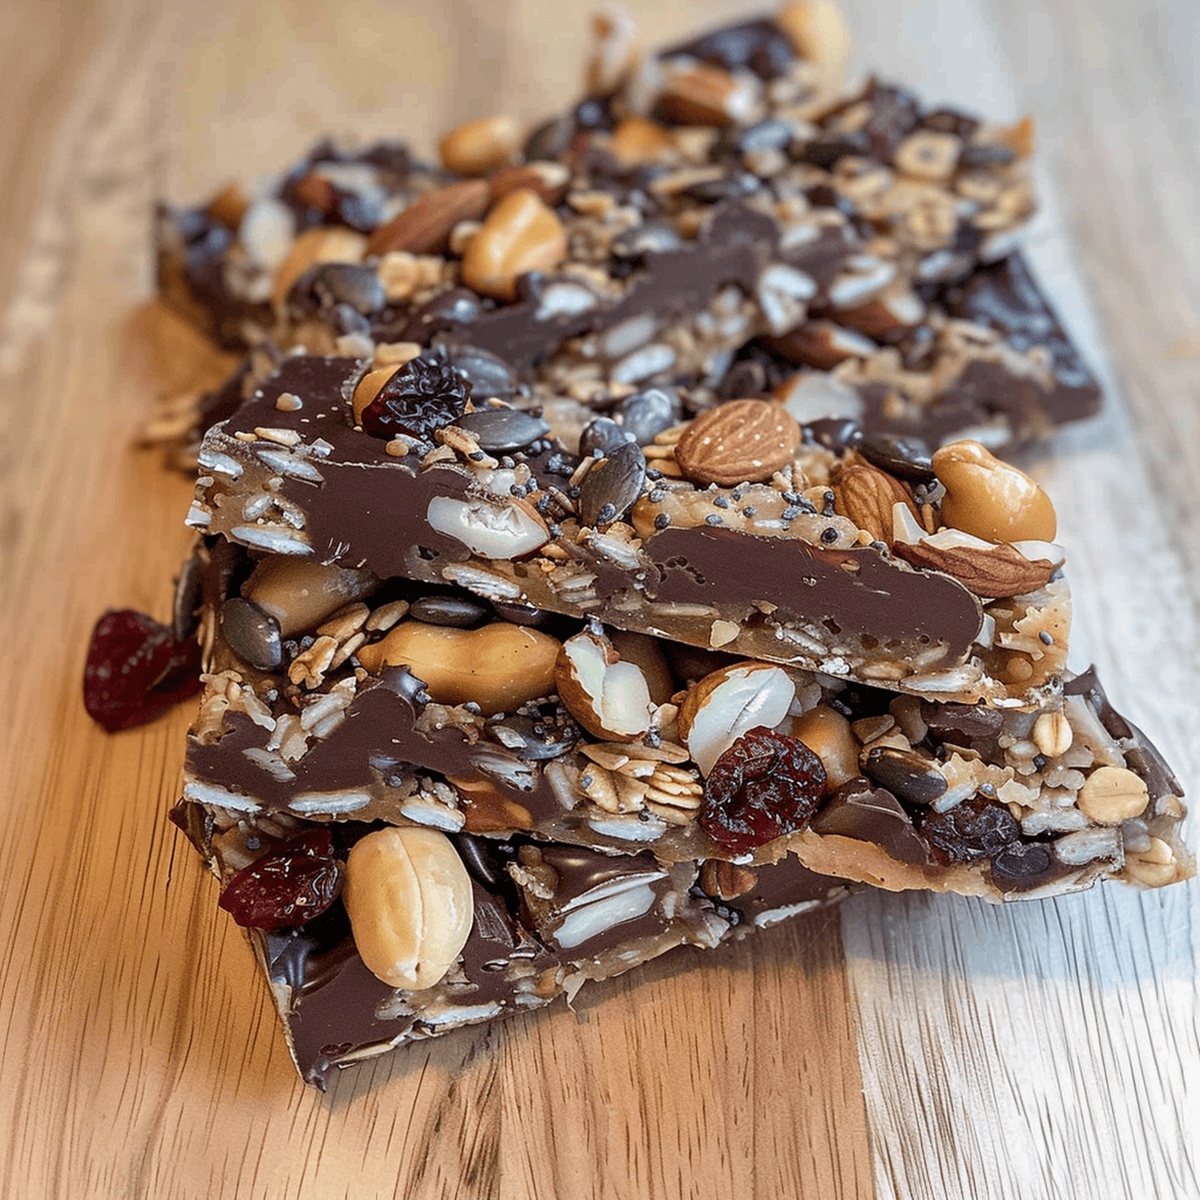
Snacking just got a delightful upgrade with these chocolate trail mix bars that blend sweet and salty flavors into one irresistible treat.
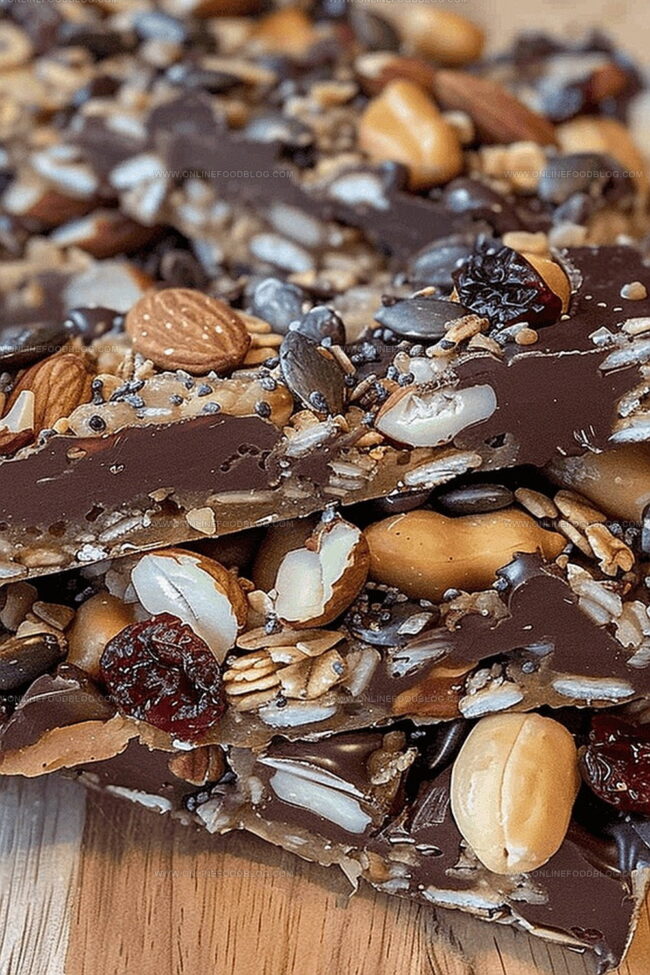
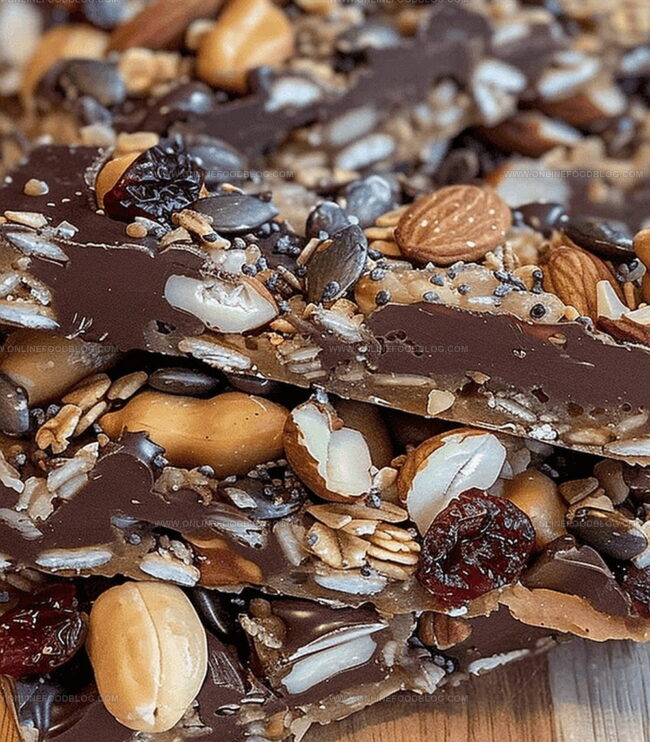
Packed with a medley of nuts, seeds, and chocolate chips, these bars offer a quick energy boost for busy days.
The no-bake recipe comes together in minutes, making it perfect for anyone seeking a wholesome snack.
Every bite delivers a satisfying crunch and rich chocolatey goodness that keeps you coming back for more.
The combination of ingredients provides a balanced mix of protein, healthy fats, and natural sugars.
Customize the mix with your favorite nuts or dried fruits to make these bars uniquely yours.
Grab your ingredients and get ready to create a snack that will become your new go-to indulgence.
Quick Recipe Overview
Ingredients for Chocolate Trail Mix Bars
For Base Ingredients:For Nuts and Binding:For Sweeteners:For Coating:Kitchen Tools for Making Trail Mix Bars with Chocolate
How to Make Chocolate Trail Mix Bars at Home
Tips for Making Chewy or Crunchy Chocolate Trail Mix Bars
Ways to Serve Trail Mix Bars for On-the-Go Snacks
Best Way to Store Chocolate Trail Mix Bars
Print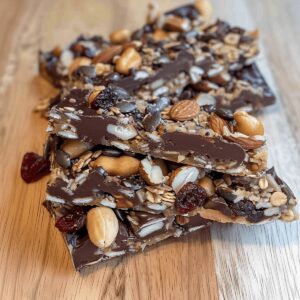
Crunchy Chocolate Trail Mix Bars
- Total Time: 50 minutes
- Yield: 13 1x
Description
Homemade chocolate trail mix bars combine sweet and salty flavors for a quick snack. Protein-packed ingredients and simple preparation make these bars a perfect energy boost for hikers and busy people.
Ingredients
- 1 cup (240 ml) semi-sweet chocolate chips
- ⅓ cup (80 ml) maple syrup
- ¼ cup (60 ml) cashews
- ¼ cup (60 ml) peanuts
- ¼ cup (60 ml) almonds
- ¼ cup (60 ml) pecans
- ¼ cup (60 ml) dried cranberries
- ¼ cup (60 ml) puffed rice cereal
- 1 tbsp (15 ml) honey
- 1 tbsp (15 ml) coconut oil
- 1 tbsp (15 ml) chia seeds
Instructions
- Preparation: Warm the oven to 325°F (163°C) and layer a rectangular baking dish completely with parchment paper.
- Mixing Dry Ingredients: Chop nuts into uniform pieces and blend with chia seeds and puffed rice cereal, ensuring even distribution throughout the mixture.
- Binding Process: Drizzle maple syrup and honey over the dry ingredients, stirring thoroughly to coat each component with the sweet liquid binders, creating a glossy, cohesive mixture.
- Pan Arrangement: Press the moistened mixture into the prepared baking dish, creating a smooth, compact layer with consistent thickness using a spatula or measuring cup’s back.
- Baking Cycle: Bake for 35 minutes until edges turn golden brown and the mixture appears set and slightly crisp, signaling optimal texture and doneness.
- Cooling Strategy: Allow the baked mixture to rest in the dish for 5 minutes, then transfer the parchment paper to a cooling rack, letting it settle to room temperature for 45-50 minutes or expedite in the refrigerator for 20-30 minutes.
- Chocolate Coating: Melt chocolate chips and coconut oil using a double boiler or microwave method, stirring at 15-second intervals until smooth and fully liquefied.
- Finishing Touches: Once cooled, flip the nut mixture and spread melted chocolate in an even layer, then refrigerate for 10-20 minutes to set the chocolate firmly.
- Serving Preparation: Slice the hardened mixture into individual bars using a sharp knife, storing in an airtight container in a cool, dry place or refrigerator for extended freshness.
Notes
- Ensure Uniform Chopping: Cut nuts into similar-sized pieces for consistent texture and even baking throughout the bars.
- Press Firmly While Preparing: Use consistent pressure when compacting the mixture to prevent crumbly bars and ensure they hold together perfectly.
- Control Chocolate Melting: Stir chocolate chips continuously to prevent burning and achieve a smooth, glossy chocolate coating.
- Optimal Cooling Strategy: Allow bars to cool completely before cutting to maintain structural integrity and prevent crumbling during slicing.
- Prep Time: 15 minutes
- Cook Time: 35 minutes
- Category: Snacks, Breakfast
- Method: Baking
- Cuisine: American
Nutrition
- Serving Size: 13
- Calories: 200
- Sugar: 12 g
- Sodium: 5 mg
- Fat: 10 g
- Saturated Fat: 4 g
- Unsaturated Fat: 6 g
- Trans Fat: 0 g
- Carbohydrates: 27 g
- Fiber: 2 g
- Protein: 3 g
- Cholesterol: 0 mg
Mia Reynolds
Food Writer & Home Cooking Specialist
Expertise
Easy Home Baking, Recipe Writing and Storytelling, Local and Seasonal Ingredients, Baking for Beginners
Education
New England Culinary Institute (NECI), Montpelier, Vermont
Community College of Vermont, Winooski, Vermont
Mia Reynolds fell in love with baking as a teenager experimenting in her family kitchen. Her passion took her to New England Culinary Institute, where she learned practical pastry techniques, and later to Community College of Vermont to deepen her understanding of food management.
Mia combines clear, simple baking instructions with heartwarming stories, making home baking approachable for everyone.