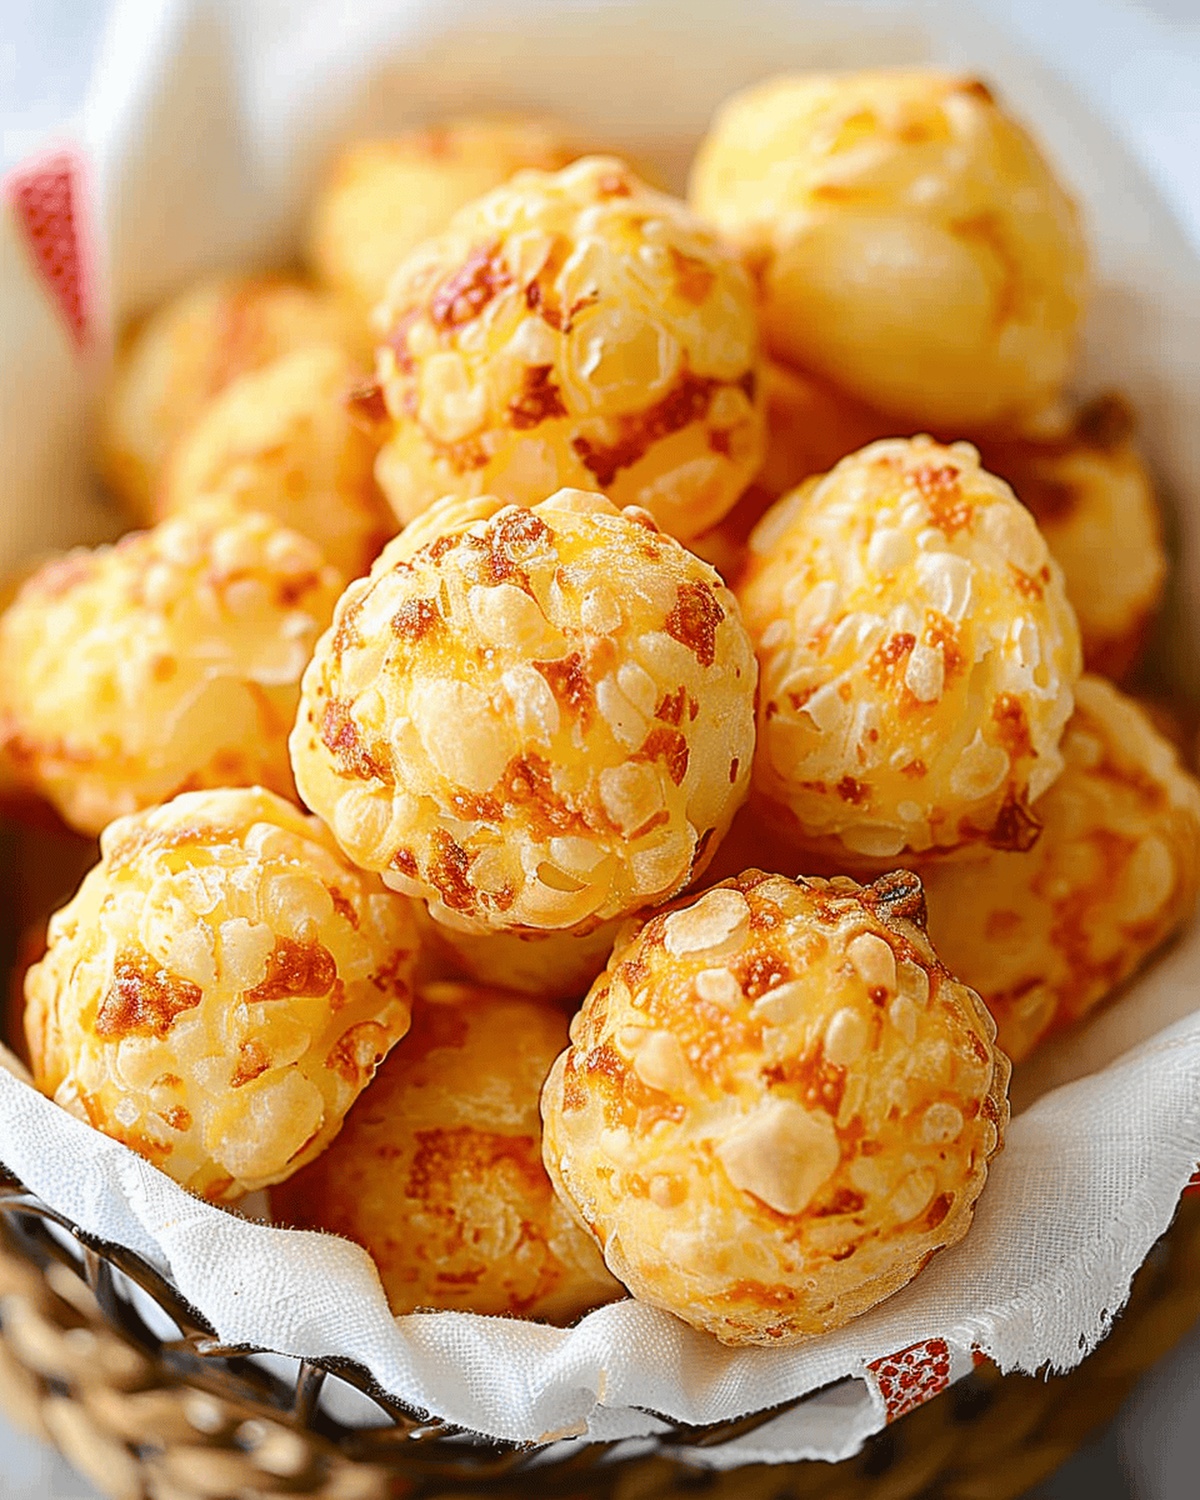
These delightful Brazilian cheese puffs burst with a golden, crispy exterior that gives way to a pillowy soft center.
Originating from the vibrant culinary landscape of Brazil, these cheesy delights capture the essence of comfort food.
Each bite delivers a perfect blend of chewy tapioca flour and rich, melted cheese that dances on your palate.
The recipe requires just a few simple ingredients and minimal prep time, making it an irresistible snack for any occasion.
Warm, fragrant, and impossibly light, these cheese puffs will transport you straight to the bustling streets of São Paulo.
The combination of parmesan and soft cheese creates a harmony of flavors that will leave everyone craving more.
Get ready to impress with this foolproof recipe that turns ordinary moments into extraordinary culinary experiences.
Quick Recipe Overview
Prep Time:
Cook Time: 0 minutes
Calories: 152 kcal
Servings: 21
Ingredients for Brazilian Cheese Puffs
For Liquid Base:
Milk: Provides moisture and helps create the smooth, creamy texture of the cheese puffs.
Vegetable Oil: Adds richness and helps create a tender, light interior.
Salt: Enhances the overall flavor and balances the ingredients.
For Dry Ingredients:
Tapioca Flour: The key to the signature chewy and stretchy texture of Brazilian cheese puffs, creating a unique gluten-free base.
For Cheese and Flavor:
Parmesan Cheese: Delivers a bold, sharp taste that gives these puffs their signature savory punch and golden color.
Eggs: Bind the ingredients together, add structure, and contribute to the light, airy texture of the puffs.
Equipment Needed for Cheesy Puff Perfection
Standing Mixer: Essential for beating and smoothing the dough with its powerful paddle attachment.
Wooden Spoon: Perfect for stirring tapioca flour into the milk mixture with precision.
Medium Saucepan: Crucial for heating milk, oil, and salt to create the base of the cheese puffs.
Baking Sheets: Needed to support and shape the cheese puffs during baking.
Parchment Paper: Ensures easy release and prevents sticking of the delicate cheese puffs.
How to Make Brazilian Cheese Bread
Brazilian Cheese Clouds
Kitchen Preparation Gather all your equipment and create a clean, organized workspace for baking.
Liquid Warmth Heat milk, oil, and salt in a saucepan until it reaches a gentle bubbling point, then remove from heat.
Flour Magic Introduce tapioca flour into the warm liquid, stirring carefully to create a smooth, cohesive mixture.
Dough Transformation Transfer the mixture to a mixer and beat until the texture becomes silky and cool, creating a soft, pillowy base for your cheese puffs.
Cheese Integration Gently fold in cheese, ensuring an even distribution throughout the dough for maximum flavor.
Shaping Adventure Form small, round balls of dough onto a baking sheet, creating uniform portions that will puff up beautifully.
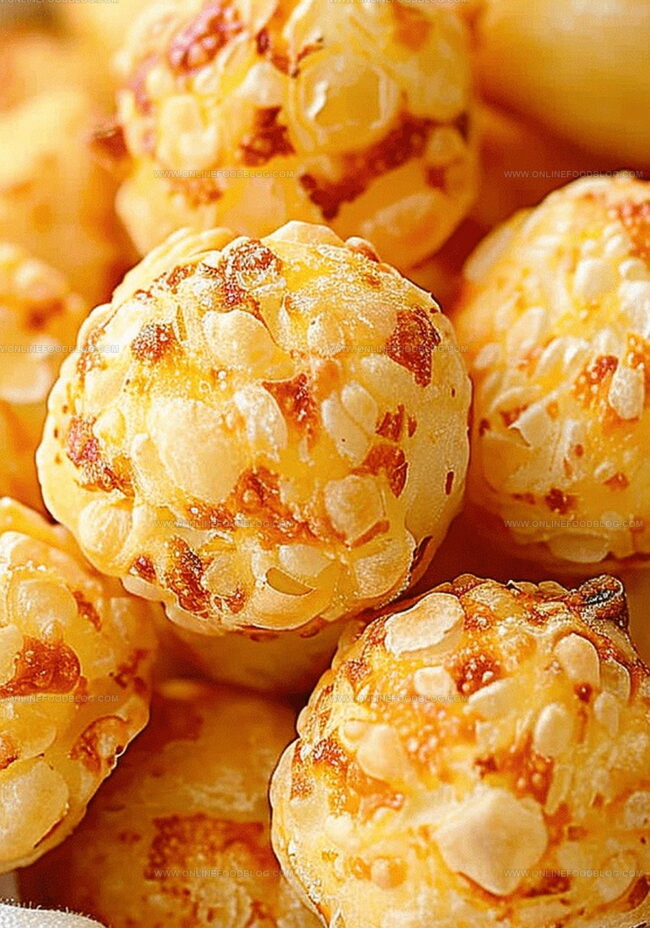
Oven Transformation Bake in a preheated oven until the puffs turn golden and develop a delicate, crispy exterior with a soft, cheesy interior.
Serving Celebration Remove from oven and let cool slightly, then serve warm to enjoy the perfect Brazilian cheese cloud experience.
Flavor Tips for Savory Cheese Variations
Adjust the dough’s consistency by adding a bit more tapioca flour if it seems too wet, or a splash of milk if it’s too dry, ensuring perfect puffiness every time.
Incorporate herbs like fresh thyme, rosemary, or chives into the dough for an aromatic twist that adds depth and complexity to the traditional recipe.
Prepare the cheese puff dough in advance and freeze unbaked balls, allowing you to pop them directly into the oven for fresh, warm treats whenever cravings strike.
Serve these golden puffs as a stunning appetizer, breakfast side, or alongside soups and salads for a delightful Brazilian-inspired culinary experience.
Ways to Serve Cheese Puffs Hot or Cold
Brazilian Cheese Puff Party Platter: Create a stunning appetizer display by arranging these golden puffs on a rustic wooden board with small bowls of chimichurri sauce and spicy olive tapenade for dipping.
Brazilian Breakfast Companion: Serve warm alongside scrambled eggs, fresh fruit, and strong Brazilian coffee for a delightful morning meal that brings South American comfort to your table.
Cocktail Hour Sensation: Pair these cheesy puffs with crisp white wine or a refreshing caipirinha cocktail during evening gatherings, offering guests a delectable Brazilian-inspired nibble that sparks conversation.
Wine Night Elegance: Present these light, airy cheese puffs on a sleek ceramic plate with a selection of mild to sharp cheeses, creating an irresistible appetizer spread that feels both sophisticated and welcoming.
How to Store Cheese Puffs
Meal Planning & Storage Advice
Batch Brilliance: Prepare double the recipe and freeze uncooked cheese puffs on a tray for quick future snacks. Simply transfer frozen puffs directly to the oven when ready to bake, adding 3-5 extra minutes to cooking time.
Refrigerator Revival: Store leftover Brazilian cheese puffs in an airtight container for up to 3 days. Reheat in a preheated oven at 350°F for 5-7 minutes to restore crispy exterior and soft interior.
Party Prep Strategy: Make cheese puff dough ahead of time and refrigerate for 24 hours before baking. This technique allows flavors to develop and makes entertaining much easier with minimal day-of kitchen stress.
Quick Serving Suggestion: Serve cheese puffs immediately after baking for maximum texture and flavor. These delightful puffs are best enjoyed warm, creating a memorable experience for guests with their irresistible cheesy goodness.
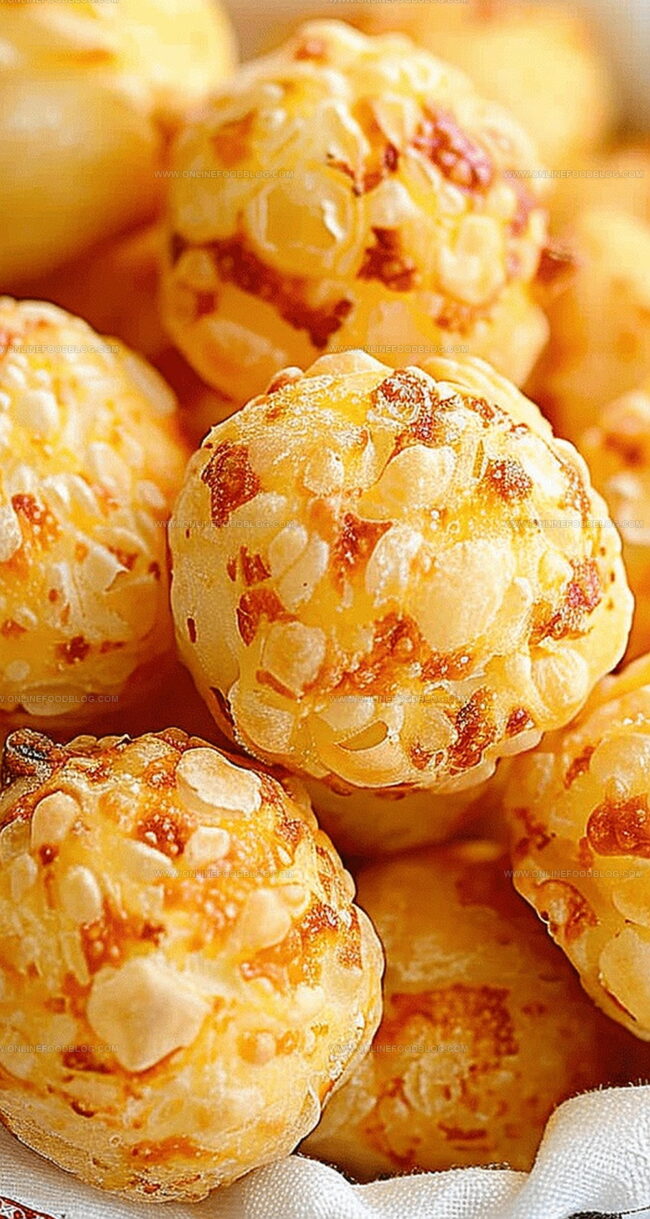
Savory Brazilian cheese puffs bring together tapioca flour, eggs, milk, and cheese in a delightful gluten-free snack. Crisp exterior and chewy center make these pão de queijo irresistible for cheese enthusiasts seeking authentic Brazilian flavors.
Ingredients
Scale
1 ½ cups Parmesan cheese, grated
2 large eggs
10 oz (280 g) tapioca flour
1 cup whole milk
½ cup vegetable oil
1 tsp salt
Instructions
Liquid Preparation: Combine milk, oil, and salt in a medium saucepan, heating to a gentle simmer while stirring intermittently. Remove from heat when substantial bubbles emerge on the liquid’s surface.
Dough Formation: Vigorously mix tapioca flour into the hot liquid using a sturdy utensil until a cohesive, slightly sticky dough develops. Transfer to a stand mixer with a paddle attachment, beating at medium speed to achieve a smoother consistency.
Temperature Adjustment: Allow the dough to cool to a comfortable handling temperature, then gradually incorporate eggs, blending thoroughly after each addition to create a uniform, silky texture.
Cheese Integration: Carefully fold cheese into the mixture, ensuring even distribution without overmixing.
Portioning and Baking: Scoop uniform dough rounds onto parchment-lined baking sheets. Position in a preheated oven’s middle rack to promote balanced heat circulation, baking until the cheese puffs transform into golden, puffy morsels with crisp exterior and soft, airy interior (15-20 minutes).
Serving: Remove from the oven and let the Brazilian cheese puffs rest briefly, allowing them to set and develop their signature light, delicate texture before serving warm.
Notes
Precise Ingredient Temperature: Allow milk, oil, and eggs to reach room temperature for smoother dough integration and consistent texture.
Mixing Technique Matters: Use vigorous stirring when adding tapioca flour to prevent lumps and ensure a uniform, silky dough consistency.
Cheese Selection Tip: Opt for freshly grated Parmesan or queijo minas for authentic Brazilian flavor and optimal melting properties.
Baking Placement Crucial: Center rack placement guarantees even golden-brown color and prevents burning or uneven puffing of the cheese balls.
Degree: Certificate in Food and Beverage Management
Focus: Essential knowledge of recipe development, ingredient sourcing, and food business basics.
Mia Reynolds fell in love with baking as a teenager experimenting in her family kitchen. Her passion took her to New England Culinary Institute, where she learned practical pastry techniques, and later to Community College of Vermont to deepen her understanding of food management.
Mia combines clear, simple baking instructions with heartwarming stories, making home baking approachable for everyone.

Mia Reynolds
Food Writer & Home Cooking Specialist
Expertise
Easy Home Baking, Recipe Writing and Storytelling, Local and Seasonal Ingredients, Baking for Beginners
Education
New England Culinary Institute (NECI), Montpelier, Vermont
Community College of Vermont, Winooski, Vermont
Mia Reynolds fell in love with baking as a teenager experimenting in her family kitchen. Her passion took her to New England Culinary Institute, where she learned practical pastry techniques, and later to Community College of Vermont to deepen her understanding of food management.
Mia combines clear, simple baking instructions with heartwarming stories, making home baking approachable for everyone.