Crispy Delight: Unbelievably Tasty Crunchy Roll Sushi Recipe
Dive into the world of japanese cuisine with this delectable crunchy roll sushi that brings restaurant-quality flavors right to your kitchen.
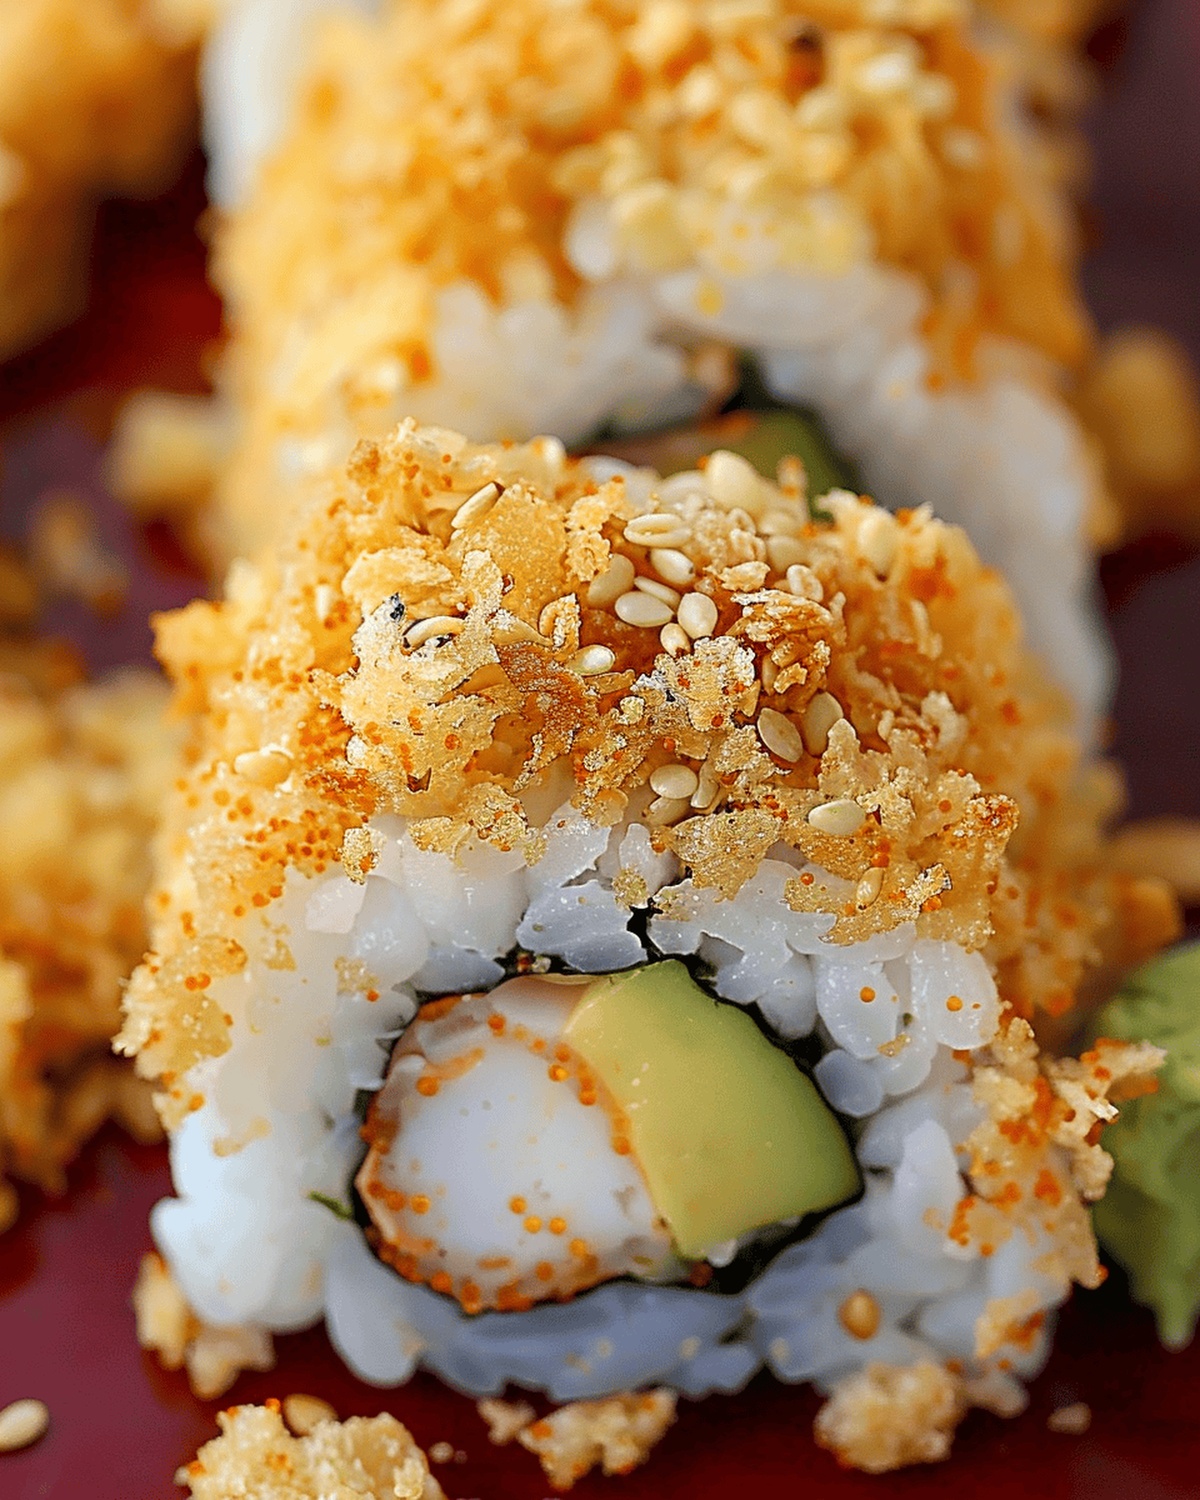
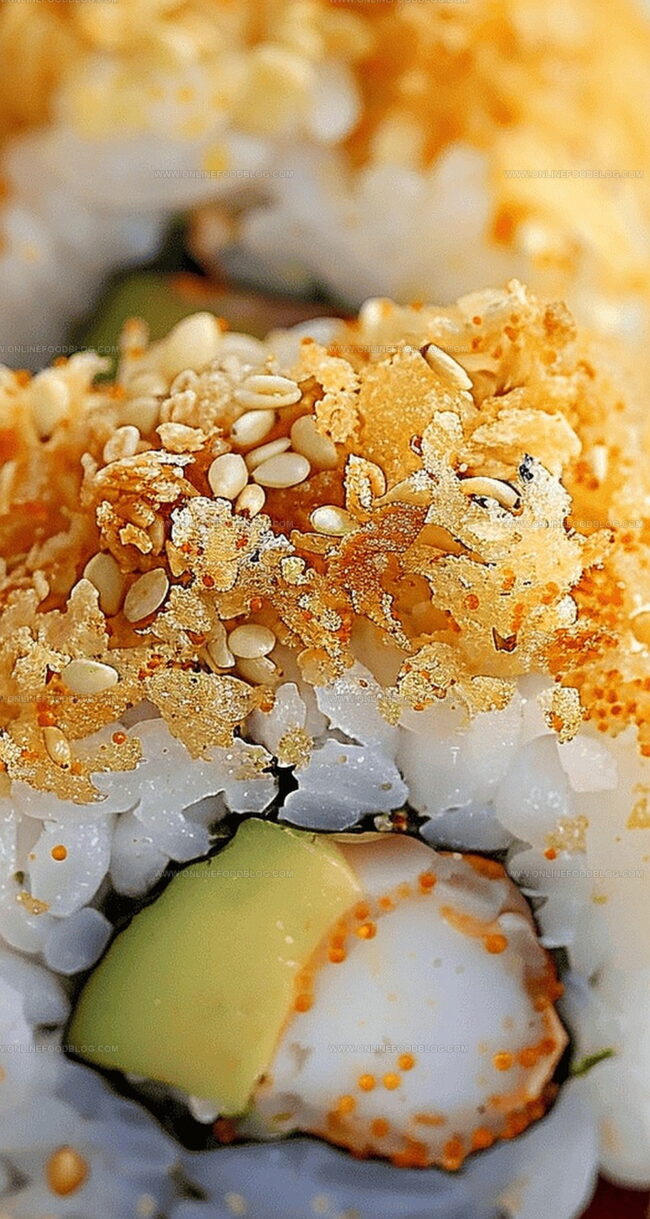
Crispy, golden textures and vibrant ingredients dance together in a perfect culinary harmony.
The delicate balance of fresh fish, creamy avocado, and a crackling tempura coating makes this roll irresistible.
Every bite promises a symphony of tastes that will transport you to the bustling streets of tokyo.
sushi lovers and novice cooks alike can master this impressive dish with a few simple techniques.
You’ll impress dinner guests and satisfy your seafood cravings with this mouthwatering recipe that combines traditional methods with a modern twist.
Grab your ingredients and let’s roll into a delicious adventure!
Quick Recipe Overview
Prep Time:
What’s Inside a Crunchy Roll Sushi
For Rice Base:For Protein and Filling:For Crunchy Topping and Wrapping:For Finishing:Kitchen Tool for Making Crunchy Sushi Rolls
Step-by-Step Sushi Roll Instructions
Rinse sushi rice thoroughly and cook in a rice cooker. Once done, transfer to a bowl and let it cool slightly. Stir in seasoned vinegar gently, creating a glossy and flavorful base for your rolls.
Bake frozen shrimp tempura until golden and crispy. The key is achieving a perfect crunch that will elevate your sushi experience.
Heat olive oil in a skillet and toast panko breadcrumbs until they transform into a beautiful golden color. Stir constantly to ensure even browning and let them cool completely.
Place a nori sheet on a plastic-wrapped bamboo mat. Spread rice evenly, leaving a small border. Carefully arrange shrimp tempura and avocado slices in the center.
Use the mat to roll the sushi tightly, applying gentle pressure to create a compact cylinder. The goal is a neat, uniform roll that holds together perfectly.
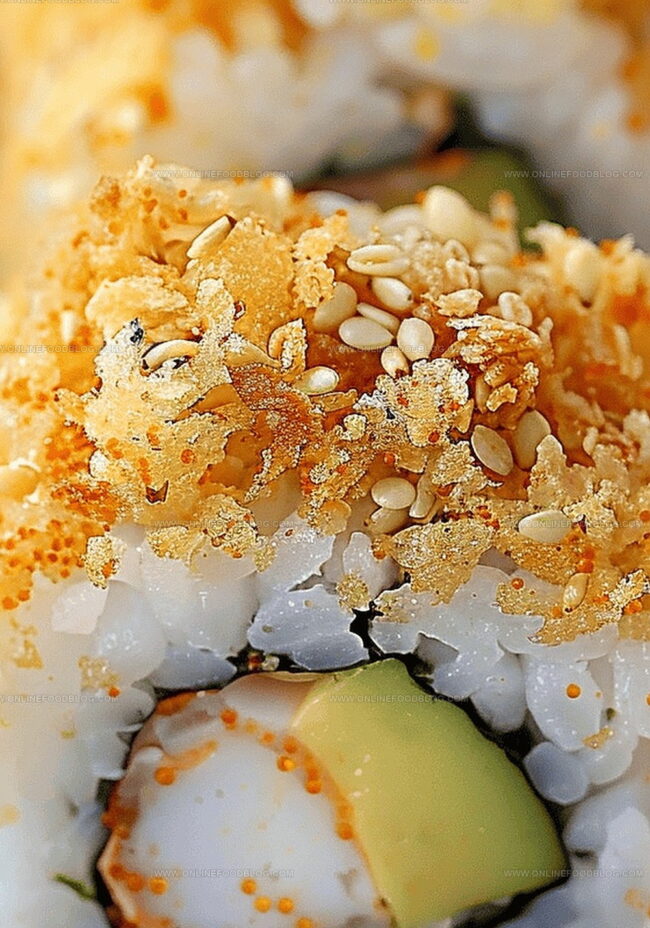
Sprinkle toasted panko over the roll, using plastic wrap to press the crumbs into place. Slice the roll into bite-sized pieces and drizzle with unagi sauce or mayonnaise for extra flavor.
Texture Tips & Crunchy Topping Ideas
Serving Presentation for Sushi Rolls
How to Keep Crunchy Sushi Fresh
Print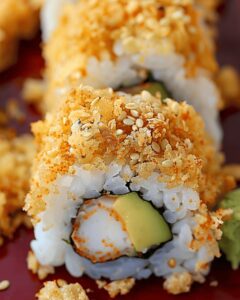
Crispy Roll Sushi Recipe
- Total Time: 0 hours
- Yield: 3 1x
Description
Crunchy roll sushi delivers a delightful Japanese-inspired fusion of crispy tempura shrimp, creamy avocado, and cucumber. Spicy mayo and toasted sesame seeds complete this irresistible bite that will transport you to culinary bliss.
Ingredients
- 8 shrimp tempura (pre-cooked)
- 1 avocado (ripe but still firm)
- 2 nori sheets
- 1.5 cups (360 ml) sushi rice (uncooked short-grain)
- 1.5 cups (360 ml) water
- 2 tbsps (30 ml) sushi vinegar
- 1 cup (240 ml) panko breadcrumbs
- 2 tsp (10 ml) olive oil
- unagi sauce
- mayonnaise
Instructions
- Rice Preparation: Rinse sushi rice and cook in rice cooker. Transfer to a bowl and fold in sushi vinegar while warm, creating a glossy, evenly coated texture.
- Tempura and Breadcrumb Creation: Bake frozen shrimp tempura until crispy and golden. In a skillet, toast panko breadcrumbs to a rich, golden-brown color, then cool completely to maintain crunchiness.
- Sushi Rolling Setup: Wrap bamboo mat with plastic wrap. Halve nori sheet and position shiny-side down. Wet hands with vinegar water and spread rice evenly on nori, leaving a small border.
- Roll Assembly: Invert nori so rice faces down. Arrange shrimp tempura and avocado along the bottom edge. Using the mat, fold and roll with consistent pressure, creating a tight cylinder.
- Finishing Touches: Seal roll and coat exterior with toasted panko breadcrumbs using plastic wrap. Slice into uniform pieces, drizzle with unagi sauce or mayonnaise, and serve immediately.
Notes
- Prep Rice Perfectly: Rinse sushi rice thoroughly to remove excess starch, ensuring fluffy and separate grains for the perfect texture.
- Master Breadcrumb Technique: Toast panko slowly and evenly, stirring continuously to achieve a golden-brown color without burning, which adds critical crunch.
- Handle Nori with Care: Use sharp scissors for precise cutting and always place the shiny side down when rolling to maintain the best appearance and texture.
- Control Moisture Strategically: Wet hands with vinegar water when handling rice to prevent sticking and add subtle flavor, creating smoother rolling and better overall sushi construction.
- Cook Time: 0 minutes
- Category: Lunch, Dinner, Snacks
- Method: Frying
- Cuisine: Japanese
Nutrition
- Serving Size: 3
- Calories: 482
- Sugar: 2 g
- Sodium: 780 mg
- Fat: 20 g
- Saturated Fat: 3 g
- Unsaturated Fat: 15 g
- Trans Fat: 0 g
- Carbohydrates: 60 g
- Fiber: 4 g
- Protein: 12 g
- Cholesterol: 100 mg
Mia Reynolds
Food Writer & Home Cooking Specialist
Expertise
Easy Home Baking, Recipe Writing and Storytelling, Local and Seasonal Ingredients, Baking for Beginners
Education
New England Culinary Institute (NECI), Montpelier, Vermont
Community College of Vermont, Winooski, Vermont
Mia Reynolds fell in love with baking as a teenager experimenting in her family kitchen. Her passion took her to New England Culinary Institute, where she learned practical pastry techniques, and later to Community College of Vermont to deepen her understanding of food management.
Mia combines clear, simple baking instructions with heartwarming stories, making home baking approachable for everyone.