
Crisp Peppermint Puff Pastry Sticks Recipe: Sweet Holiday Treats
Crisp, flaky peppermint puff pastry sticks dance between sweet sophistication and festive charm.
These delightful treats combine buttery layers with cool, minty essence in every bite.
Winter gatherings sparkle when these elegant snacks appear on the dessert table.
Rich pastry dough swirls with vibrant peppermint flavor, creating a texture that melts deliciously on your tongue.
Simple ingredients merge into an extraordinary confection that looks far more complex than its straightforward preparation.
Each stick promises a delicate crunch and refreshing peppermint embrace.
You’ll love how quickly these impressive pastries come together, making them perfect for spontaneous holiday baking or unexpected sweet cravings.
Let these magical peppermint puff pastry sticks become your new favorite seasonal indulgence.
Quick Recipe Overview
Peppermint Puff Pastry Stick Ingredient List
For Pastry Base:For Coating and Decoration:For Flavor Enhancement:Rolling Tools and Baking Gear for Puff Pastry
How to Make Peppermint Puff Pastry Twists
Gently unfold the delicate pastry sheet and slice it into two elegant rectangles. Then, create slender strips by cutting each rectangle into thin, crispy portions.
Arrange the pastry strips on a clean baking sheet, letting them spread out with room to transform. Slide the tray into a toasty oven and watch as they turn a gorgeous golden brown, filling your kitchen with a warm, inviting aroma.
Crush peppermint candies into tiny, sparkling fragments. Melt the candy coating until it becomes a smooth, glossy river of sweetness.
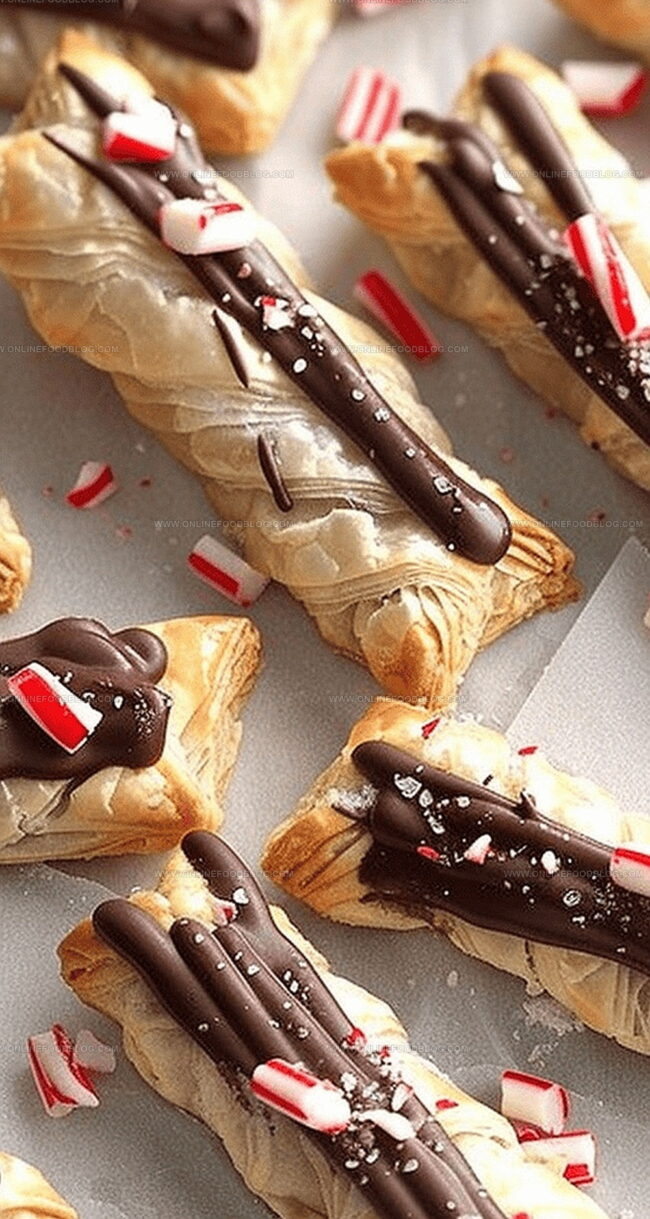
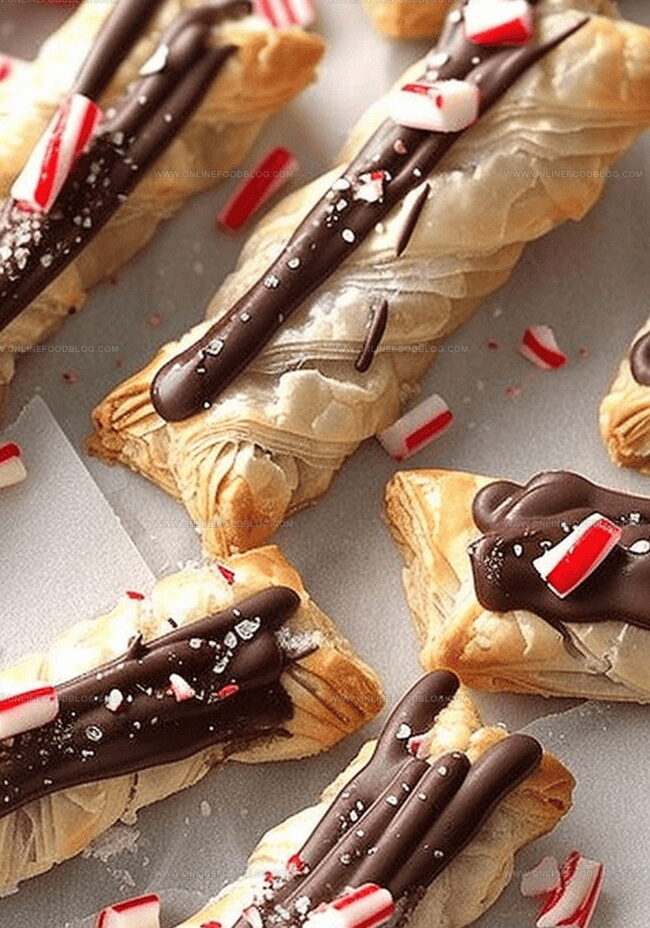
Gently bathe each crisp pastry stick halfway into the molten coating, letting excess drip away. Sprinkle the peppermint fragments over the glistening surface, creating a festive, crunchy texture.
Let the decorated sticks rest on wax paper until the coating sets into a delicate shell. Once completely cool, tuck them into an airtight container to preserve their delightful crunch and minty charm.
Ideas to Add Chocolate or Citrus Twists
Holiday-Ready Serving Tips
Tips to Keep Peppermint Pastry Fresh
Print
Crispy Peppermint Puff Pastry Sticks
- Total Time: 30 minutes
- Yield: 13 1x
Description
Crispy, buttery Peppermint Puff Pastry Sticks offer a delightful holiday treat with minimal effort. Peppermint’s cool essence and flaky pastry create a quick dessert that delights guests and satisfies sweet cravings.
Ingredients
- 1 sheet puff pastry (frozen, thawed)
- 10 oz (283 g) chocolate candy coating (coarsely chopped)
- 1.5 cups (355 mL) peppermint candies (crushed)
Instructions
- Oven Preparation: Heat the oven to 400°F (200°C) for optimal pastry baking conditions.
- Pastry Preparation: Unfold the puff pastry sheet and slice in half lengthwise, creating two rectangular sections. Cut each section into 18 delicate strips, maintaining consistent width for uniform baking.
- Initial Baking: Arrange the pastry strips on ungreased baking sheets, ensuring slight separation for even heat distribution. Bake for 12-15 minutes until achieving a rich golden-brown color with crisp, delicate edges.
- Cooling Process: Immediately transfer the baked pastry sticks to wire cooling racks, allowing complete cooling to preserve their signature crispness.
- Coating Preparation: Crush peppermint candies into fine fragments and set aside. Melt the candy coating in a microwave-safe dish, stirring until achieving a smooth, glossy consistency.
- Decoration Technique: Dip each cooled pastry stick halfway into the melted coating, allowing excess to drip off smoothly. Immediately sprinkle the coated portion with crushed peppermint candies, ensuring comprehensive coverage.
- Final Setting: Position the decorated pastry sticks on waxed paper, allowing them to set at room temperature until the coating hardens completely. Store in an airtight container to maintain optimal texture and flavor.
Notes
- Precision Matters: Uniform strip cutting ensures even baking and professional-looking pastry sticks with consistent texture and appearance.
- Temperature Control: Watch pastry closely during baking to prevent burning, aiming for a perfect golden-brown color that indicates crispy, flaky texture.
- Coating Technique: Dip pastry sticks smoothly and quickly into melted candy coating to achieve an elegant, professional finish without messy drips.
- Storage Secret: Keep pastry sticks in an airtight container at room temperature to maintain crispness and prevent moisture from softening the delicate texture.
- Prep Time: 15 minutes
- Cook Time: 15 minutes
- Category: Snacks, Desserts
- Method: Baking
- Cuisine: American
Nutrition
- Serving Size: 13
- Calories: 134
- Sugar: 11 g
- Sodium: 30 mg
- Fat: 8 g
- Saturated Fat: 5 g
- Unsaturated Fat: 3 g
- Trans Fat: 0 g
- Carbohydrates: 16 g
- Fiber: 0 g
- Protein: 1 g
- Cholesterol: 0 mg
Mia Reynolds
Food Writer & Home Cooking Specialist
Expertise
Easy Home Baking, Recipe Writing and Storytelling, Local and Seasonal Ingredients, Baking for Beginners
Education
New England Culinary Institute (NECI), Montpelier, Vermont
Community College of Vermont, Winooski, Vermont
Mia Reynolds fell in love with baking as a teenager experimenting in her family kitchen. Her passion took her to New England Culinary Institute, where she learned practical pastry techniques, and later to Community College of Vermont to deepen her understanding of food management.
Mia combines clear, simple baking instructions with heartwarming stories, making home baking approachable for everyone.