Crispy Sheet Pan Breadsticks Recipe: Bake Joy in Minutes
Crispy, golden breadsticks fresh from the oven never fail to spark joy at dinner tables, and this sheet pan breadsticks recipe delivers pure culinary magic.
Warm, fragrant dough stretches across a simple metal surface, promising delectable results with minimal effort.
You’ll love how quickly these breadsticks come together, requiring just a handful of pantry staples.
The secret lies in the perfectly seasoned exterior that crackles with each bite, revealing a soft, pillowy interior.
Herbs and spices dance across the dough, creating an irresistible aroma that fills the kitchen.
Perfectly paired with soups, salads, or enjoyed on their own, these breadsticks transform an ordinary meal into something extraordinary.
Dive into this easy recipe and watch your dinner table come alive with warm, inviting flavor.
Quick Recipe Overview
Ingredients for Sheet Pan Breadsticks
For Dough Activation:For Dough Formation:For Flavor Enhancement:Tools for Making Pan Breadsticks
Breadstick Baking Instructions
Combine warm water, yeast, sugar, and salt in a mixing bowl. Allow the mixture to sit quietly until tiny bubbles start dancing across the surface.
Gradually introduce flour into the bowl, mixing until a soft, shaggy ball begins to take shape. Cover the bowl and let the dough rest, expanding and growing in volume.
Warm up the oven and create a cozy bed for your breadsticks using parchment paper. Drizzle melted butter generously across the pan’s surface.
Gently transfer the puffy dough to the prepared pan. Use your fingertips to coax the dough toward the edges, creating an even blanket across the sheet.
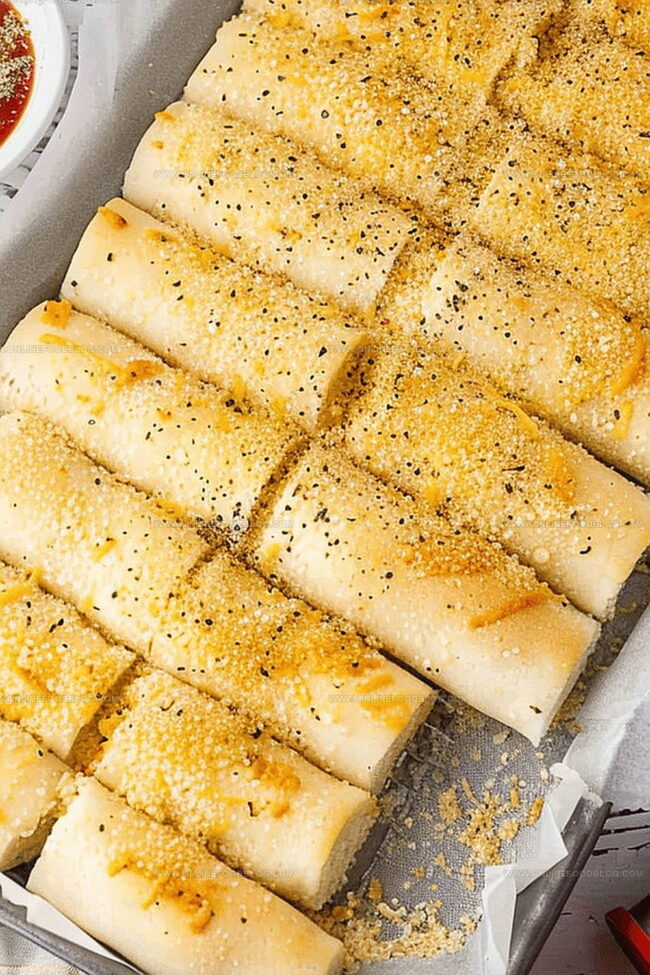
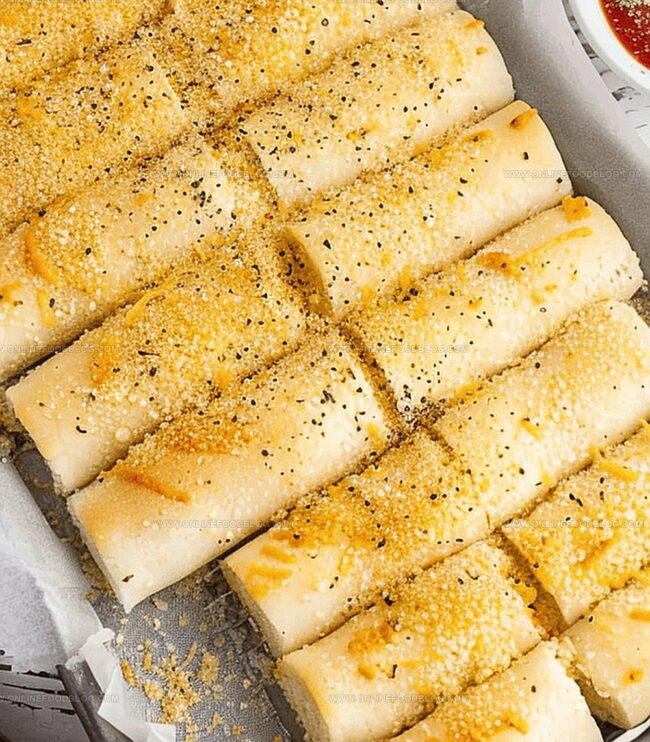
Lavish the dough with remaining melted butter. Sprinkle a snowfall of Parmesan, garlic salt, and Italian seasoning across the top.
Let the dough relax and grow for a short while, becoming plump and pillowy.
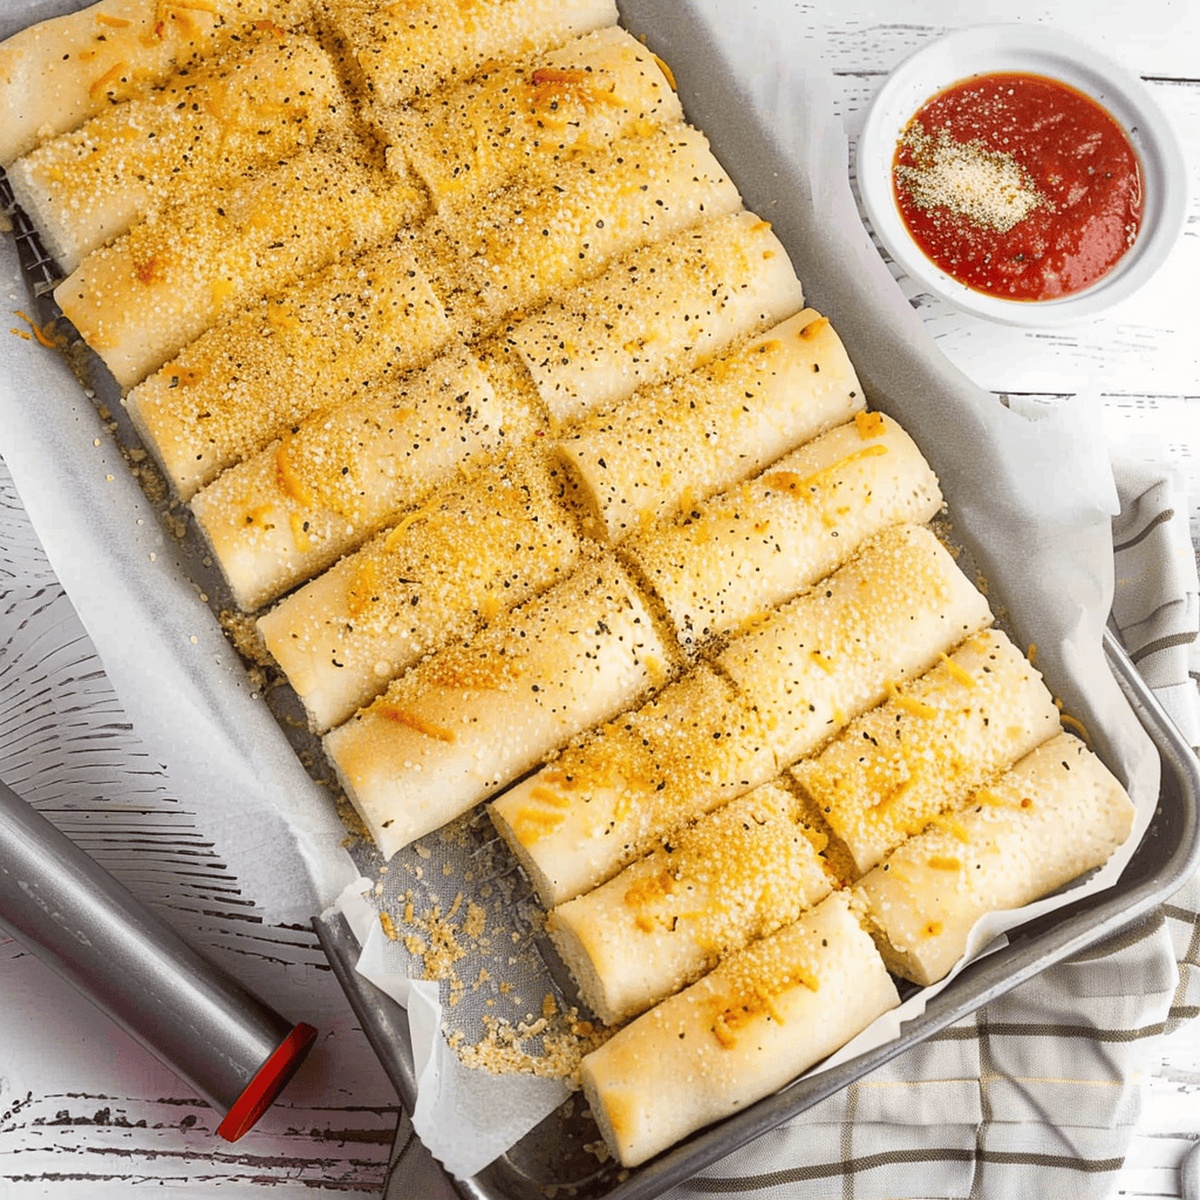
Slice the dough into rustic strips using a pizza cutter, creating your desired breadstick sizes.
Slide the pan into the oven, allowing the breadsticks to transform into golden, crispy delights with beautifully bronzed edges.
Rescue the breadsticks from the oven and give them a moment to cool before diving in and enjoying their warm, buttery goodness.
Tips to Add Flavor to Breadsticks
How to Serve Breadsticks with Dips
Breadstick Storage Made Simple
Print
Crispy Pan Breadsticks
- Total Time: 1 hour 20 minutes
- Yield: 13 1x
Description
Crispy homemade sheet pan breadsticks bring Mediterranean flavors to kitchen tables with minimal effort. Italian herbs and olive oil create an irresistible snack perfect for dipping or enjoying alongside pasta dishes.
Ingredients
- 3.75 cups (472 grams) all-purpose flour
- 1 tbsp (15 grams) yeast
- 1.5 cups (355 ml) warm water (temperature 105° – 115°)
- 2 tbsps (25 grams) granulated sugar
- 0.5 cup (50 grams) Parmesan cheese (finely grated)
- 1 tsp (6 grams) salt
- 1 tsp (5 grams) garlic salt
- 1.5 tsps (4 grams) Italian seasoning
- 0.33 cup (76 grams) melted butter
Instructions
- Yeast Activation: Combine warm water, sugar, yeast, and salt in a mixing bowl, allowing the mixture to become frothy and aromatic for 5-10 minutes.
- Dough Formation: Gradually incorporate flour into the yeast mixture using a dough hook, mixing until a smooth, elastic dough develops. Cover the bowl and let rise in a warm environment until doubled in size, approximately 30-45 minutes.
- Pan Preparation: Preheat the oven to 350°F and prepare a sheet pan with parchment paper. Melt butter and generously coat the pan’s bottom, creating a rich flavor base.
- Dough Expansion: Transfer the proofed dough to the center of the prepared pan, gently pressing and stretching to cover the entire surface. Drizzle remaining melted butter evenly across the dough.
- Seasoning Application: Uniformly sprinkle Parmesan cheese, garlic salt, and Italian seasoning over the buttered dough. Allow the dough to rest and slightly rise for an additional 15-20 minutes.
- Cutting and Baking: Use a pizza cutter to slice the dough into breadstick strips. Bake until the edges turn a delicate golden brown, approximately 18-20 minutes.
- Serving: Remove from the oven and let cool briefly, allowing the breadsticks to set and become crisp before serving.
Notes
- Perfect Yeast Activation: Ensure water temperature is between 100-110°F to guarantee optimal yeast growth without killing the microorganisms.
- Dough Rising Secrets: Choose a draft-free, warm spot like near a preheated oven or inside a turned-off oven with the light on for consistent rising.
- Butter Distribution Technique: Use melted butter generously to enhance flavor and create a crispy, golden exterior that adds rich texture to breadsticks.
- Slice with Precision: Cut breadsticks while the dough is warm for cleaner, more even strips that separate easily without tearing the delicate surface.
- Prep Time: 15 minutes
- Cook Time: 20 minutes
- Category: Snacks, Appetizer
- Method: Baking
- Cuisine: Italian
Nutrition
- Serving Size: 13
- Calories: 165
- Sugar: 1.5 g
- Sodium: 182 mg
- Fat: 7 g
- Saturated Fat: 4.5 g
- Unsaturated Fat: 2.5 g
- Trans Fat: 0 g
- Carbohydrates: 22 g
- Fiber: 1 g
- Protein: 4 g
- Cholesterol: 20 mg
Mia Reynolds
Food Writer & Home Cooking Specialist
Expertise
Easy Home Baking, Recipe Writing and Storytelling, Local and Seasonal Ingredients, Baking for Beginners
Education
New England Culinary Institute (NECI), Montpelier, Vermont
Community College of Vermont, Winooski, Vermont
Mia Reynolds fell in love with baking as a teenager experimenting in her family kitchen. Her passion took her to New England Culinary Institute, where she learned practical pastry techniques, and later to Community College of Vermont to deepen her understanding of food management.
Mia combines clear, simple baking instructions with heartwarming stories, making home baking approachable for everyone.