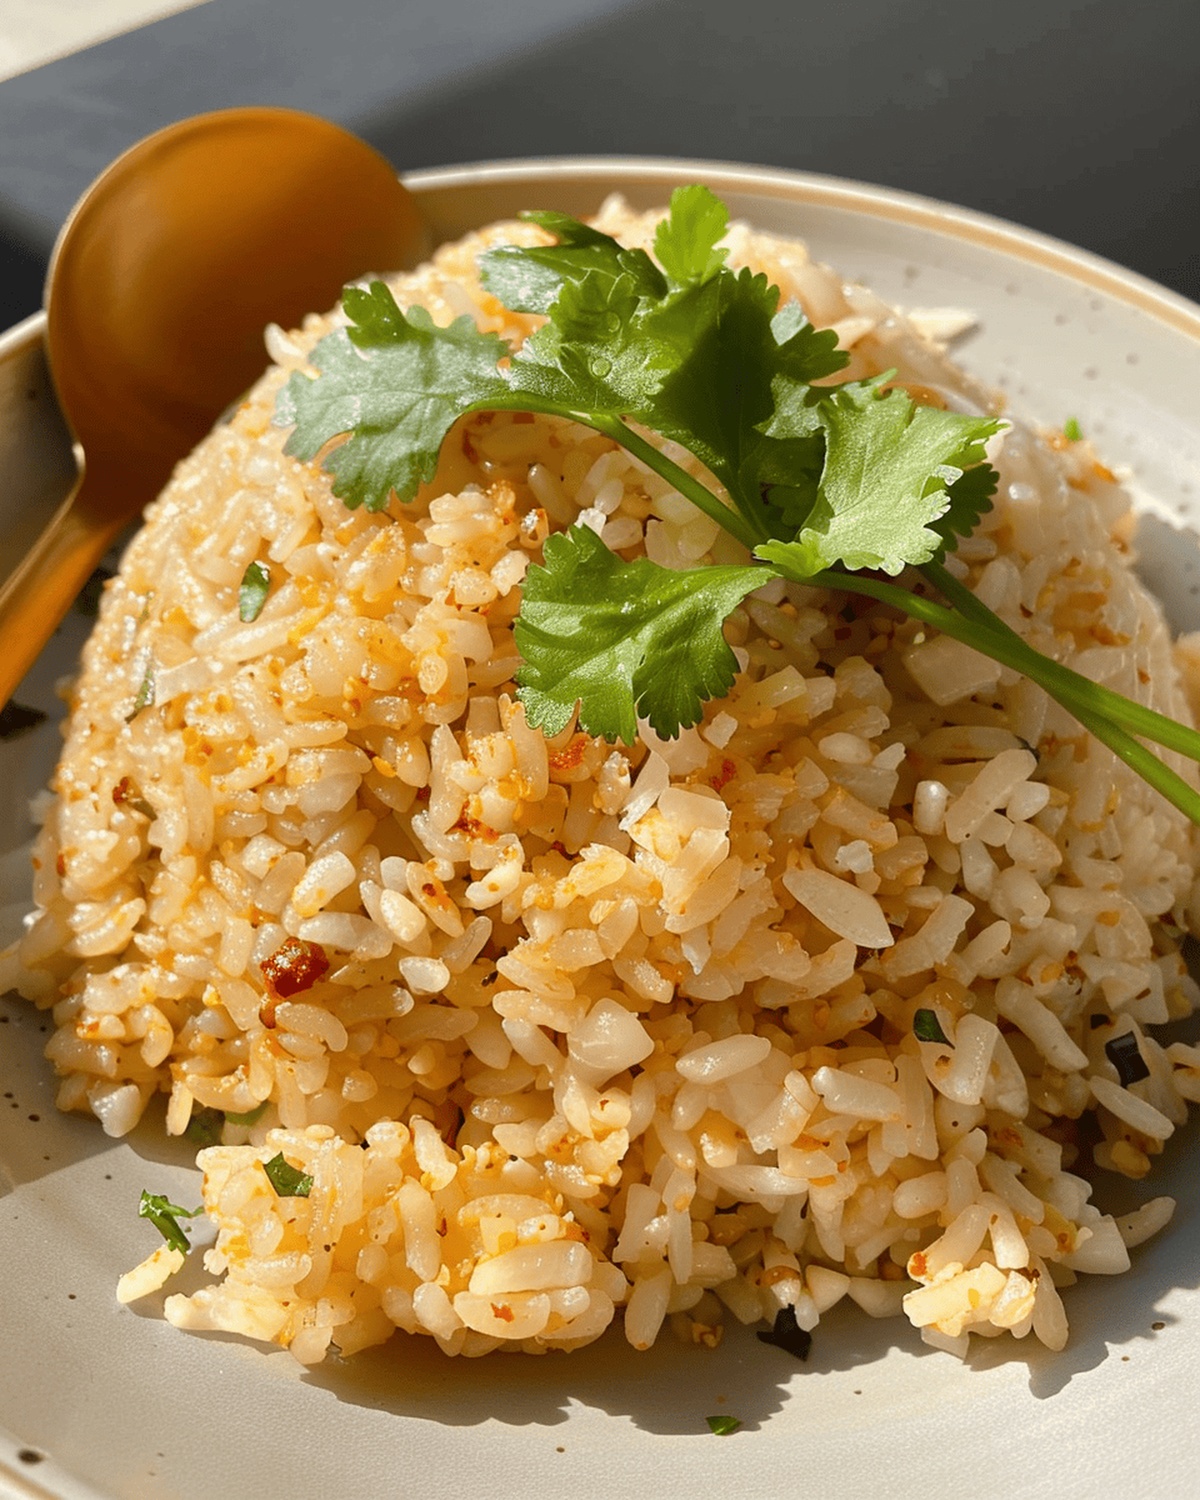
Sizzling pans and aromatic garlic rice bring a burst of flavor straight from the Philippines.
This classic Filipino fried garlic rice recipe captures the heart of Filipino comfort cooking with its irresistible golden-brown edges.
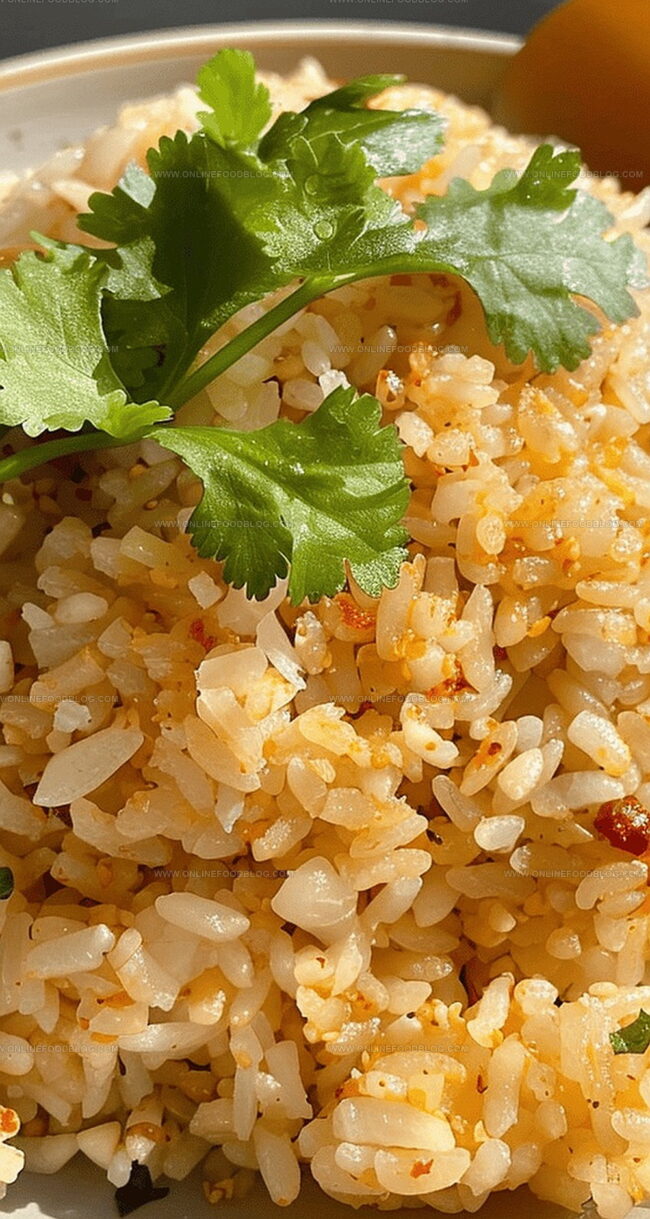
Crispy garlic pieces dance across fluffy rice, creating a symphony of textures that tingles every taste bud.
Each spoonful carries the warmth of traditional Filipino kitchens, where simple ingredients become culinary magic.
Fragrant and perfectly seasoned, this dish turns an ordinary meal into an extraordinary experience.
The combination of crisp garlic and tender rice promises a delightful journey through Filipino cuisine.
Get ready to savor a plate that speaks volumes about the rich culinary heritage of the Philippines.
Quick Recipe Overview
Prep Time: 10 minutes
Cook Time: 10 minutes
Total Time: 20 minutes
Calories: 250 kcal
Servings: 5
Ingredients You Need for Filipino Garlic Rice
For Base:
Leftover Rice: Day-old refrigerated rice ensures perfect texture and prevents clumping, allowing crispy edges during frying.
Salt: Enhances overall flavor profile and balances the richness of garlic and oil.
For Aromatics and Flavor Boosters:
Garlic, Chili Oil: Creates a robust, spicy foundation that transforms simple rice into a vibrant Filipino street-style dish, providing depth and warmth.
Cilantro: Fresh herb adds bright, zesty notes and beautiful green color as a finishing touch.
For Optional Protein and Vegetable Enhancements:
Protein Options, Vegetables: Customize your fried rice by adding protein like tofu, chicken, or vegetables such as carrots to create a more substantial meal, increasing nutritional value and personal flair.
Cooking Tools for Sautéed Garlic Rice
Equipment & Tools:
Large Wok or Non-Stick Pan: Essential for frying rice evenly and creating delicious golden-brown edges.
Spatula: Perfect for mixing rice and preventing sticking without damaging the pan’s surface.
Cutting Board: Needed for chopping garlic and optional cilantro garnish.
Chef’s Knife: Sharp blade for precise garlic and herb chopping.
Measuring Spoon: Helps accurately measure salt and chili oil.
Bowl (Optional): Used for creating a rice dome presentation.
Instructions to Fry Garlic Rice the Filipino Way
Rice Preparation
Day-Old Rice Texture Secrets The magic begins with refrigerated rice that’s slightly dry and separated. This ensures each grain gets perfectly crispy and golden when fried.
Flavor Foundation Warm your cooking surface and introduce chili oil with a sprinkle of salt. The oil carries delicate heat and helps create a rich base for your rice.
Garlic Magic Sauté chopped garlic until it reaches a beautiful golden-brown color. Watch carefully to prevent burning, as caramelized garlic brings incredible depth to the dish.
Rice Transformation Gently fold the rice into the aromatic garlic-infused oil. Allow it to sizzle and crisp, developing those irresistible crunchy edges that make Filipino fried rice legendary.
Final Touches Turn off the heat and consider creating a beautiful dome presentation. A sprinkle of fresh herbs adds a vibrant finish that elevates the entire dish.
Serving Suggestions Pair with classic Filipino proteins like adobo or sisig for a complete meal that celebrates traditional flavors and comfort food magic.
Tips to Adjust Garlic, Salt & Oil Levels
Adjust the chili oil intensity by adding more or less sediment, letting you control the spice level precisely to your taste preferences.
Transform this simple side dish into a complete meal by mixing in cooked chicken, shrimp, pork, or tofu for extra protein and flavor complexity.
Expand the nutritional profile by incorporating diced carrots, peas, bell peppers, or green onions during the cooking process for added color and texture.
Leverage day-old rice’s reduced moisture content for the crispiest, most authentic fried rice texture that prevents soggy, clumpy results.
Serving This Rice with Eggs or Meat
Brunch Companion Delight: Pair this garlic rice with a sunny-side-up egg for a classic Filipino breakfast experience that bursts with flavor and comfort.
Protein Power Plate: Complement the rice with grilled chicken, crispy pork belly, or sautéed shrimp to create a hearty and satisfying meal that balances textures and tastes.
Veggie Fusion Feast: Mix in extra colorful vegetables like bell peppers, green onions, or carrots to boost nutrition and add a delightful crunch to your fried rice, transforming it into a complete one-pan meal.
Sauce Sensation: Drizzle some banana ketchup, soy sauce, or a spicy chili sauce on top to elevate the rice’s flavor profile and add an extra layer of traditional Filipino culinary excitement.
Rice Storage Tips Meals
Refrigerator Magic: Store leftover Filipino Fried Garlic Rice in an airtight container, keeping it fresh for 3-4 days in the refrigerator. The rice maintains its delicious flavor and texture when properly sealed.
Quick Freeze Technique: Transfer cooled rice to freezer-safe containers or zip-lock bags. Freeze for up to 1 month, creating a convenient meal prep option for busy days. Thaw in the refrigerator overnight before reheating.
Reheat Like a Pro: Revive cold rice using a non-stick skillet over medium heat. Add a splash of chili oil or water to restore moisture and prevent drying. Stir gently to distribute heat evenly and bring back the original crispy texture.
Flavor Boost Hack: Mix leftover rice with fresh ingredients like scrambled eggs, additional garlic, or chopped vegetables to create a completely new meal. This trick transforms yesterday’s rice into a delicious next-day lunch or quick dinner option.
Garlic rice from the Philippines delivers bold, savory flavors with crispy texture. Comfort cuisine from Southeast Asia combines simple ingredients for a delicious side dish you’ll crave again and again.
Ingredients
Scale
2 cups (473 ml) white rice or grain of choice, cooked and cooled
1 head garlic, peeled and minced or roughly chopped
1–2 tablespoons (15–30 ml) homemade chili oil or garlic chili oil with some sediment
½ teaspoon (2.5 g) salt or more to taste
Fresh cilantro, chopped (optional)
Instructions
Rice Preparation: Meticulously separate cold rice from the previous day, breaking up any clusters to ensure individual grain integrity for optimal frying texture.
Flavor Foundation: Heat a spacious wok or non-stick skillet over medium flame, introducing chili oil and salt to create a fragrant cooking base that will infuse the rice with complex flavor profiles.
Garlic Transformation: Distribute minced garlic into the heated oil, carefully monitoring the cooking process to achieve a rich golden-brown coloration without scorching the delicate aromatics.
Rice Integration: Disperse the loosened rice across the pan, pressing and turning to create a uniform coating of oil and garlic, allowing the grains to develop a crispy exterior and absorb the intense flavors.
Final Seasoning: Enhance the rice with additional salt and chili oil, ensuring each grain is thoroughly coated and delivering a harmonious blend of spicy and savory notes.
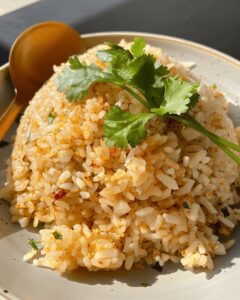
Presentation and Garnish: Transfer the golden-brown rice to a serving dish, artfully mounding it in an inverted bowl shape, then crown with freshly chopped cilantro to introduce a vibrant herbaceous element.
Serving Suggestion: Complement the garlic rice with traditional Filipino accompaniments like Tofu Sisig, Adobo, or Mushroom Tocino for an authentic and satisfying culinary experience.
Notes
Prep Rice Strategically: Day-old rice works best, as its drier texture prevents soggy, clumped results during frying.
Control Garlic Carefully: Watch garlic closely while browning to achieve golden color without burning, which can create bitter undertones.
Heat Management Matters: Maintain medium heat throughout cooking to ensure even crisping and prevent rice from becoming tough or dry.
Garnish for Depth: Fresh cilantro adds brightness and cuts through the rich, savory flavors, elevating the overall dish’s complexity.
Degree: Certificate in Food and Beverage Management
Focus: Essential knowledge of recipe development, ingredient sourcing, and food business basics.
Mia Reynolds fell in love with baking as a teenager experimenting in her family kitchen. Her passion took her to New England Culinary Institute, where she learned practical pastry techniques, and later to Community College of Vermont to deepen her understanding of food management.
Mia combines clear, simple baking instructions with heartwarming stories, making home baking approachable for everyone.

Mia Reynolds
Food Writer & Home Cooking Specialist
Expertise
Easy Home Baking, Recipe Writing and Storytelling, Local and Seasonal Ingredients, Baking for Beginners
Education
New England Culinary Institute (NECI), Montpelier, Vermont
Community College of Vermont, Winooski, Vermont
Mia Reynolds fell in love with baking as a teenager experimenting in her family kitchen. Her passion took her to New England Culinary Institute, where she learned practical pastry techniques, and later to Community College of Vermont to deepen her understanding of food management.
Mia combines clear, simple baking instructions with heartwarming stories, making home baking approachable for everyone.