
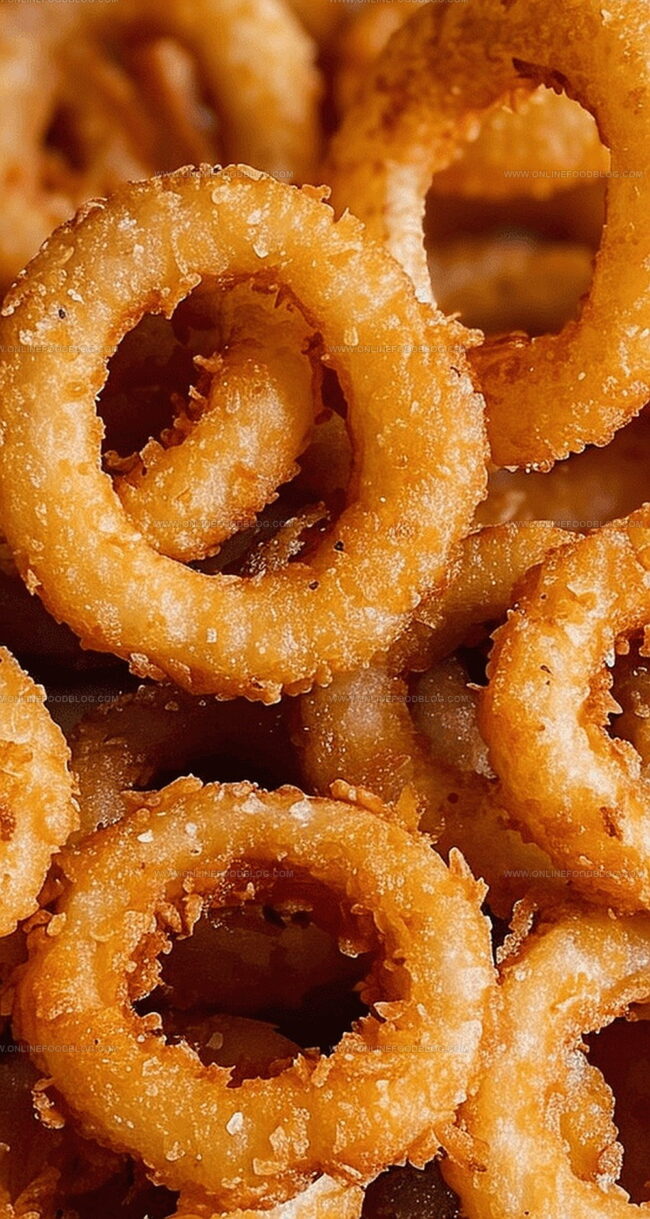
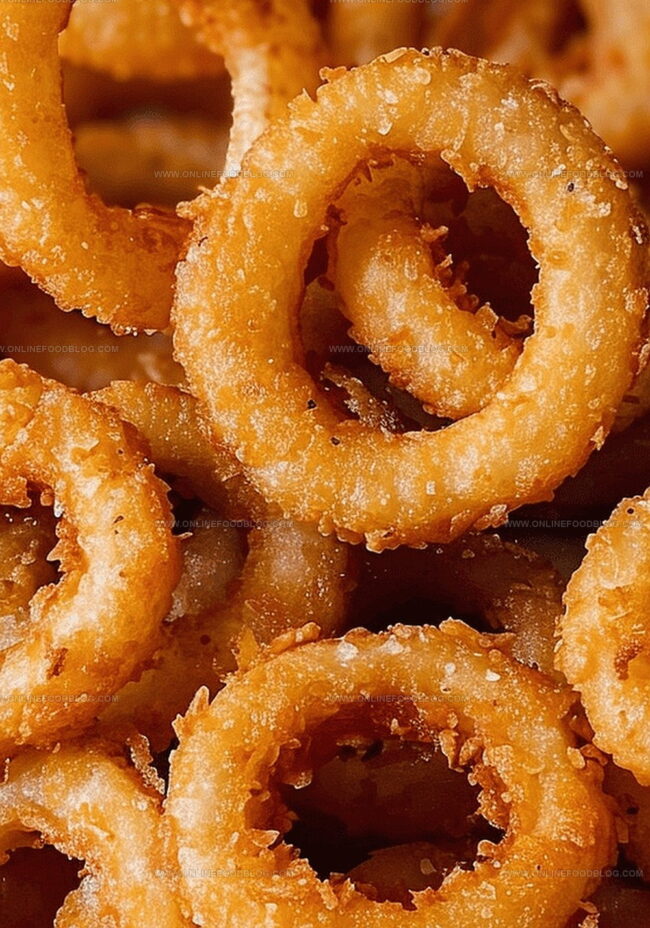
Crispy Golden Onion Rings: A No-Fail Homemade Recipe
Those crispy battered onion rings can change an ordinary meal into a golden, mouth-watering experience that tantalizes every taste bud.
Seasoned chefs and home cooks alike understand the magic behind perfectly crafted rings with an irresistible crunch.
The secret lies in selecting fresh, firm onions and creating a light, airy batter that adheres beautifully during frying.
Achieving that delicate balance between a crackling exterior and tender interior requires precision and technique.
Each ring promises a delightful blend of savory flavors and textural contrast that elevates simple ingredients into something extraordinary.
Professional kitchens and backyard gatherings alike celebrate this classic comfort food that brings smiles with every bite.
Prepare to wow your friends and family with a side dish that turns heads and sparks conversation.
Crispy Onion Rings Snapshot
Crispy Onion Rings Ingredients
Onion and Liquids:Dry Coating Ingredients:Seasoning Ingredients:Fry Up Crispy Onion Rings
Step 1: Prepare Onion Rings
Gently separate onion slices into individual rings. Place them in a bowl and pour buttermilk over the rings. Let the rings soak for 30 minutes to soften and enhance their flavor.
Step 2: Create Breading Mixture
Prepare two separate bowls for coating:
First Bowl (Flour Mixture):Second Bowl:Step 3: Warm Cooking Oil
Heat 2 inches of vegetable oil in a deep fryer or large pot to 375°F.
Step 4: Coat Onion Rings
Remove onion rings from buttermilk, letting excess drip off. Follow this coating process:
Repeat for all onion rings.
Step 5: Fry Onion Rings
Carefully place a few rings in hot oil, avoiding overcrowding. Fry 2-3 minutes per side until golden brown and crispy. Use a slotted spoon to remove rings and drain on paper towels.
Step 6: Serve and Enjoy
Serve onion rings warm with favorite dipping sauces like ranch, ketchup, or spicy aioli.
Onion Rings Cooking Tips
Reheat Crispy Onion Rings Easily
What Goes with Crispy Onion Rings
Crispy Onion Rings Variations
Print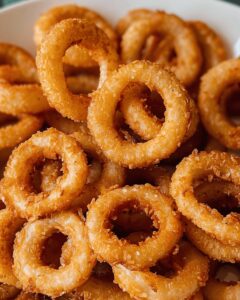
Crispy Battered Onion Rings Recipe
- Total Time: 35 minutes
- Yield: 4 1x
Description
Crispy Battered Onion Rings deliver a golden crunch that elevates classic comfort snacking. Southern-style seasoning and perfectly crisp exterior promise a mouthwatering experience you’ll crave again and again.
Ingredients
Batter Ingredients:
- 1 cup all-purpose flour
- ½ cup cornstarch
- 1 teaspoon baking powder
- 1 teaspoon garlic powder
- 1 teaspoon smoked paprika
- ½ teaspoon salt
- ½ teaspoon black pepper
Liquid Ingredients:
- 2 cups buttermilk
Coating and Main Ingredients:
- 2 large onions, sliced into ¼-inch rings
- 1 cup panko breadcrumbs
- Vegetable oil, for frying
Instructions
- Gently separate whole onion rings, ensuring they remain intact and free from breakage, which can impact the final texture of the crispy coating.
- Immerse the delicate onion rings in cold buttermilk for 30-40 minutes, allowing the dairy to tenderize and enhance the onions’ natural sweetness and texture.
- Create a seasoned flour mixture by blending all-purpose flour, cornstarch, baking powder, garlic powder, smoked paprika, kosher salt, and freshly ground black pepper in a wide, shallow dish.
- Pour panko breadcrumbs into a separate shallow container, preparing a crisp outer layer for maximum crunchiness.
- Warm vegetable oil in a heavy-bottomed pot or deep fryer to precisely 375°F (190°C), using a digital thermometer to ensure accurate temperature.
- Extract each buttermilk-soaked onion ring, allowing excess liquid to drip off, then delicately coat with the seasoned flour mixture, ensuring even and light coverage.
- Dunk the floured ring back into buttermilk, then generously roll in panko breadcrumbs, pressing gently to help crumbs adhere completely.
- Carefully lower breaded rings into hot oil in small batches, avoiding overcrowding, and fry for 2-3 minutes until achieving a golden-brown, crispy exterior.
- Transfer fried onion rings to a wire rack lined with paper towels, allowing excess oil to drain and maintaining optimal crispness.
- Serve immediately alongside complementary dipping sauces like ranch, spicy aioli, or classic ketchup for a delectable appetizer or side dish.
Notes
- Soak onion rings in buttermilk for at least 30 minutes to tenderize and enhance flavor, creating a melt-in-your-mouth texture.
- Double-dredge rings in flour mixture and panko breadcrumbs for an ultra-crispy, golden-brown exterior that stays crunchy.
- Maintain oil temperature at 375°F to ensure perfect frying without absorbing excess oil or becoming greasy.
- Avoid overcrowding the fryer to prevent temperature drops and ensure each ring cooks evenly and becomes beautifully crisp.
- Use a slotted spoon to drain excess oil, keeping rings light and crunchy instead of soggy and heavy.
- Serve immediately while hot for maximum crispiness and enjoyment with your favorite dipping sauce.
- Prep Time: 20 minutes
- Cook Time: 15 minutes
- Category: Appetizer, Snacks
- Method: Frying
- Cuisine: American
Nutrition
- Serving Size: 4
- Calories: 320 kcal
- Sugar: 5 g
- Sodium: 380 mg
- Fat: 18 g
- Saturated Fat: 3 g
- Unsaturated Fat: 14 g
- Trans Fat: 0 g
- Carbohydrates: 35 g
- Fiber: 2 g
- Protein: 6 g
- Cholesterol: 10 mg
Lucas Bennett
Founder & Recipe Creator
Expertise
Simple Everyday Recipes, Sustainable Cooking Practices, Creative Meal Planning, Recipe Testing and Improvement
Education
Fox Valley Technical College, Appleton, Wisconsin
Lake Superior College, Duluth, Minnesota
Lucas Bennett’s cooking journey started in his parents’ kitchen, where he learned to prepare tasty, no-fuss meals from scratch. His culinary passion led him to Fox Valley Technical College, where he gained practical cooking skills.
He then expanded his focus on sustainability at Lake Superior College. Today, Lucas shares easy, approachable recipes designed to make cooking enjoyable and stress-free for everyone.