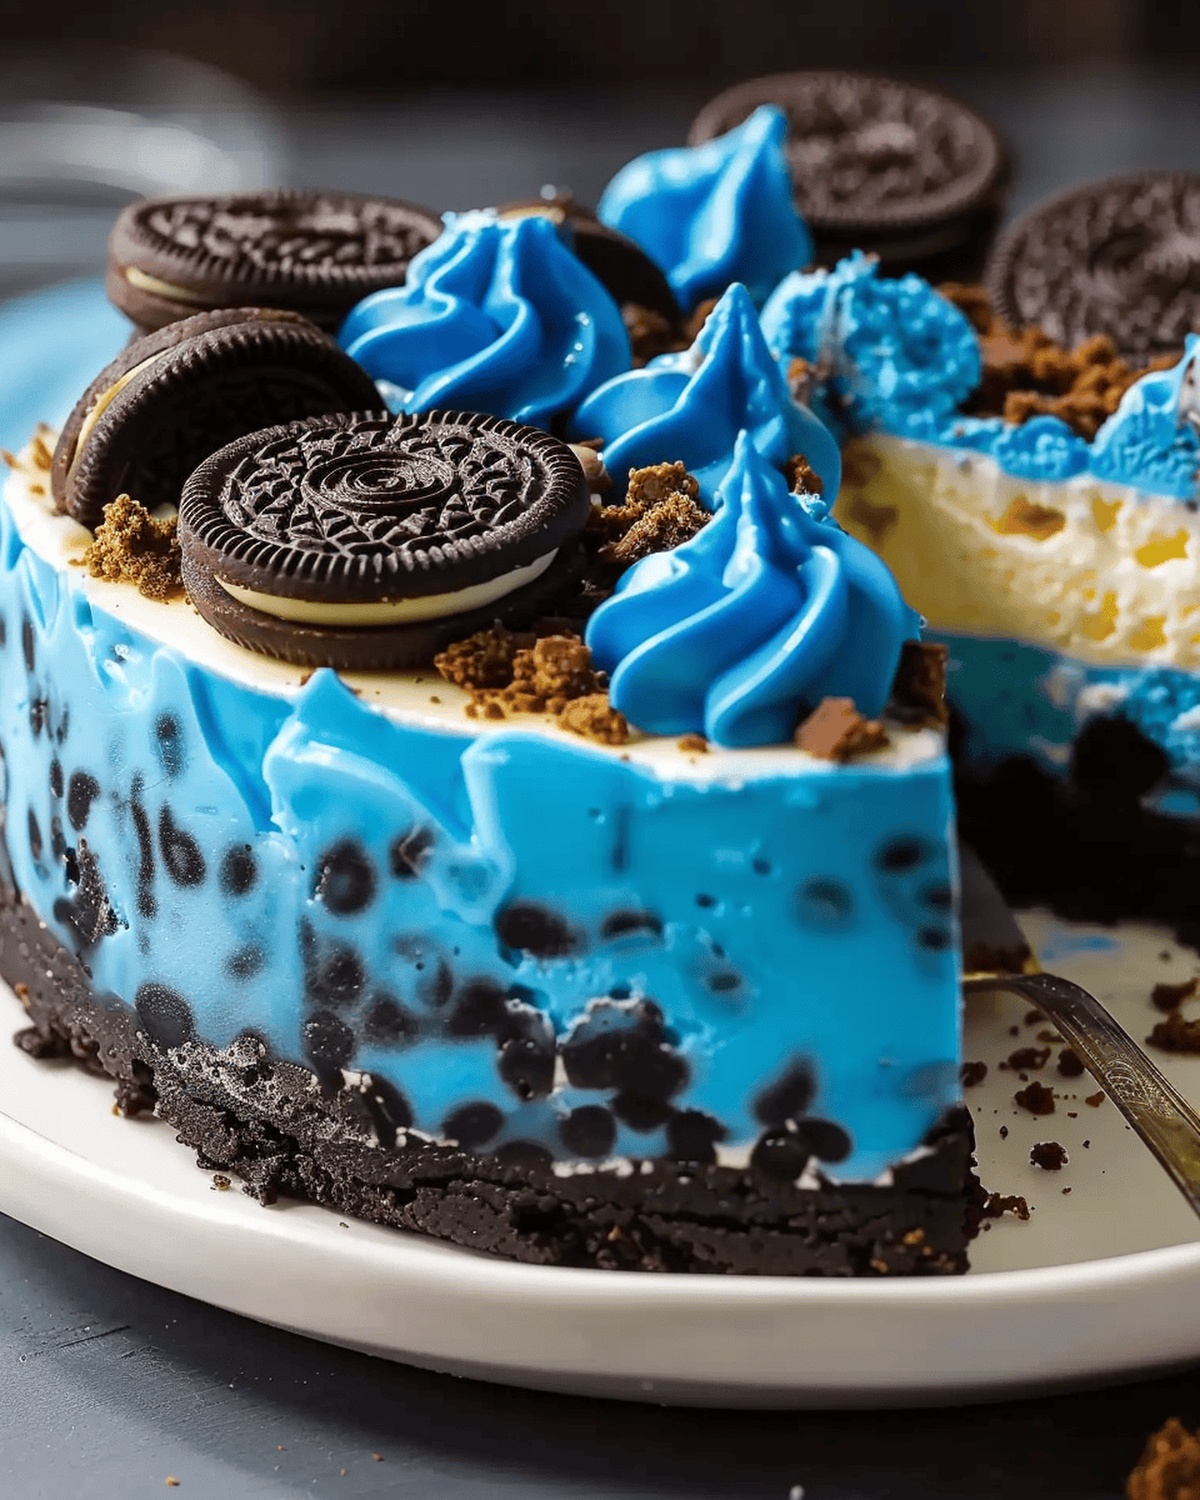
Quick & Fun Cookie Monster Delight Cheesecake Recipe
Blue-tinged desserts can craft ordinary baking into a whimsical cookie monster delight cheesecake experience that sparks childhood memories.
Playful sweet treats often connect us to nostalgic moments of unbridled joy and sugary excitement.
Creamy textures merge with crumbly cookie sensations, creating a delightful contrast that dance across taste buds.
Wild blue hues remind you of beloved childhood characters and carefree afternoons filled with laughter.
Soft cream cheese becomes the canvas for a vibrant culinary masterpiece that celebrates whimsy and indulgence.
Unexpected color combinations elevate this dessert from simple recipe to conversation-starting centerpiece at any gathering.
Professional bakers and home cooks alike can craft this playful confection with minimal effort and maximum visual impact.
Why Cookie Monster Cheesecake Is a Crowd-Pleaser
Ingredients to Build Cookie Monster Cheesecake
Base Ingredients:Cheesecake Filling Ingredients:Ganache Topping Ingredients:How to Make Cookie Monster Cheesecake Easily
Step 1: Prepare the Base
Melt butter in a saucepan over medium heat. Stir in salt and brown sugar until well combined. Remove from heat and whisk in egg and vanilla extract. Gently fold in flour until just mixed. Add chocolate chips and spread the batter evenly in a prepared pan. Bake at 350°F for 15-20 minutes. Let the base cool completely.
Step 2: Create the Cheesecake Filling
Cream the cream cheese until silky smooth. Mix in:Gradually add:Incorporate eggs one at a time. Fold in crushed Oreo cookies. Pour the mixture over the cooled base.
Step 3: Bake the Cheesecake
Place the cheesecake in a water bath. Bake at 300°F for 45-55 minutes. The center should be slightly jiggly but set.
Step 4: Craft the Ganache Topping
Combine in a microwave-safe bowl:Microwave in 30-second intervals, stirring between each burst until smooth and glossy. Allow the cheesecake to cool completely before spreading the ganache evenly on top.
Step 5: Chill and Serve
Refrigerate the cheesecake for at least 4 hours or overnight. This allows the flavors to meld and the texture to set perfectly. Slice and serve chilled for the ultimate Cookie Monster Delight experience.
Tips for Blue, Fun Cookie Monster Cheesecake
Store and Serve Cookie Monster Cheesecake Right
Treats That Go with Cookie Monster Cheesecake
Cookie Monster Cheesecake Ideas to Try
Print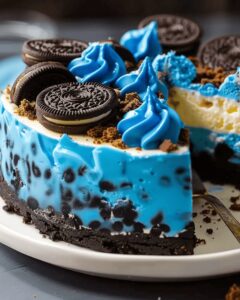
Cookie Monster Delight Cheesecake Recipe
- Total Time: 1 hour 30 minutes
- Yield: 12 1x
Description
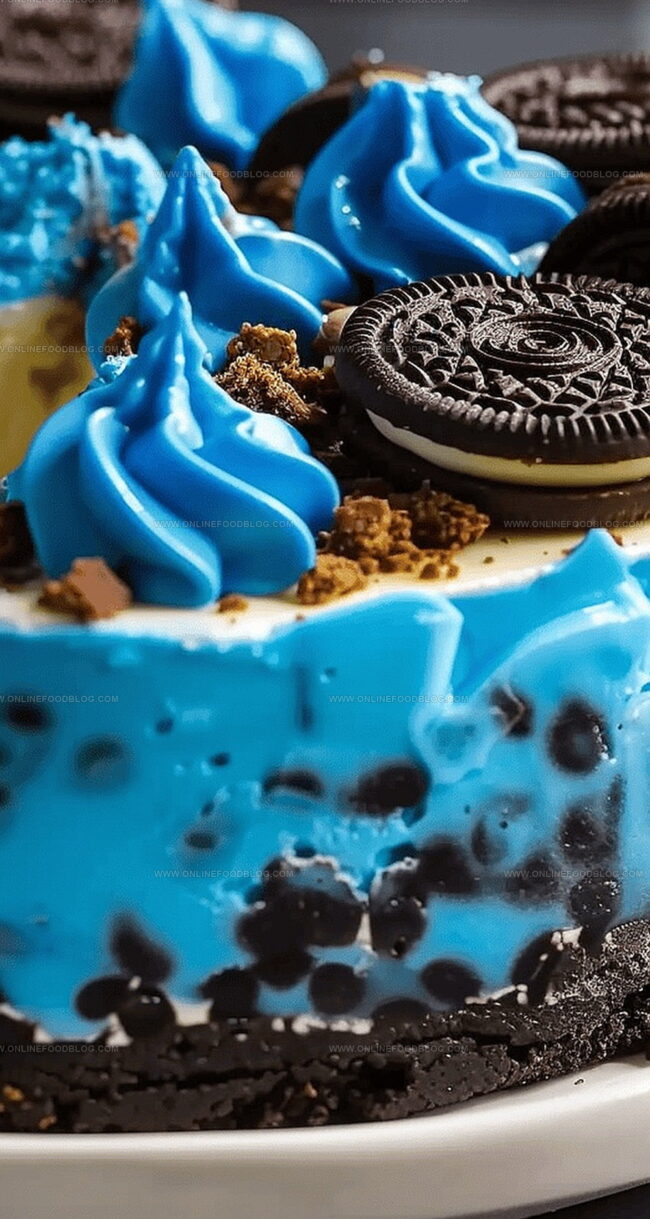
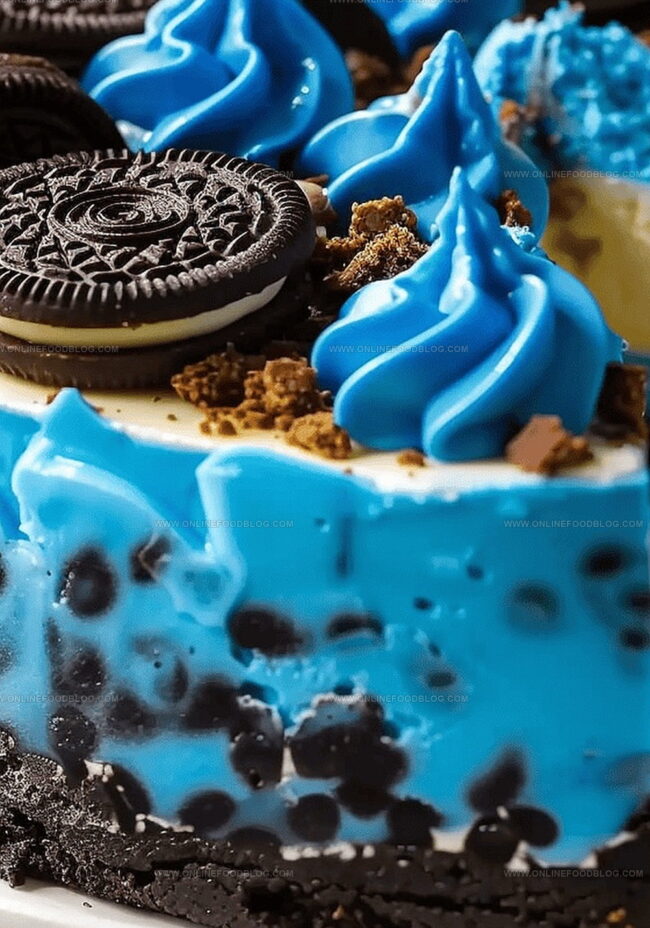
Monster-sized cheesecake dreams come true with this Cookie Monster blue-tinted creamy masterpiece. Sweet cream cheese layers studded with chocolate chip cookies promise delightful indulgence for classic dessert seekers.
Ingredients
Base Ingredients:
- ½ cup (113 grams) unsalted butter
- ½ cup (60 grams) all-purpose flour
- ⅓ cup (70 grams) brown sugar
- ½ cup (85 grams) semisweet mini chocolate chips
- 15 regular Oreo cookies, crushed
- 1 egg
- 1 teaspoon vanilla extract
- ½ teaspoon salt
Filling Ingredients:
- 16 ounces (454 grams) cream cheese
- 3 eggs
- ⅓ cup (70 grams) granulated sugar
- ½ cup (120 milliliters) whipping cream
- 2 teaspoons cornstarch
- 1 teaspoon vanilla extract
- Pinch of salt
- Blue gel food coloring
Ganache Ingredients:
- ¾ cup (130 grams) semisweet chocolate chips
- ½ cup (120 milliliters) heavy whipping cream
- Pinch of salt
Instructions
- Craft the cookie base by gently melting butter in a saucepan over medium heat, whisking in salt and brown sugar until thoroughly blended.
- Remove the saucepan from heat and incorporate egg and vanilla extract, then delicately fold in flour until just combined.
- Gently fold chocolate chips into the mixture, ensuring even distribution throughout the batter.
- Transfer the batter to a prepared baking pan, spreading it evenly with a spatula.
- Bake the cookie base in a preheated oven at 350°F (175°C) for 15-20 minutes until lightly golden.
- Allow the cookie base to cool completely at room temperature.
- In a large mixing bowl, cream cream cheese until silky and smooth.
- Gradually blend in cornstarch, granulated sugar, and a delicate pinch of salt.
- Slowly incorporate whipping cream, blue food coloring, and vanilla extract until the mixture becomes uniform.
- Add eggs one at a time, mixing thoroughly after each addition.
- Gently fold crushed Oreo cookies into the cheesecake filling.
- Pour the cheesecake mixture over the cooled cookie base.
- Place the pan in a water bath and bake at 300°F (150°C) for 45-55 minutes.
- For the ganache, combine chocolate chips, heavy cream, and a pinch of salt in a microwave-safe bowl.
- Heat the ganache ingredients in 30-second intervals, stirring between each burst until smooth and glossy.
- Once the cheesecake has cooled completely, generously spread the ganache over the top.
- Refrigerate the cheesecake for at least 4 hours before serving to allow it to set properly.
Notes
- Prep Like a Pro: Ensure all ingredients are at room temperature for smooth, lump-free mixing and perfect texture.
- Baking Brilliance: Use a water bath to prevent cracking and achieve a silky, creamy cheesecake consistency.
- Cookie Monster Magic: Crush Oreos just before adding to maintain their crunch and prevent soggy texture.
- Color Pop: Add blue food coloring gradually to create a vibrant, Instagram-worthy blue cheesecake appearance.
- Cooling Crucial: Allow each layer to cool completely before adding the next to prevent structural failures.
- Ganache Genius: Stir chocolate mixture slowly and gently to create a glossy, smooth topping that sets beautifully.
- Prep Time: 30 minutes
- Cook Time: 60 minutes
- Category: Desserts
- Method: Baking
- Cuisine: American
Nutrition
- Serving Size: 12
- Calories: 352 kcal
- Sugar: 22 g
- Sodium: 180 mg
- Fat: 26 g
- Saturated Fat: 15 g
- Unsaturated Fat: 9 g
- Trans Fat: 0.5 g
- Carbohydrates: 28 g
- Fiber: 1 g
- Protein: 6 g
- Cholesterol: 95 mg
Lucas Bennett
Founder & Recipe Creator
Expertise
Simple Everyday Recipes, Sustainable Cooking Practices, Creative Meal Planning, Recipe Testing and Improvement
Education
Fox Valley Technical College, Appleton, Wisconsin
Lake Superior College, Duluth, Minnesota
Lucas Bennett’s cooking journey started in his parents’ kitchen, where he learned to prepare tasty, no-fuss meals from scratch. His culinary passion led him to Fox Valley Technical College, where he gained practical cooking skills.
He then expanded his focus on sustainability at Lake Superior College. Today, Lucas shares easy, approachable recipes designed to make cooking enjoyable and stress-free for everyone.