Try This Dreamy Chocolate Mousse Brownies Recipe Tonight
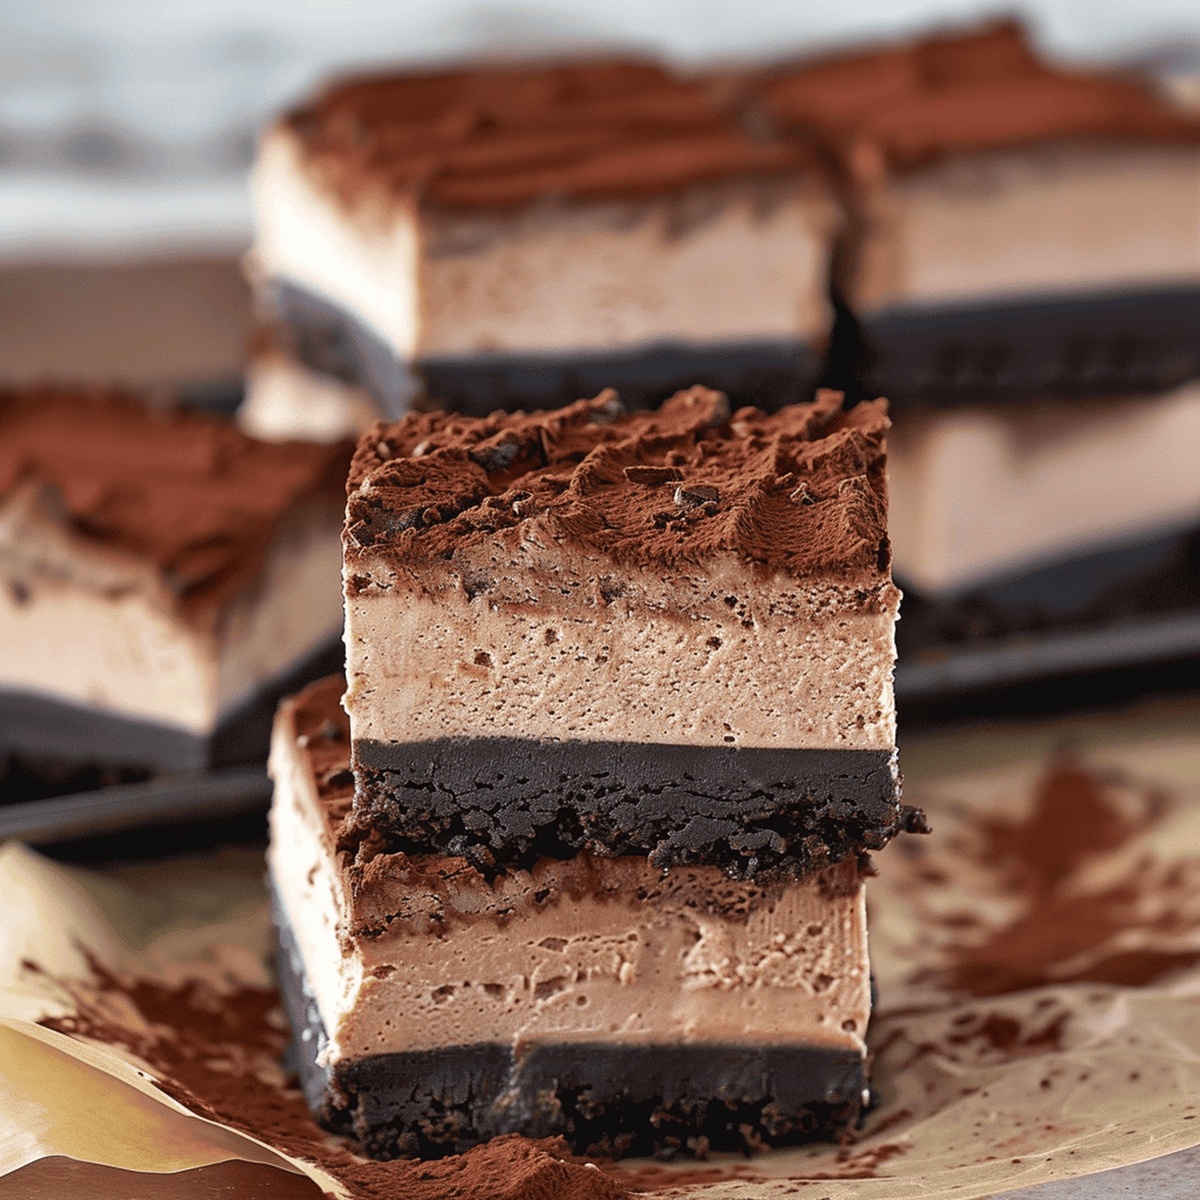
Chocolate mousse brownies blend two decadent desserts into one irresistible treat that promises pure indulgence.
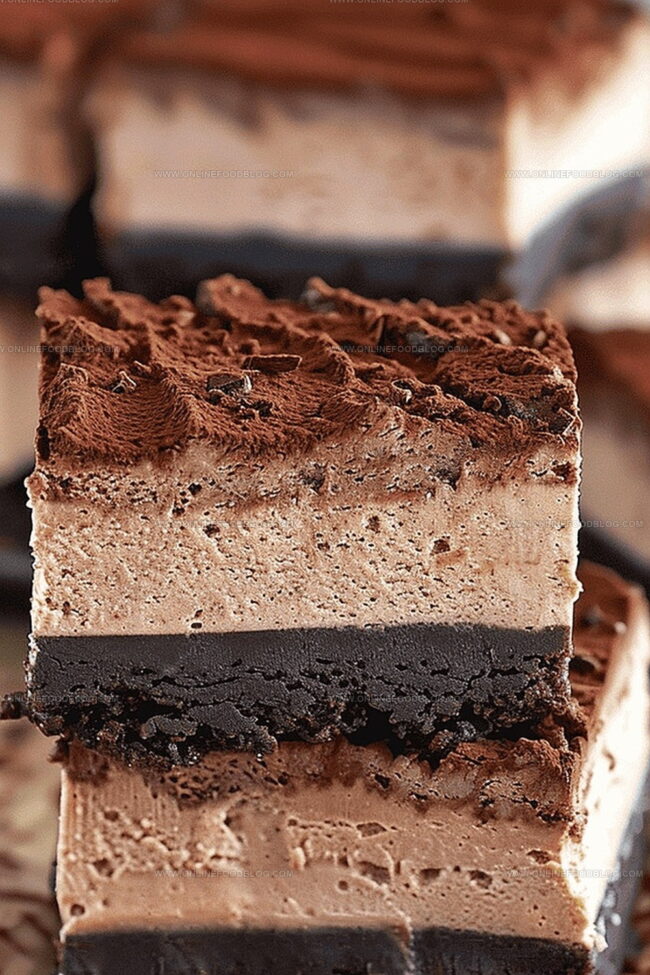
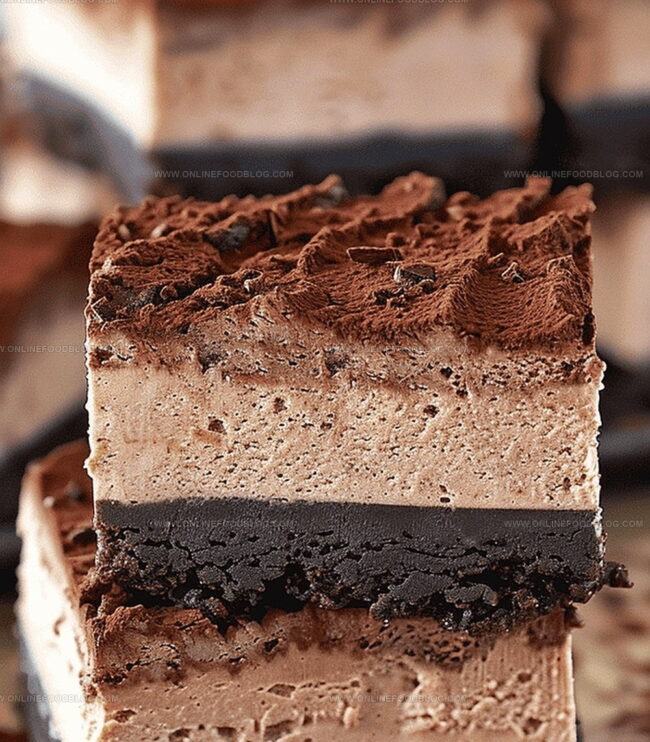
Rich layers of intense chocolate create a symphony of textures guaranteed to delight your senses.
Creamy mousse nestles atop a dense, fudgy brownie base, offering a luxurious contrast that melts effortlessly on your tongue.
Silky smooth and deeply satisfying, this dessert reinvents ordinary baking into an extraordinary culinary experience.
Each bite promises a harmonious balance between dense chocolate cake and airy, whipped mousse that elevates classic comfort food.
Delicate yet bold, these brownies represent the pinnacle of chocolate lover’s ultimate fantasy.
Prepare to embark on a delectable journey that will redefine your dessert expectations.
Why Chocolate Mousse Brownies Steal the Show
Chocolate Mousse Brownie Ingredients You’ll Love
Brownie Base Ingredients:Chocolate Mousse Ingredients:Finishing Ingredients:Making Chocolate Mousse Brownies the Right Way
Step 1: Prepare the Oven and Baking Pan
Preheat the oven to 325°F. Line a 13×9 inch pan with parchment paper and lightly butter the surface.
Step 2: Create the Brownie Batter
In a mixer with a wire whisk attachment, beat eggs until they become fluffy and light yellow. Add sugar and mix thoroughly. Incorporate the following ingredients:Mix until the batter becomes smooth and well combined.
Step 3: Bake the Brownie Base
Pour the batter into the prepared pan. Bake for 30-35 minutes, checking doneness with a toothpick. The toothpick should come out with a few moist crumbs.
Step 4: Cool the Brownie Layer
Remove from oven and let the brownie cool completely in the pan on a wire rack.
Step 5: Prepare Chocolate Mousse Base
Melt chocolate using a double boiler method over simmering water. Set aside to cool slightly.
Step 6: Activate the Gelatin
Mix gelatin with water and let it sit for 10 minutes to bloom and soften.
Step 7: Create Cream Mixture
Heat of cream and dissolve the bloomed gelatin completely into the warm cream.
Step 8: Combine Chocolate and Cream
Gradually whisk the cream mixture into the melted chocolate:Step 9: Whip the Cream
Whip the remaining cream to soft, billowy peaks.
Step 10: Fold Cream into Chocolate
Gently fold the whipped cream into the chocolate mixture, creating a light and airy mousse.
Step 11: Assemble and Chill
Pour the chocolate mousse over the cooled brownie layer. Refrigerate overnight to set completely.
Step 12: Serve the Dessert
Remove from refrigerator, dust with cocoa powder, and slice into elegant bars. Enjoy your decadent chocolate mousse brownies!
Must-Know Tips for Chocolate Mousse Brownies
How to Keep Chocolate Mousse Brownies Fresh
Delicious Pairings for Chocolate Mousse Brownies
Ways to Change Up Your Chocolate Mousse Brownies
Print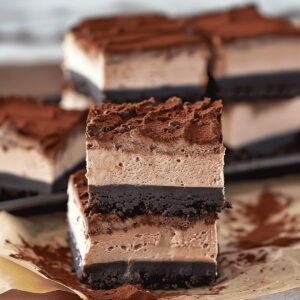
Chocolate Mousse Brownies Recipe
- Total Time: 1 hour 20 minutes
- Yield: 12 1x
Description
Rich chocolate mousse brownies blend intense cocoa layers with silky smooth cream, creating a luxurious dessert that melts in your mouth. French pastry techniques elevate this classic treat, promising pure chocolate indulgence you won’t forget.
Ingredients
Chocolate Proteins and Chocolate Base:
- 8 ounces (226 grams) unsalted butter, melted
- 1 ¼ cups (150 grams) sifted cocoa powder
- 10 ounces (283 grams) finely chopped milk chocolate
Egg and Sugar Components:
- 4 large eggs
- 2 cups (400 grams) sugar
- 1 teaspoon vanilla extract
Supplementary Ingredients:
- ⅓ cup (40 grams) sifted flour
- ½ teaspoon kosher salt
- 2 tablespoons (30 milliliters) water
- 7 grams gelatin
- 2 ½ cups (600 milliliters) chilled whipping cream
- 2 tablespoons (30 grams) softened unsalted butter (for greasing)
Instructions
- Heat the oven to 325°F (165°C) and prepare a 13 x 9 inch (33 x 23 centimeters) baking pan by lining it with parchment paper and lightly greasing with butter.
- Using an electric mixer, whip eggs until they become light and airy with a pale yellow color.
- Gradually incorporate sugar into the eggs, mixing until well integrated and smooth.
- Incorporate melted butter, cocoa powder, vanilla extract, all-purpose flour, and salt into the egg mixture, stirring until a uniform batter forms.
- Transfer the brownie batter into the prepared pan, ensuring even distribution.
- Bake for 30-35 minutes, checking doneness by inserting a toothpick that should emerge with a few moist crumbs.
- Remove from oven and allow the brownie layer to cool completely on a wire rack.
- For the chocolate mousse, create a double boiler by placing chocolate in a heat-safe bowl over simmering water and melt until smooth.
- Sprinkle gelatin powder over cold water and let it sit for 10 minutes to activate and bloom.
- Gently warm of heavy cream and dissolve the gelatin mixture completely.
- Gradually whisk half of the cream mixture into the melted chocolate, then incorporate the remaining cream to create a smooth ganache.
- Whip the remaining cream until soft peaks form.
- Carefully fold the whipped cream into the chocolate mixture, maintaining its light and airy texture.
- Pour the chocolate mousse evenly over the cooled brownie base.
- Refrigerate the dessert for a minimum of 8 hours or overnight to set completely.
- Before serving, remove from refrigerator, dust lightly with cocoa powder, and slice into elegant rectangular bars.
Notes
- Prep ahead is crucial, as this dessert requires overnight chilling for perfect texture and setting.
- Use high-quality chocolate for a rich, intense flavor that elevates the entire brownie mousse experience.
- Ensure gelatin is completely dissolved to achieve a smooth, silky mousse layer without any graininess.
- Room temperature ingredients help create a more uniform and creamy chocolate mixture.
- Line the pan with parchment paper for easy removal and clean, precise brownie bars.
- Whip cream to soft peaks carefully to maintain its light, airy structure when folding into chocolate.
- Prep Time: 30 minutes
- Cook Time: 50 minutes
- Category: Desserts, Snacks
- Method: Baking
- Cuisine: American
Nutrition
- Serving Size: 12
- Calories: 392 kcal
- Sugar: 28 g
- Sodium: 120 mg
- Fat: 28 g
- Saturated Fat: 17 g
- Unsaturated Fat: 9 g
- Trans Fat: 0.5 g
- Carbohydrates: 33 g
- Fiber: 2 g
- Protein: 6 g
- Cholesterol: 115 mg
Lucas Bennett
Founder & Recipe Creator
Expertise
Simple Everyday Recipes, Sustainable Cooking Practices, Creative Meal Planning, Recipe Testing and Improvement
Education
Fox Valley Technical College, Appleton, Wisconsin
Lake Superior College, Duluth, Minnesota
Lucas Bennett’s cooking journey started in his parents’ kitchen, where he learned to prepare tasty, no-fuss meals from scratch. His culinary passion led him to Fox Valley Technical College, where he gained practical cooking skills.
He then expanded his focus on sustainability at Lake Superior College. Today, Lucas shares easy, approachable recipes designed to make cooking enjoyable and stress-free for everyone.