Timeless Classic California Roll Recipe Everyone Will Love
Sushi lovers chase the perfect California roll with a passion that borders on obsession.
This iconic sushi roll blends smooth textures and bold flavors in a way that delights every palate.
Originating from west coast culinary creativity, the California roll has become a beloved staple in Japanese-American cuisine.
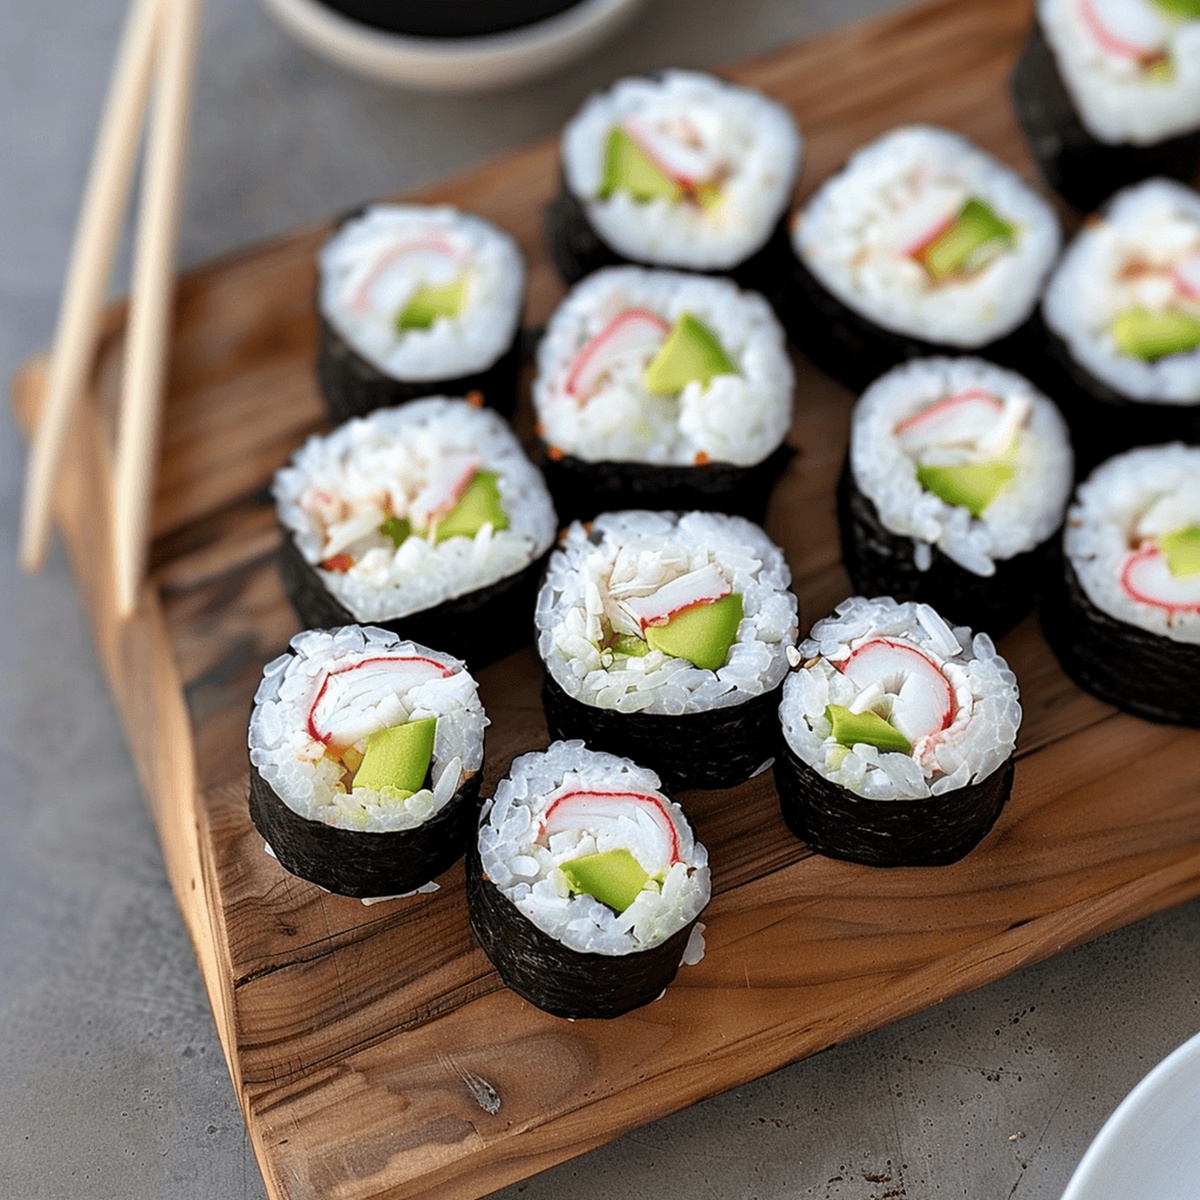
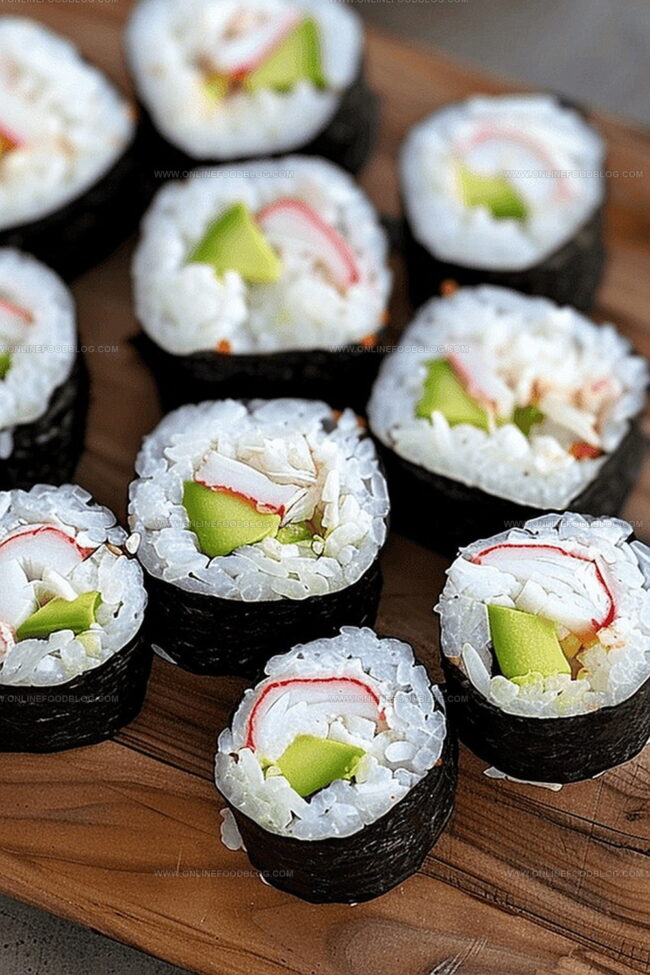
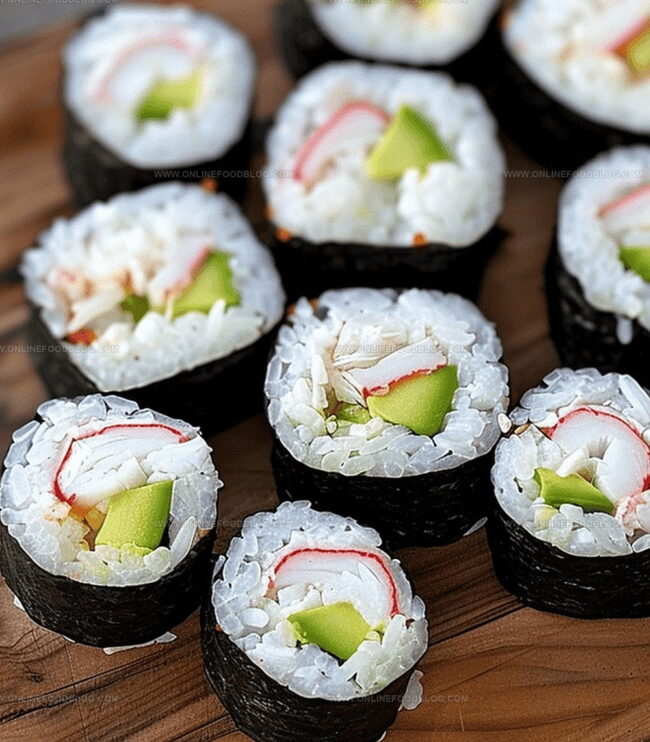
Delicate imitation crab, creamy avocado, and crisp cucumber dance together inside tender nori seaweed.
Wrapped in fluffy sushi rice and sprinkled with nutty sesame seeds, this roll offers a symphony of tastes and textures.
Rolling your own California roll at home feels like a culinary adventure that connects you to professional sushi craft.
Grab your bamboo mat and fresh ingredients – a delicious homemade sushi experience awaits you.
Quick Recipe Overview
What’s Inside a Classic California Roll
For Rice Base:For Fresh Fillings:For Wrapping and Preparation:Tools to Roll a Classic California Sushi Roll
Step-by-Step California Roll Instructions
Cook sushi rice in a pot, creating a fluffy and sticky base for the roll. Infuse the grains with a delicate vinegar blend that adds a subtle tang and shine.
Lay the seaweed sheet on a bamboo mat, creating a dark green canvas for your culinary creation. The shiny side faces down, ready to embrace the upcoming ingredients.
Spread a generous coating of seasoned rice across the nori, leaving a small border at the top. This will help seal the roll with a beautiful, clean edge.
Arrange slender strips of creamy avocado and crisp cucumber along the rice, creating a vibrant landscape of textures and colors.
Gently lift the mat’s edge, tucking and rolling the nori into a tight cylinder. Apply steady, even pressure to create a compact and uniform shape.
Slice the roll with a sharp, damp knife into bite-sized pieces. Each cut reveals a perfect cross-section of California-inspired goodness.
Sushi Rolling Tips & Ingredient Swaps
How to Serve a Classic California Roll at Home
California Roll Storage Guidelines
Print
Authentic California Roll Recipe
- Total Time: 40 minutes
- Yield: 5 1x
Description
Sushi chefs craft this classic California roll with creamy avocado, sweet crab, and cucumber. Fresh ingredients and precise rolling techniques create a delightful sushi experience you’ll savor with each bite.
Ingredients
- 1 ½ cups sushi rice
- 2 ¼ cups water
- 4 sheets toasted nori seaweed
- 8 oz (226 g) imitation crab, log/leg style
- 1 avocado
- ½ English cucumber
- 2 tbsps seasoned rice vinegar
- 1 tsp salt
- 1 tsp sugar
Instructions
- Rice Preparation: Cleanse sushi rice meticulously in fine-mesh colander until water runs crystal clear, eliminating starch residue.
- Cooking Rice: Transfer rice to saucepan, add precise water measurement, cover tightly, and bring to robust boil, then reduce to minimal heat, simmering undisturbed until liquid absorbs completely.
- Seasoning Mixture: Whisk rice vinegar, sugar, and kosher salt in ceramic bowl until ingredients dissolve seamlessly, creating flavor foundation.
- Rice Cooling: Transfer cooked rice to wide ceramic dish, gently folding vinegar mixture throughout using delicate motion, then allow to reach room temperature while periodically fanning to release steam and develop glossy finish.
- Ingredient Preparation: Skillfully slice ripe avocado and crisp cucumber into uniform, thin matchstick strips using precision knife technique.
- Workspace Setup: Arrange bamboo mat, water bowl for finger rinsing, and sanitized cutting surface to create organized sushi preparation station.
- Nori Positioning: Place nori sheet on mat with smooth side downward, ensuring shiny surface contacts mat perfectly.
- Rice Layer: Spread cooled rice evenly across nori, maintaining narrow uncovered strip at top edge for seamless sealing.
- Filling Placement: Strategically arrange cucumber and avocado strips centrally across rice-covered nori surface.
- Rolling Technique: Utilize mat as precise guide, applying consistent gentle pressure to create compact, uniform cylindrical roll.
- Cutting Process: Moisten sharp knife between each slice to prevent rice adhesion, carefully cutting roll into 6-8 symmetrical pieces, revealing beautiful California roll cross-section.
Notes
- Rinse Rice Thoroughly: Remove excess starch by washing rice until water runs clear, ensuring perfect sticky texture and preventing clumpy rolls.
- Control Rice Moisture: Use precise water measurement and gentle heat to achieve ideal rice consistency, avoiding undercooked or mushy grains.
- Prepare Workspace Carefully: Organize all tools and ingredients before starting, including a clean cutting board, sharp knife, and damp towel for clean cuts.
- Master Rolling Technique: Apply consistent, gentle pressure when rolling to create compact, uniform sushi rolls without squeezing out fillings.
- Prep Time: 25 minutes
- Cook Time: 15 minutes
- Category: Lunch, Snacks
- Method: Boiling
- Cuisine: Japanese
Nutrition
- Serving Size: 5
- Calories: 242
- Sugar: 1 g
- Sodium: 440 mg
- Fat: 4 g
- Saturated Fat: 1 g
- Unsaturated Fat: 3 g
- Trans Fat: 0 g
- Carbohydrates: 45 g
- Fiber: 2 g
- Protein: 10 g
- Cholesterol: 15 mg
Mia Reynolds
Food Writer & Home Cooking Specialist
Expertise
Easy Home Baking, Recipe Writing and Storytelling, Local and Seasonal Ingredients, Baking for Beginners
Education
New England Culinary Institute (NECI), Montpelier, Vermont
Community College of Vermont, Winooski, Vermont
Mia Reynolds fell in love with baking as a teenager experimenting in her family kitchen. Her passion took her to New England Culinary Institute, where she learned practical pastry techniques, and later to Community College of Vermont to deepen her understanding of food management.
Mia combines clear, simple baking instructions with heartwarming stories, making home baking approachable for everyone.