
Flavor-Packed Garlic Chive Dill Herb Butter Recipe for Bread
Stirring fresh herbs into softened butter creates a magical weekend garlic chive dill herb butter that bursts with vibrant flavors.
This simple spread adds instant gourmet flair to any bread or grilled dish.
Rich, creamy, and packed with aromatic herbs, the butter melts beautifully over warm surfaces.
Summer gardens often overflow with these delightful ingredients, making this recipe a perfect seasonal treat.
Each bite delivers a zesty punch of green goodness that instantly upgrades toast, rolls, or grilled meats.
Whip up this versatile condiment in minutes and watch how it brings excitement to your plate.
You’ll love how effortlessly this herb-infused butter turns ordinary meals into something spectacular.
Quick Recipe Overview
Garlic Chive Dill Herb Butter – What’s Inside
For Herbs and Aromatics:For Base:For Seasoning:Tools for Whipping Up This Herb Butter Blend
Instructions to Mix Garlic Chive Dill Butter
Blend softened butter with a burst of fresh herbs, creating a vibrant and aromatic spread that will elevate any dish.
Carefully transfer the herbal mixture onto a sheet of parchment paper, gently rolling it into a smooth, elegant log.
Place the wrapped butter in the refrigerator, allowing the flavors to meld and the texture to firm up overnight.
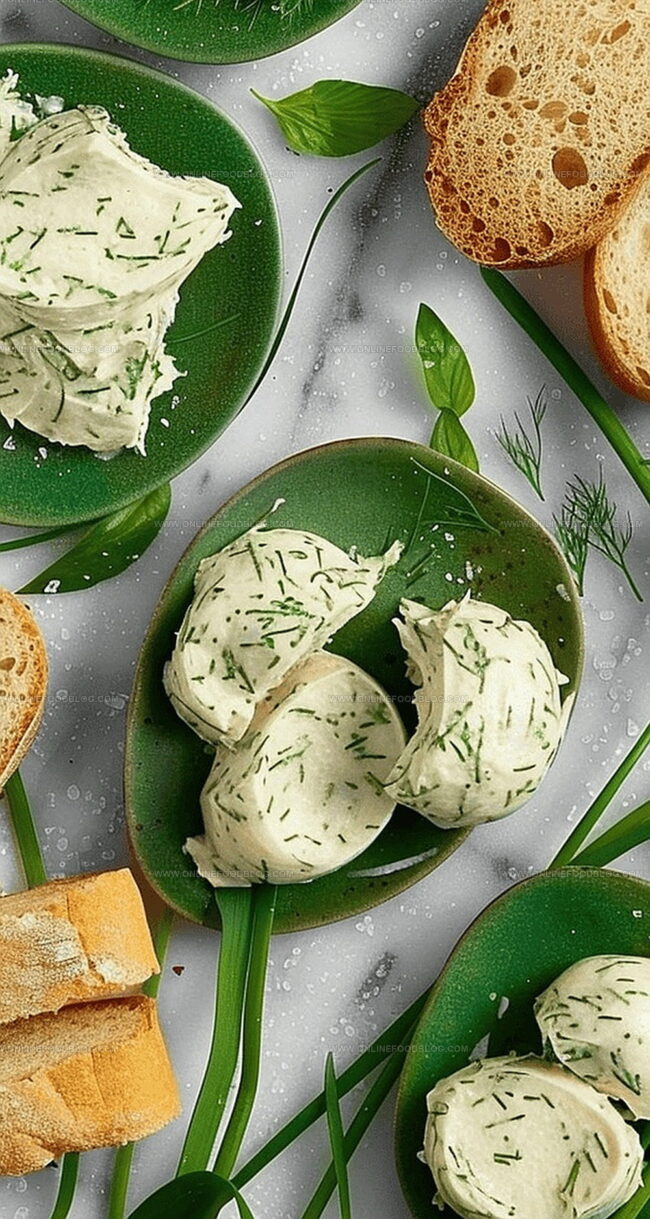
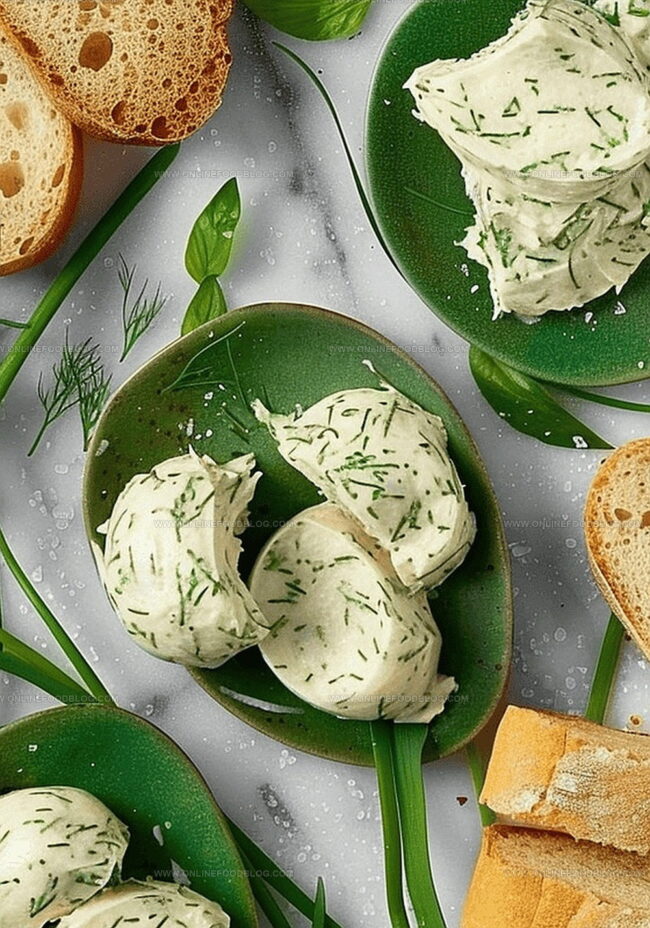
Unwrap the chilled butter, slice into delicate rounds, and watch as it transforms ordinary meals into culinary masterpieces.
Butter Tweaks: Flavor Combinations That Work
How to Serve Herb Butter with Different Dishes
Butter Storage Tips for Freshness
Print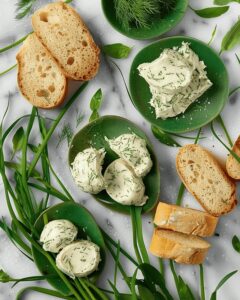
Aromatic Garlic Chive Dill Herb Butter
- Total Time: 18 minutes
- Yield: 9 1x
Description
Homemade garlic chive dill herb butter elevates simple spreads with fresh garden flavors. Rich herbal notes complement creamy butter, offering delightful complexity when slathered on warm bread or melted over grilled meats.
Ingredients
- ½ cup (113 g) unsalted butter, room temperature
- 1 tbsp finely chopped dill
- 1 tbsp finely chopped chives
- ½ clove garlic, grated
- ½ tsp sea salt
Instructions
- Preparation: Retrieve softened butter and position in a mixing bowl, ensuring a room temperature consistency for effortless blending.
- Herb Processing: Finely chop dill and chives into microscopic fragments, creating an aromatic and visually appealing herb mixture that will distribute evenly throughout the butter.
- Garlic Integration: Grate garlic clove using a microplane, transforming it into a silky, intense pulp that will infuse the butter with robust flavor.
- Seasoning: Sprinkle sea salt across the butter surface, amplifying its natural savory characteristics and enhancing overall taste profile.
- Mixing Technique: Employ a flexible spatula to thoroughly incorporate herbs and seasoning, creating a harmonious and uniform herbed butter with consistent texture and color distribution.
- Shaping and Wrapping: Position parchment paper on the work surface, transfer herbed butter mixture to the center, and skillfully roll into a compact cylindrical log, ensuring tight and secure wrapping to prevent air infiltration.
- Flavor Development: Refrigerate the wrapped butter for 8-12 hours, allowing herbs and seasonings to meld and intensify, creating a sophisticated and complex flavor dimension.
- Serving Preparation: Remove butter from refrigerator 10 minutes prior to serving, allowing slight softening for smooth spreading on breads, grilled vegetables, or as a gourmet condiment.
Notes
- Soften Butter Perfectly: Allow butter to reach room temperature naturally for 30-45 minutes to ensure smooth, easy blending without microwaving, which can cause uneven melting.
- Chop Herbs Finely: Use a sharp knife to mince herbs uniformly, preventing large herb chunks and ensuring balanced flavor distribution throughout the butter.
- Salt Selection Matters: Choose high-quality sea salt or kosher salt to elevate the butter’s overall taste profile and complement the delicate herb nuances.
- Proper Wrapping Technique: Roll butter tightly in parchment paper, creating a compact log to prevent air exposure and maintain fresh herb-infused flavor during refrigeration.
- Prep Time: 10 minutes
- Cook Time: 8 hours 10 minutes
- Category: Snacks, Appetizer, Dinner
- Method: Blending
- Cuisine: American
Nutrition
- Serving Size: 9
- Calories: 100
- Sugar: 0 g
- Sodium: 58 mg
- Fat: 11 g
- Saturated Fat: 7 g
- Unsaturated Fat: 4 g
- Trans Fat: 0 g
- Carbohydrates: 1 g
- Fiber: 0 g
- Protein: 0 g
- Cholesterol: 30 mg
Mia Reynolds
Food Writer & Home Cooking Specialist
Expertise
Easy Home Baking, Recipe Writing and Storytelling, Local and Seasonal Ingredients, Baking for Beginners
Education
New England Culinary Institute (NECI), Montpelier, Vermont
Community College of Vermont, Winooski, Vermont
Mia Reynolds fell in love with baking as a teenager experimenting in her family kitchen. Her passion took her to New England Culinary Institute, where she learned practical pastry techniques, and later to Community College of Vermont to deepen her understanding of food management.
Mia combines clear, simple baking instructions with heartwarming stories, making home baking approachable for everyone.